Contact Us

Use the form on the right to contact us.

You can edit the text in this area, and change where the contact form on the right submits to, by entering edit mode using the modes on the bottom right. 


123 Street Avenue, City Town, 99999

(123) 555-6789

email@address.com


You can set your address, phone number, email and site description in the settings tab.
Link to read me page with more information.

Blog

Transitioning from Naptime to Quiet Time

Montessori in Real Life

Many parents fear the day their child stops napping, and understandably so. Naps are a time of peace and quiet for parents and children alike. However, the end of naps doesn’t have to mean the end of rest. Rather, children can transition from nap time to quiet time.

Quiet Time - Montessori in Real Life

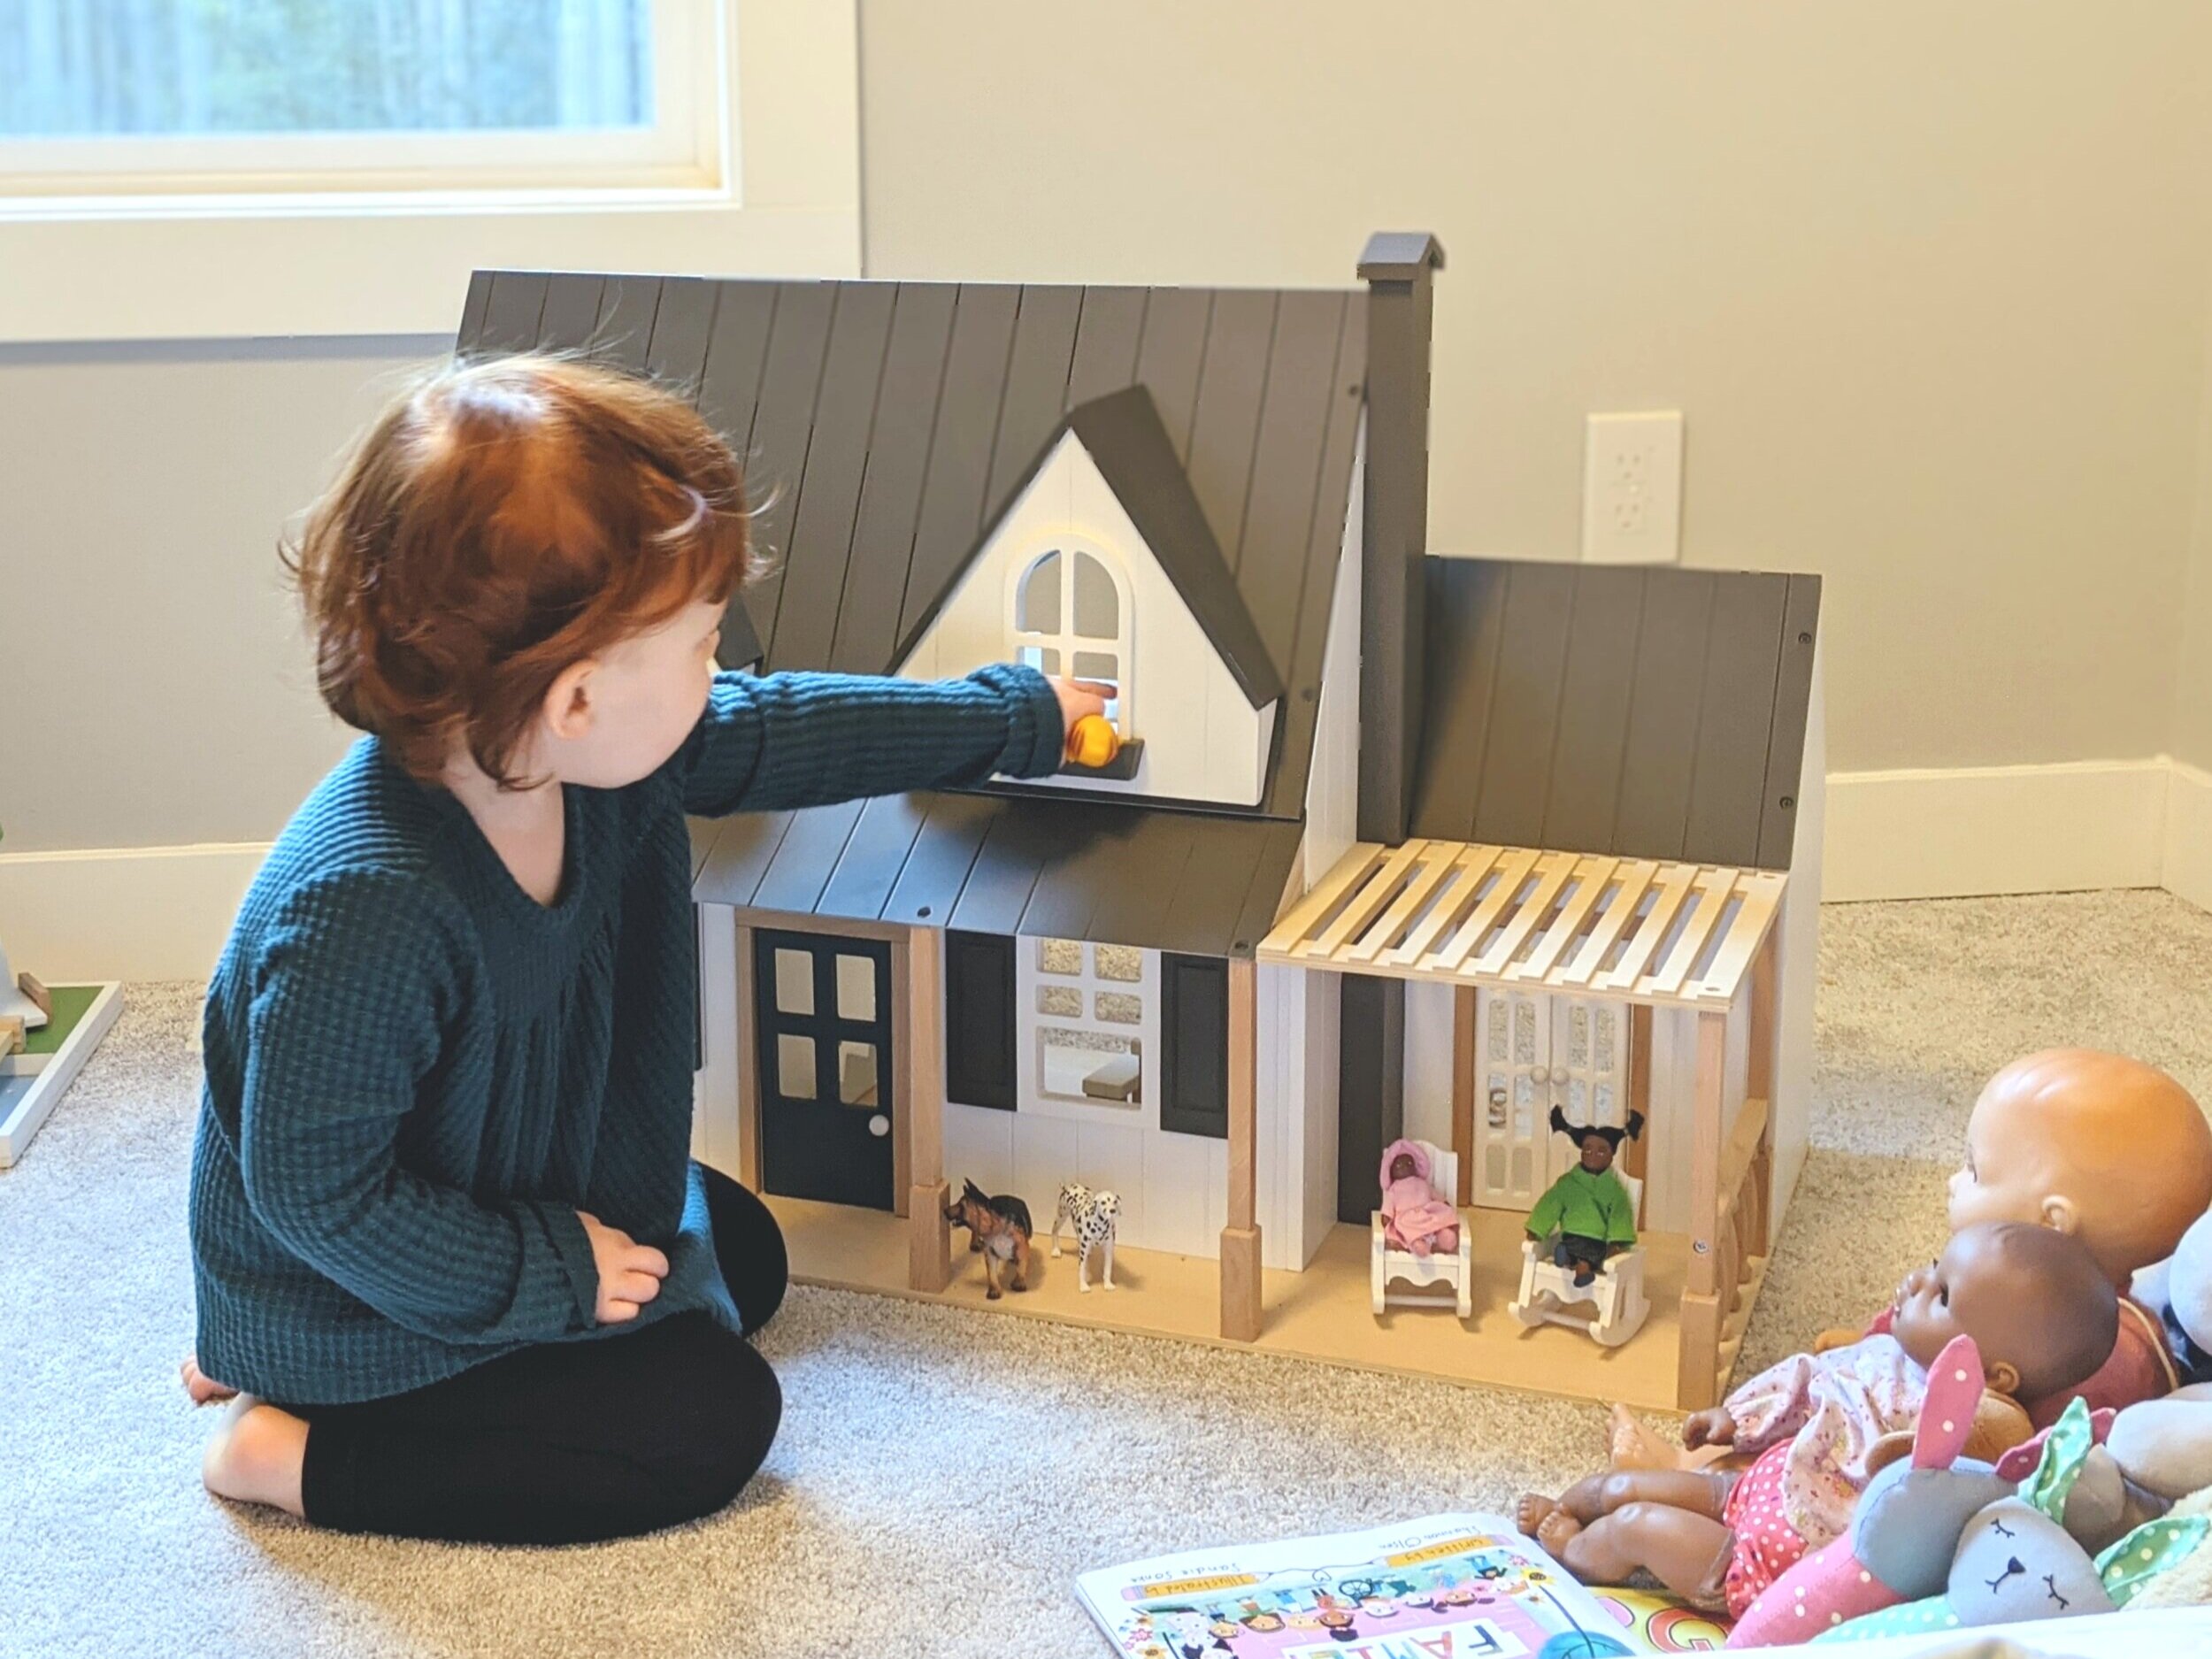
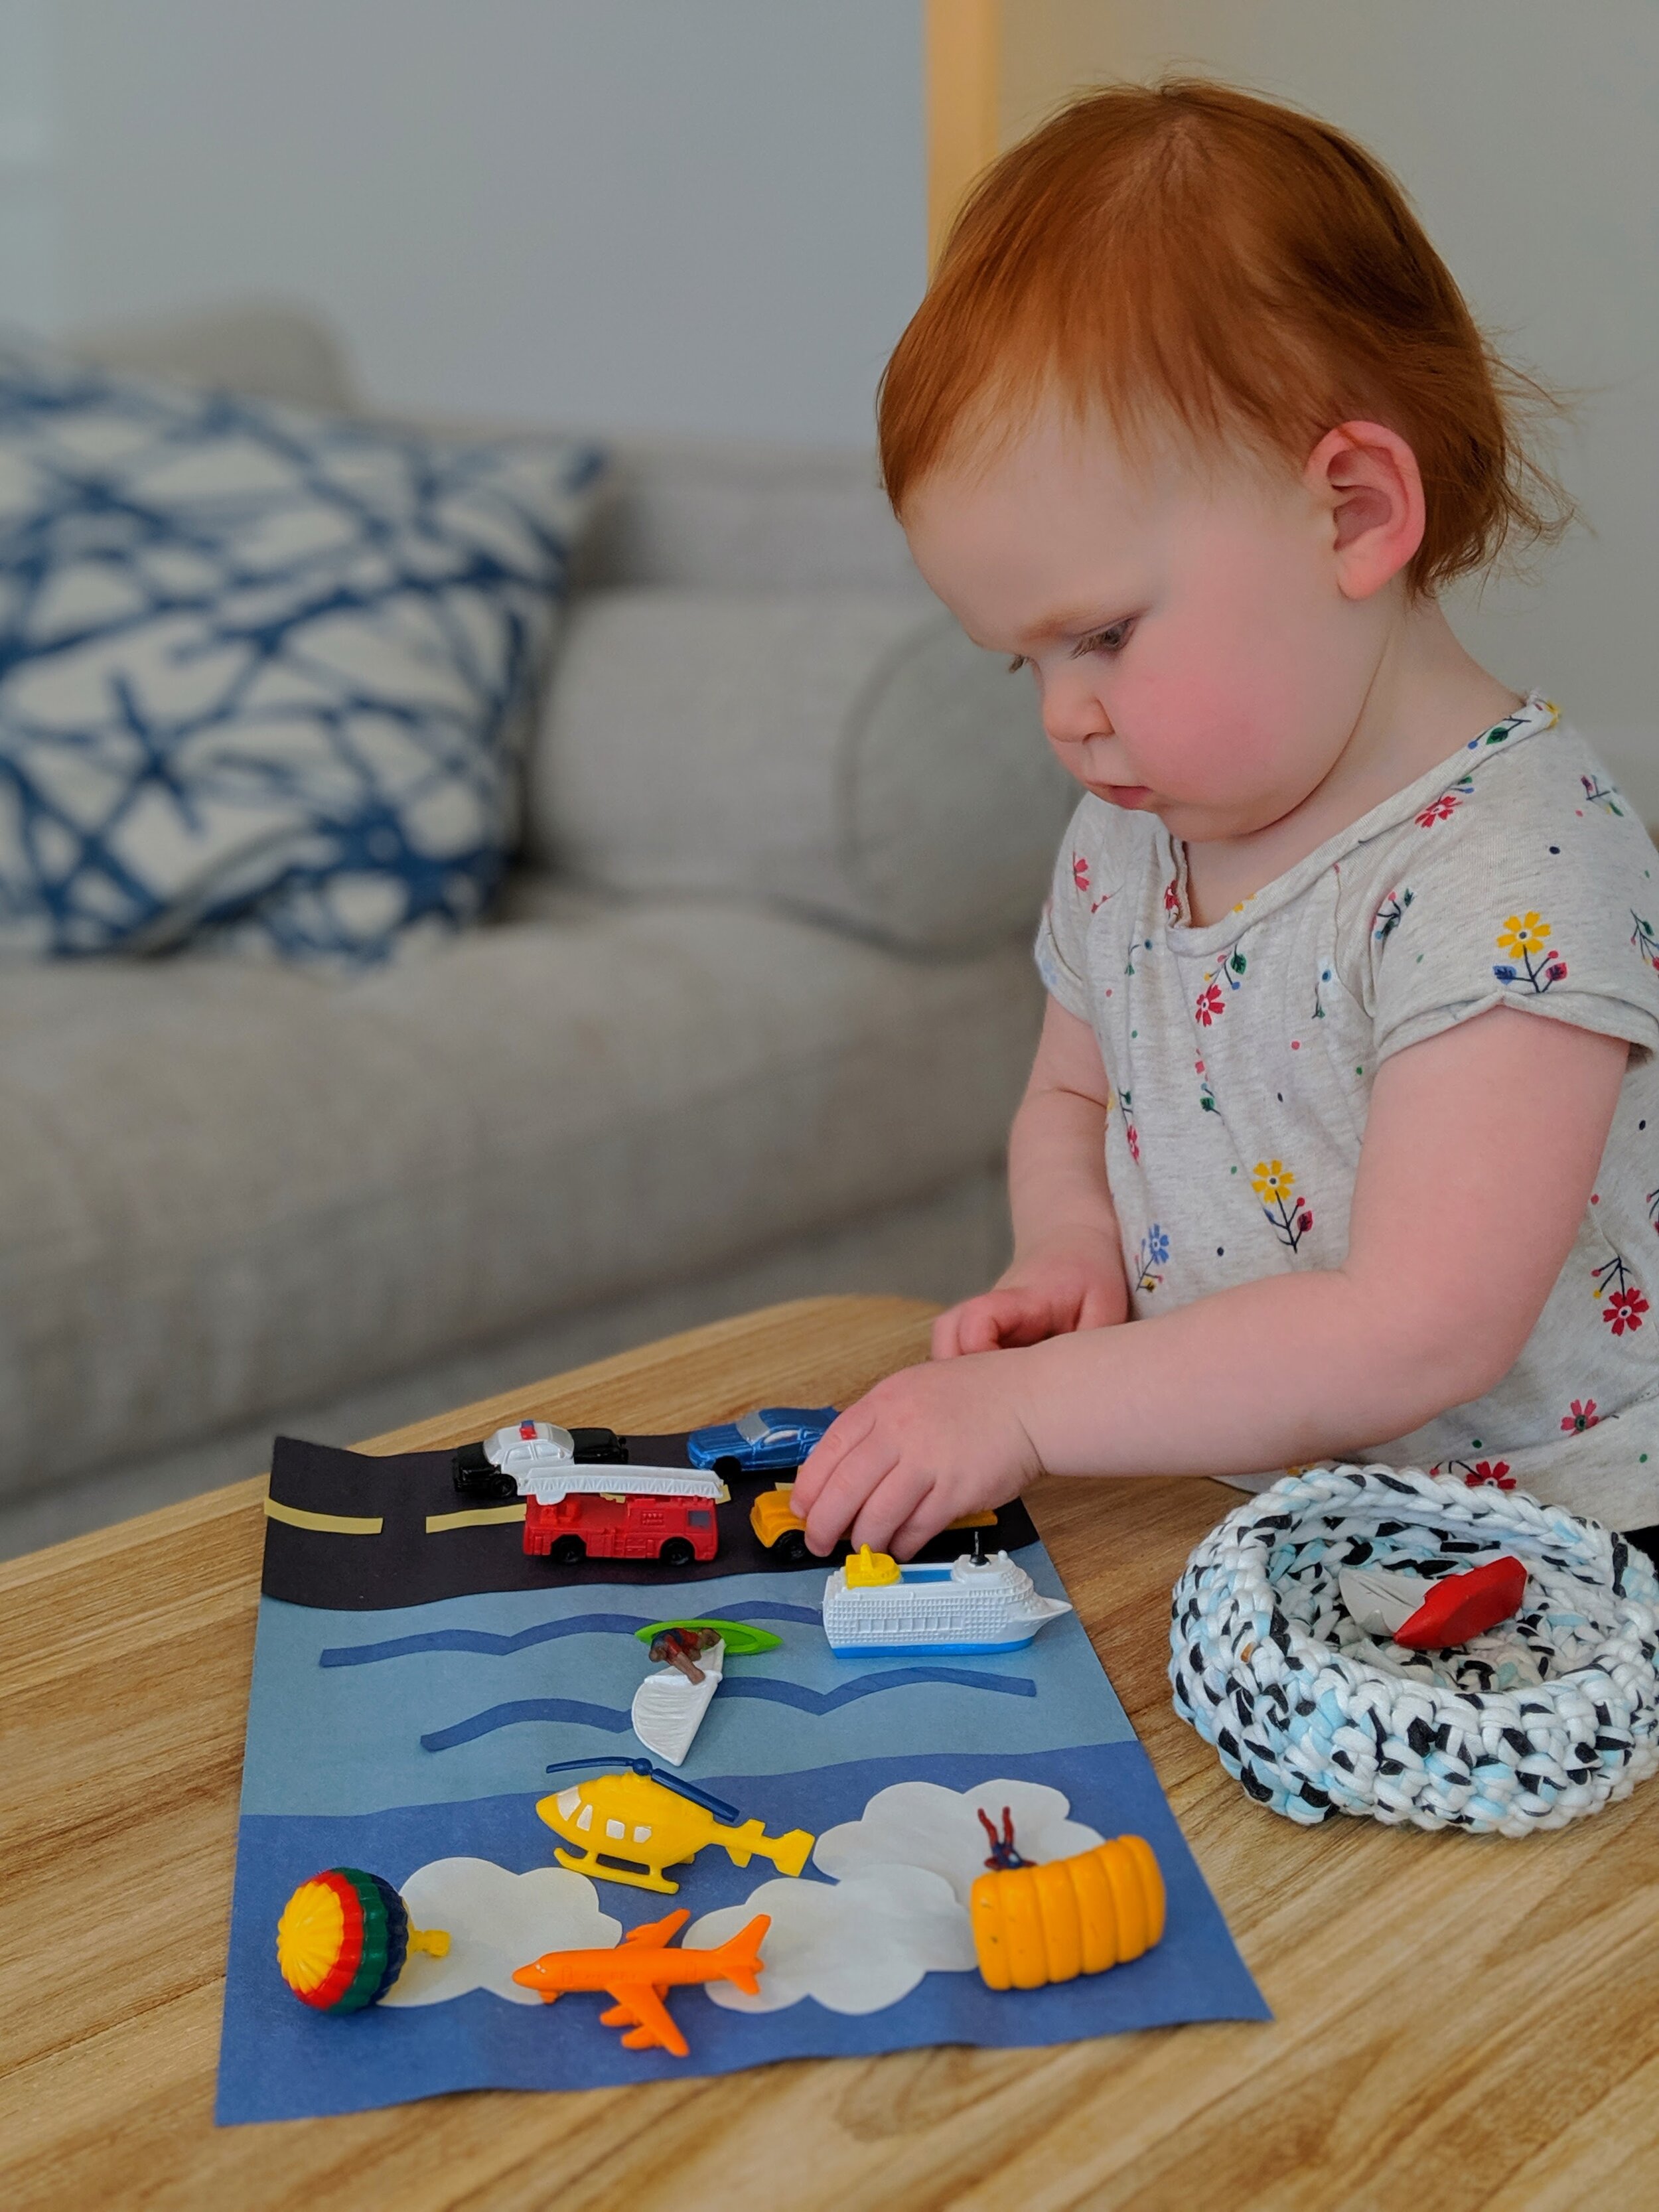
D stopped napping quite early, around 2.5. She was getting a very long consolidated sleep at night (13 hours), so I knew she’d be okay sleep-wise but I also knew she needed some downtime to make it through the long day. As D was already often playing in her room instead of napping, it was a natural transition for us to simply call it “quiet time” instead of “nap time”. She turned this phrase into "home time" as she considers her bedroom her own little home. Since 2.5, she spends this time (1-1.5 hrs) in her room, with the door open, playing pretend with her dolls, animals, and tea set, and "reading" books. This is an important time for both of us to have quiet in the day, and come back together in the afternoon feeling refreshed.

Often the transition from a nap to quiet time isn’t so natural, but it’s still possible! If this is something you’d like to start but aren’t sure how, here are some tips for quiet time success: 

  1. Enjoy a little one on one time first. Children need time together before they can feel ready to be apart. Spend a little time reading, playing, or enjoying a meal together, without any screens or distractions, prior to quiet time. 

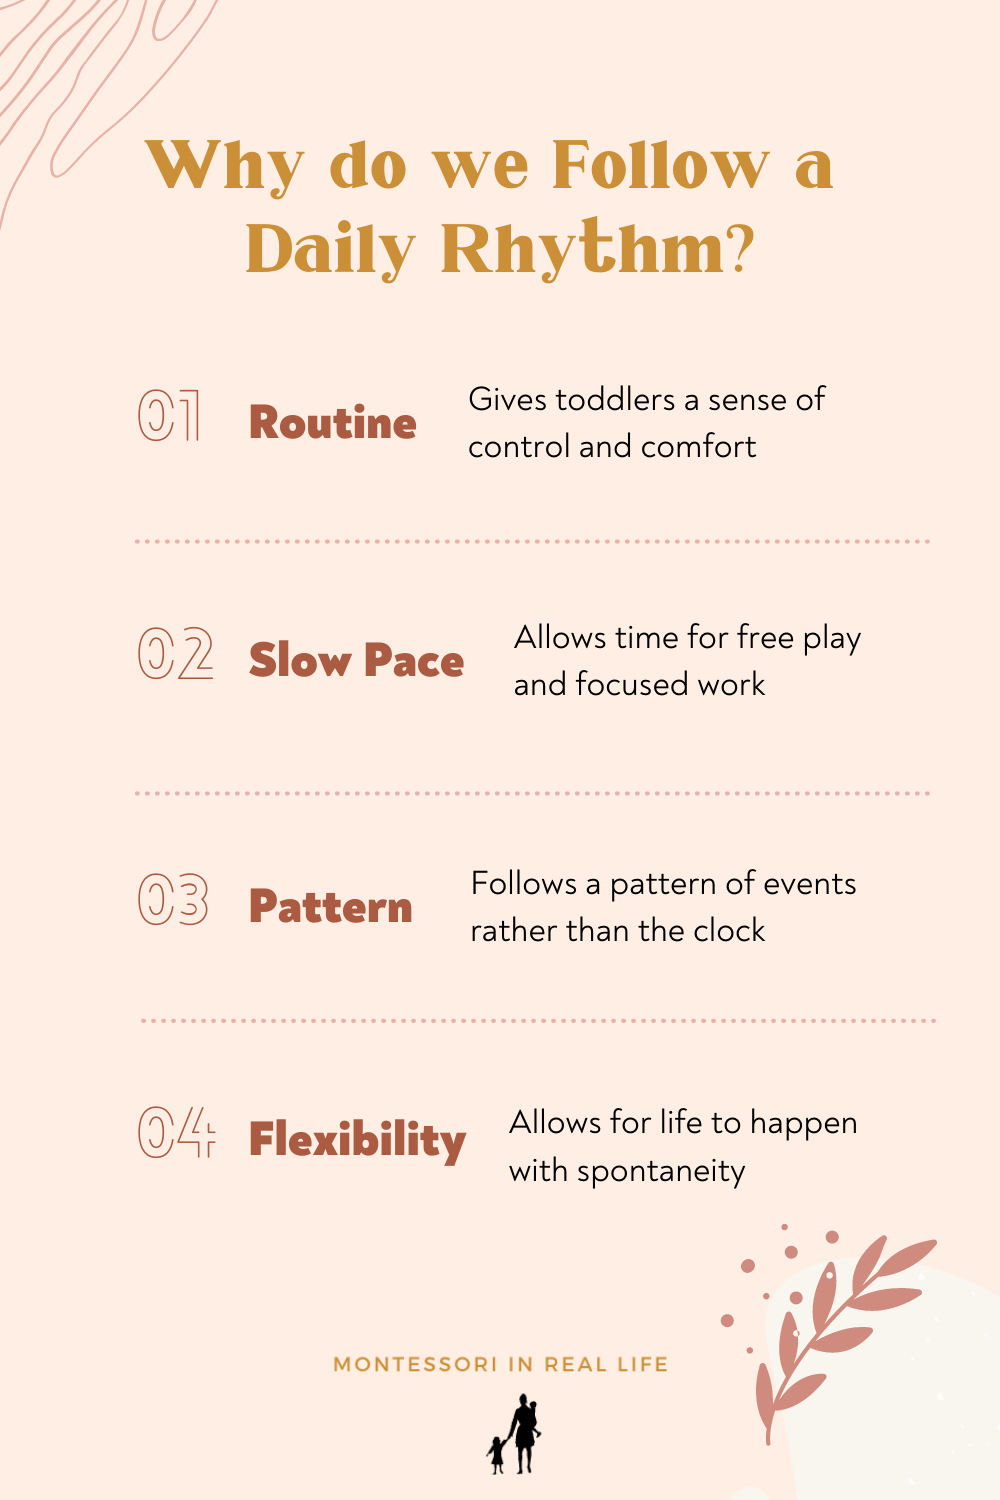
  2. Keep your routine consistent. Every transition is easier once it becomes part of your daily rhythm. Setting the expectation that quiet independent play will happen daily around the same time, will ensure a smoother change happens.   

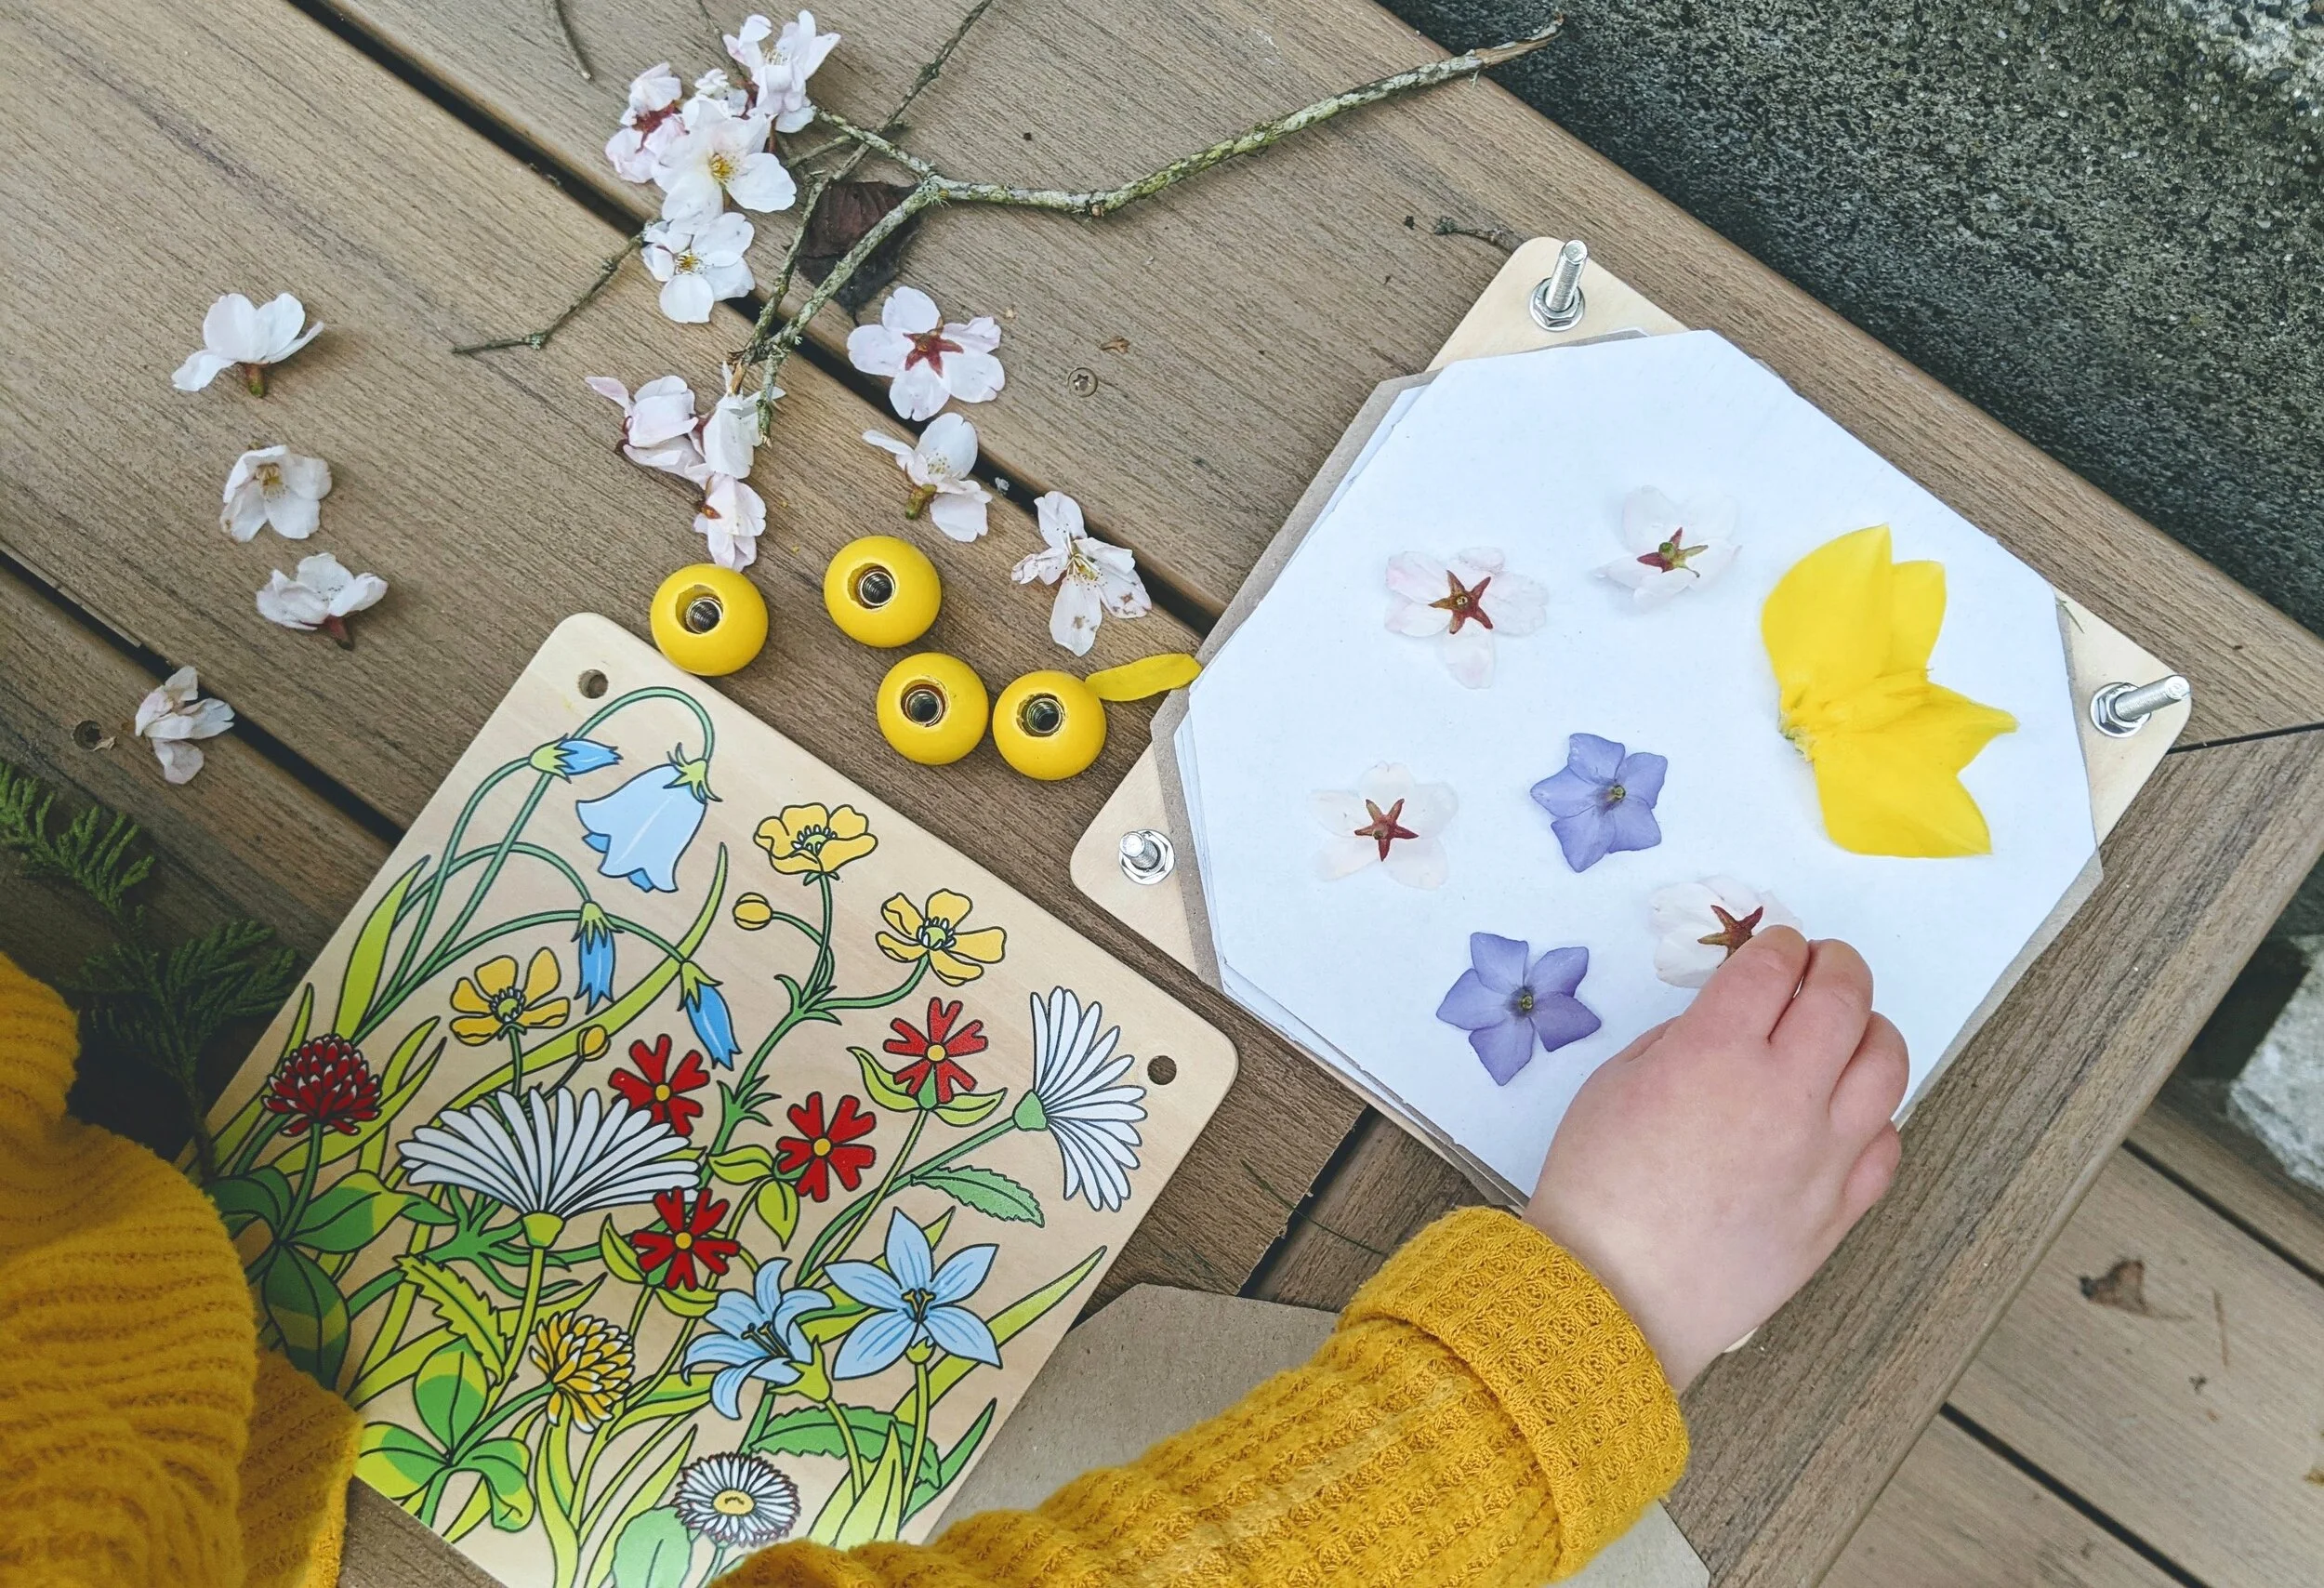
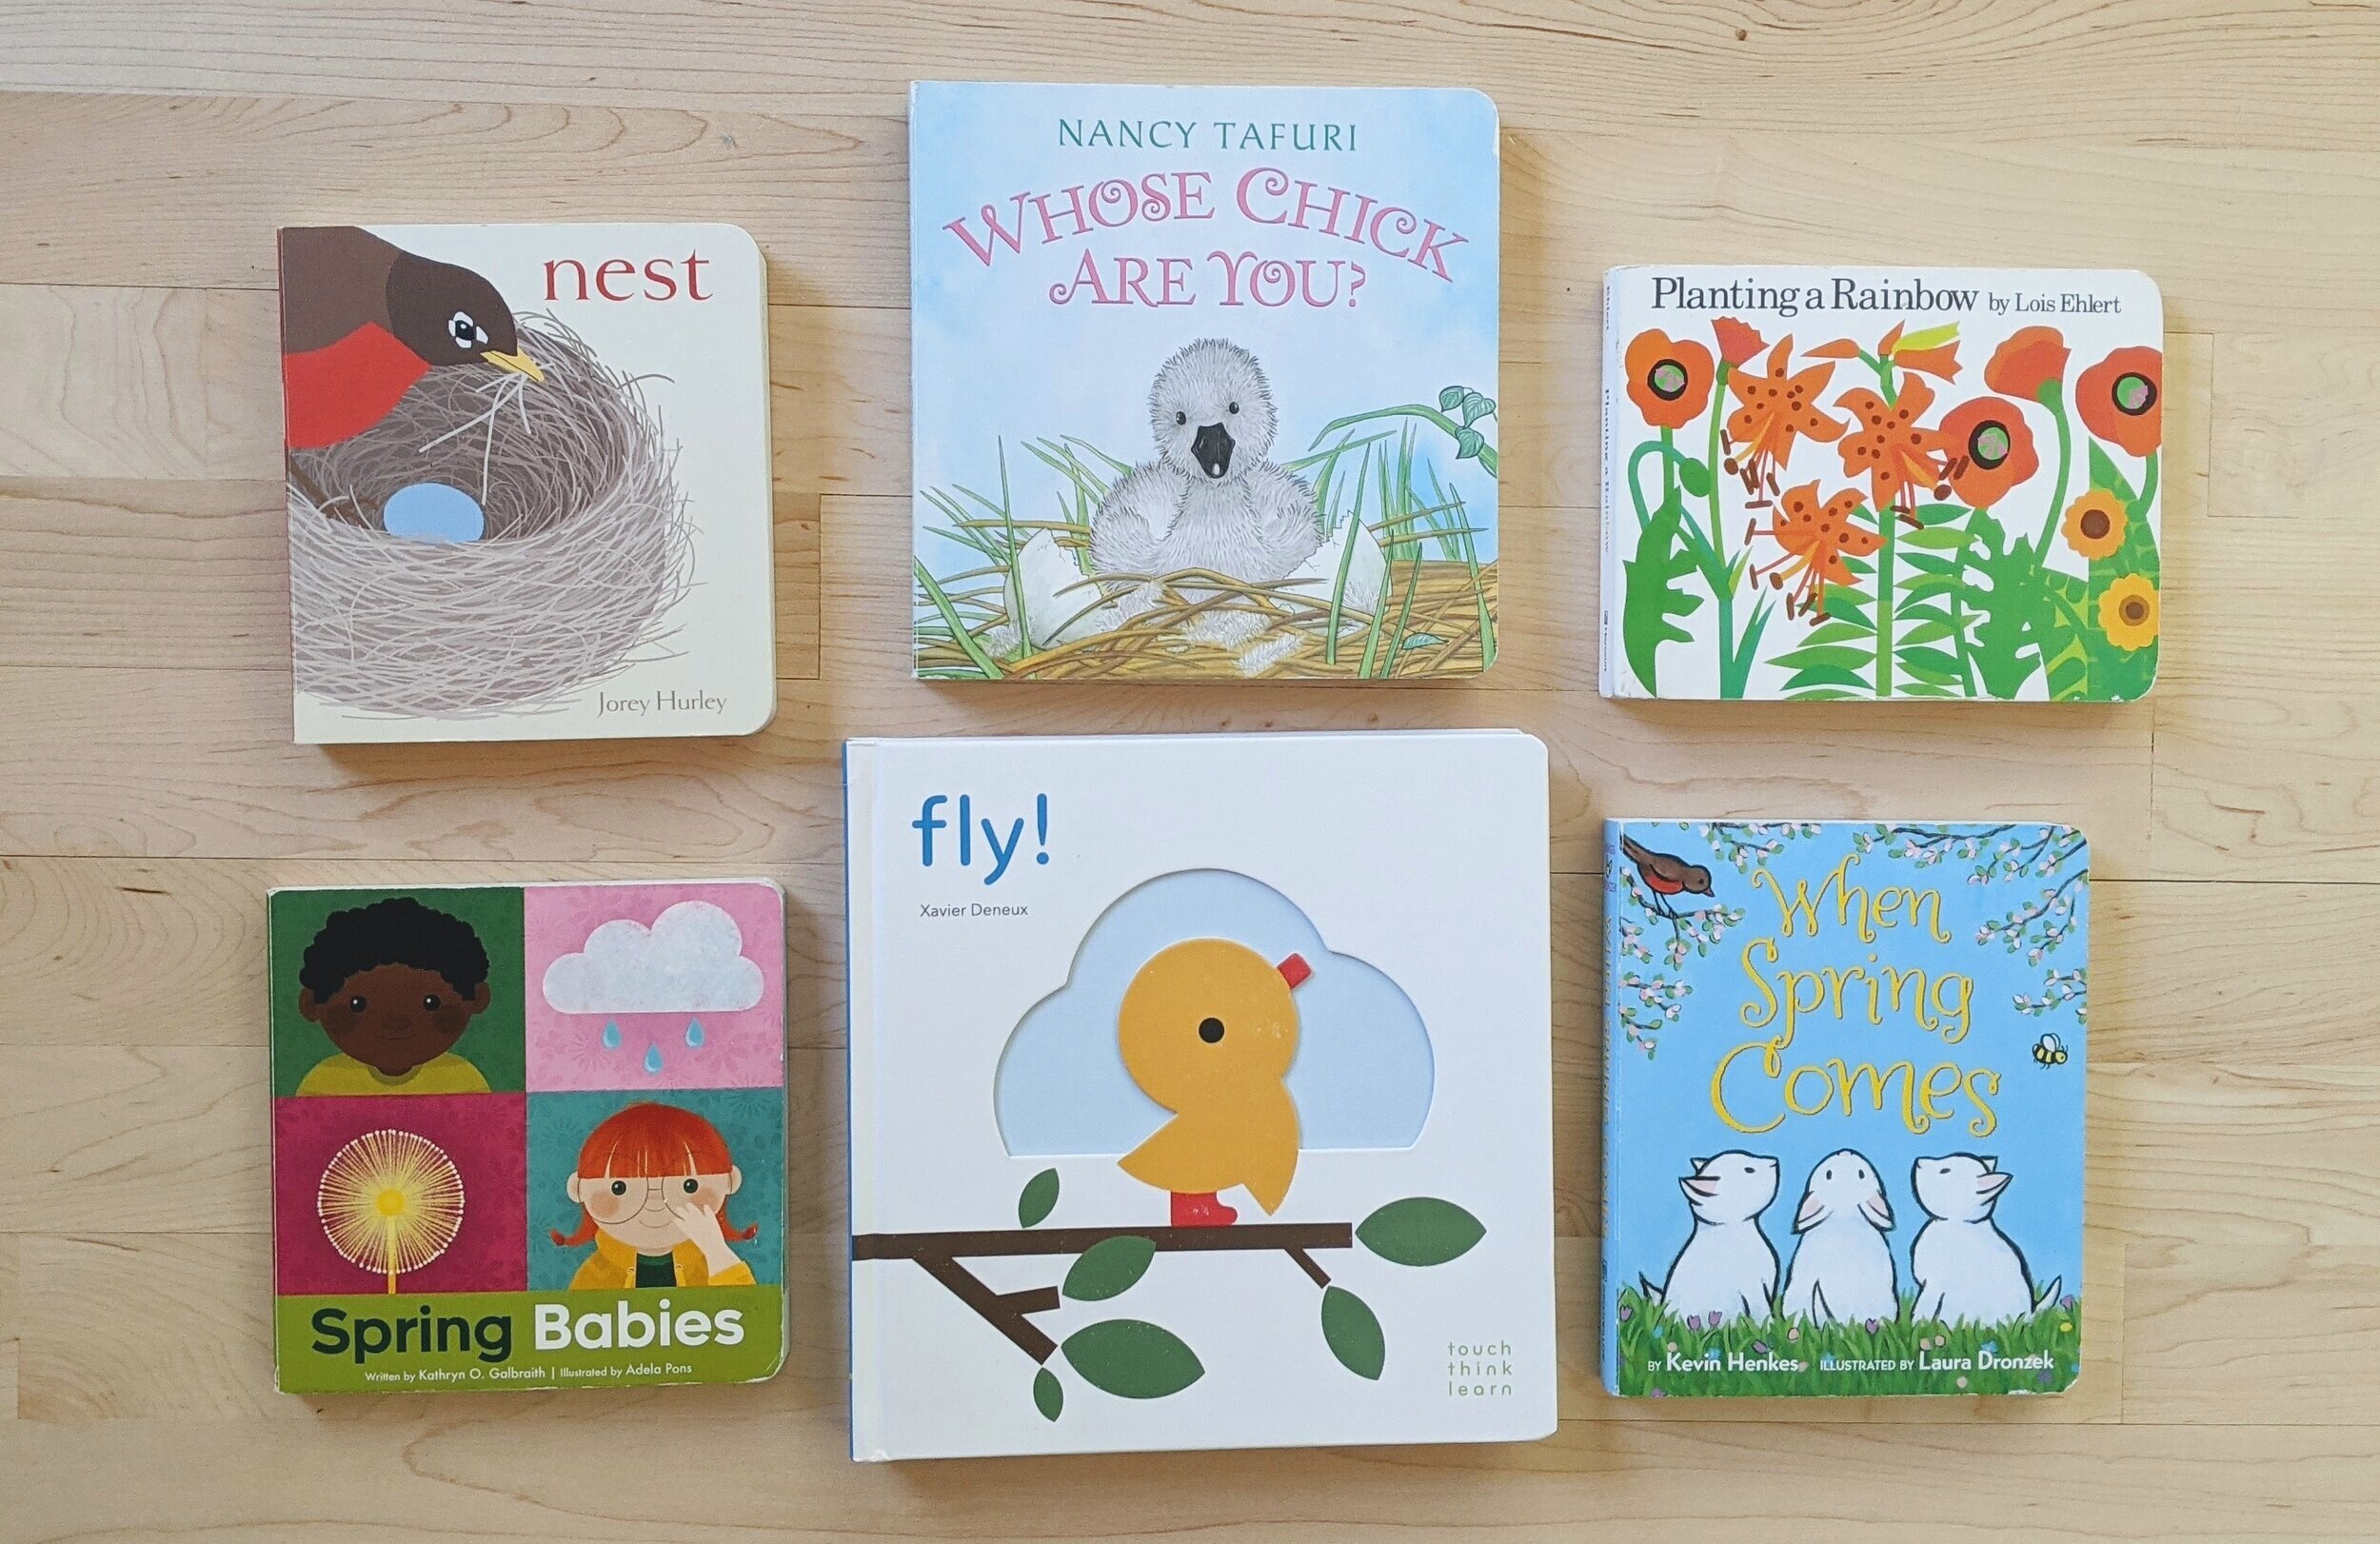
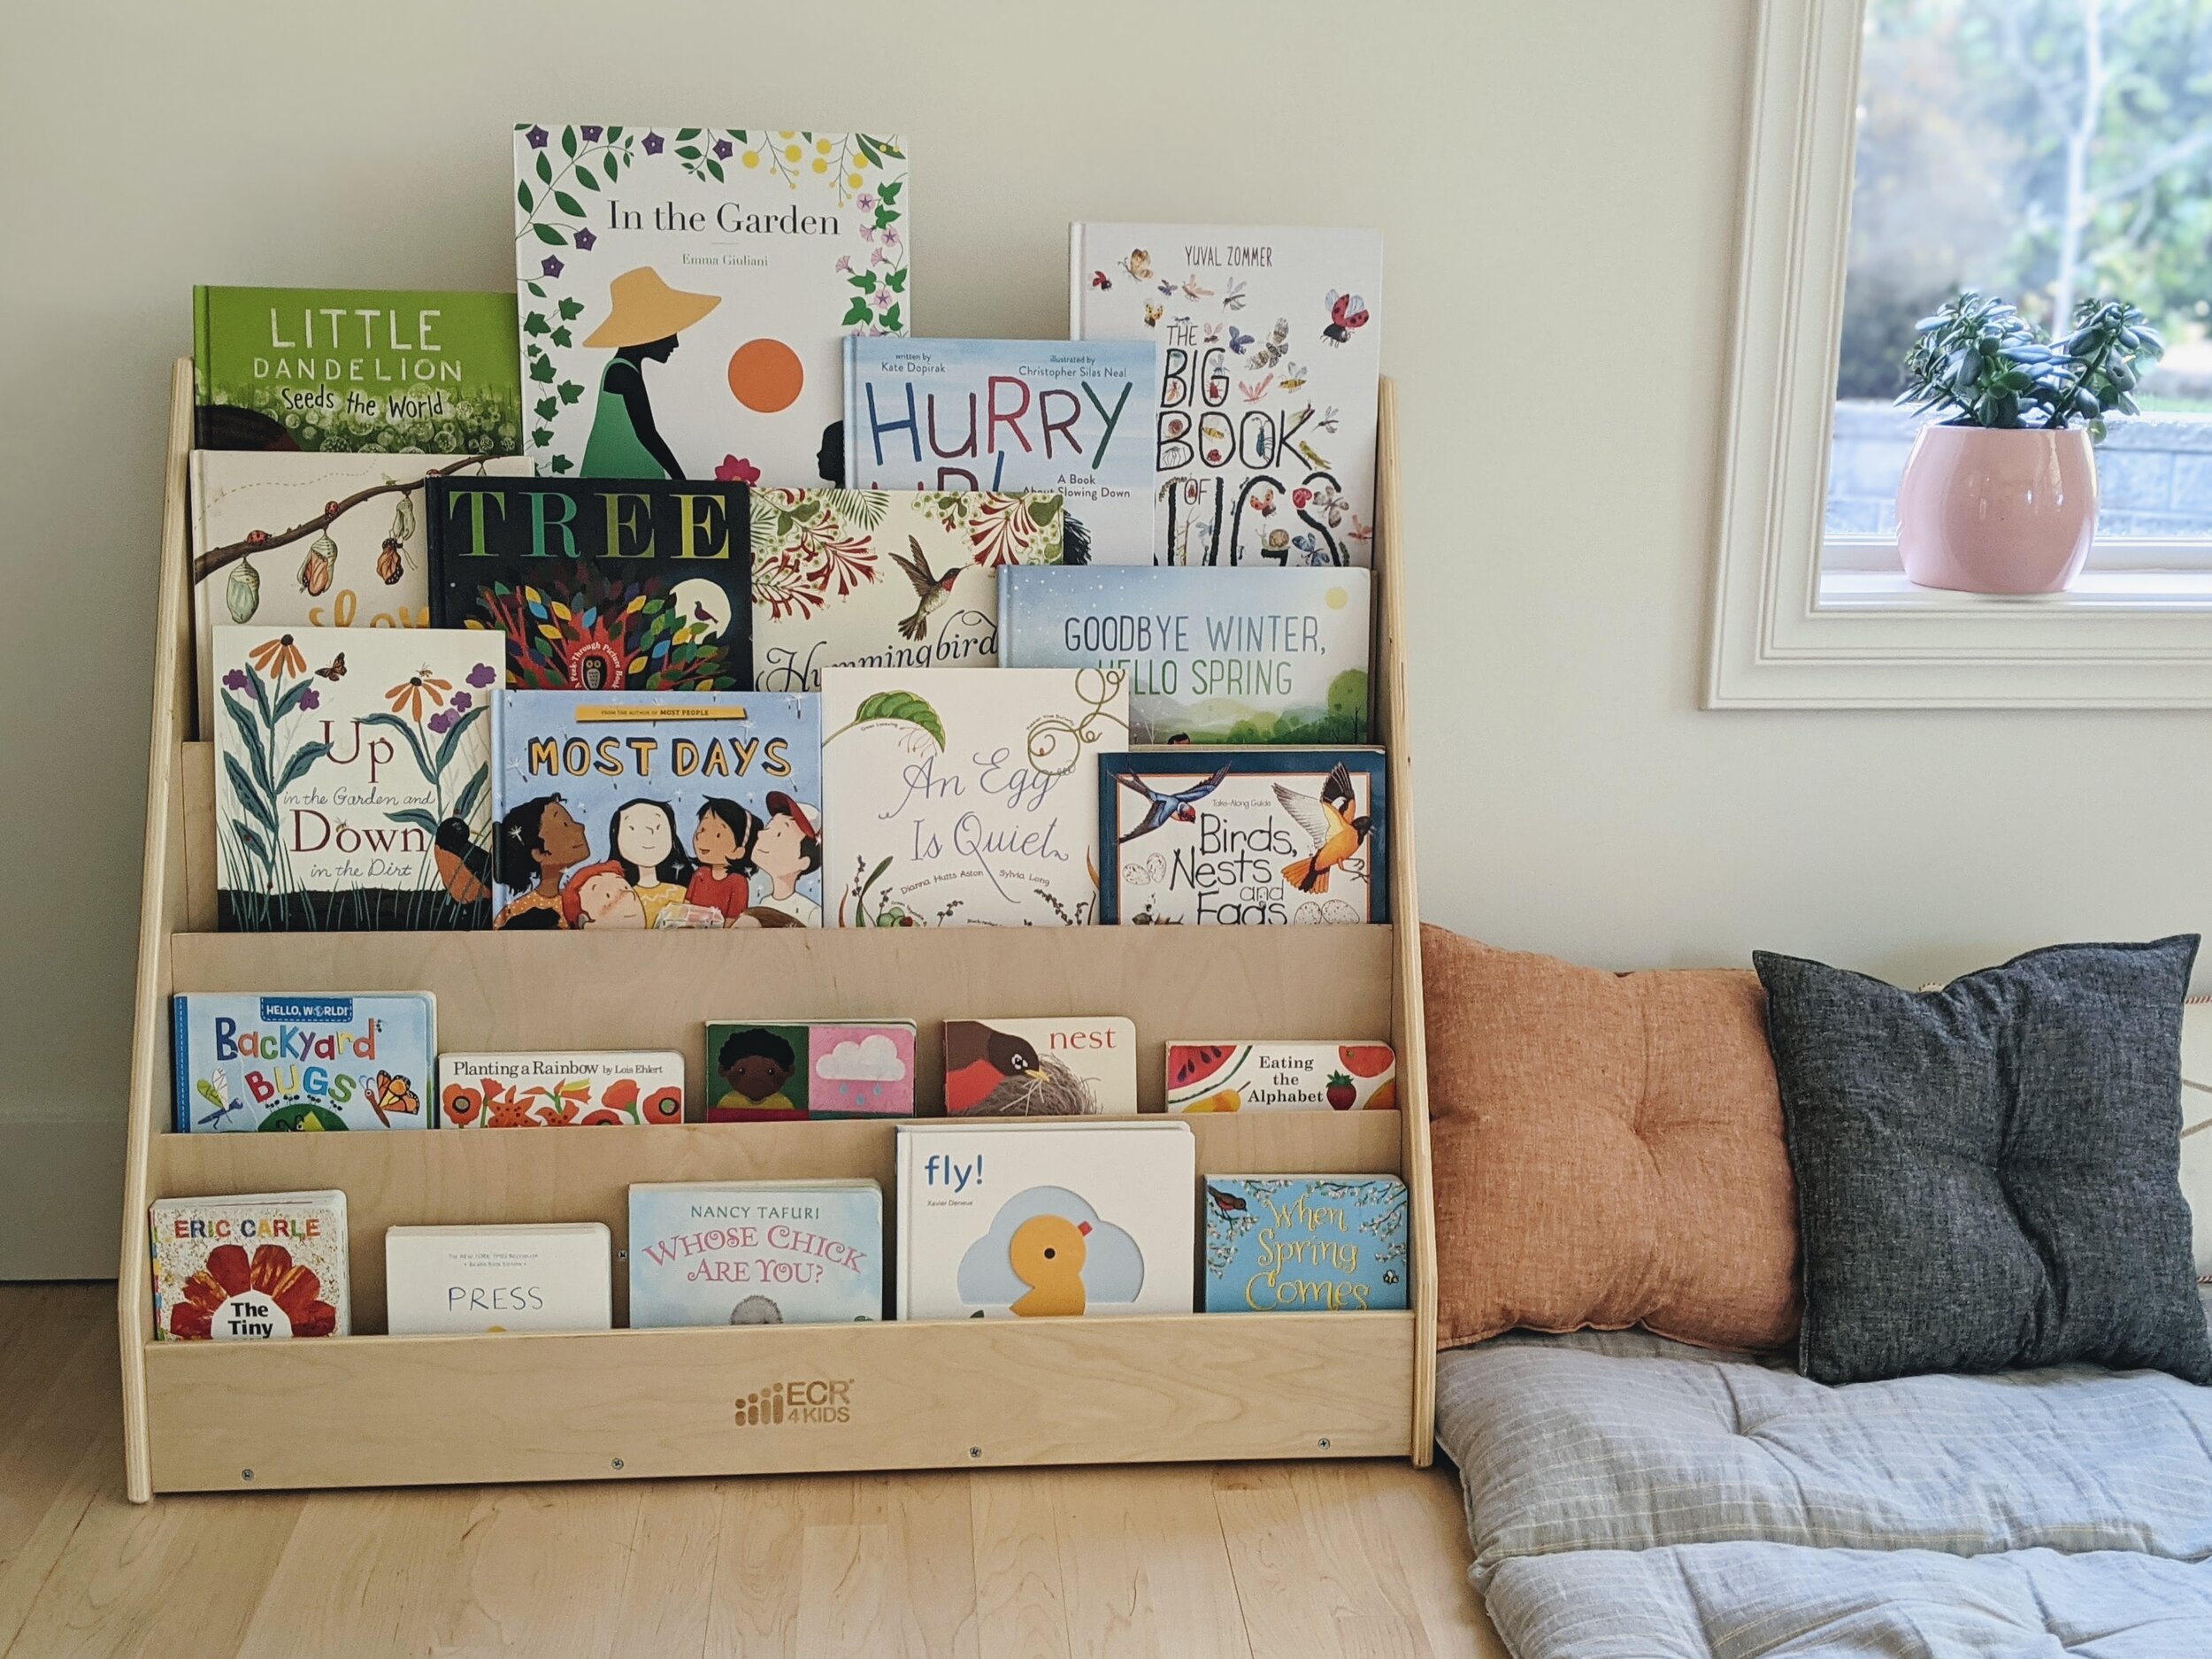
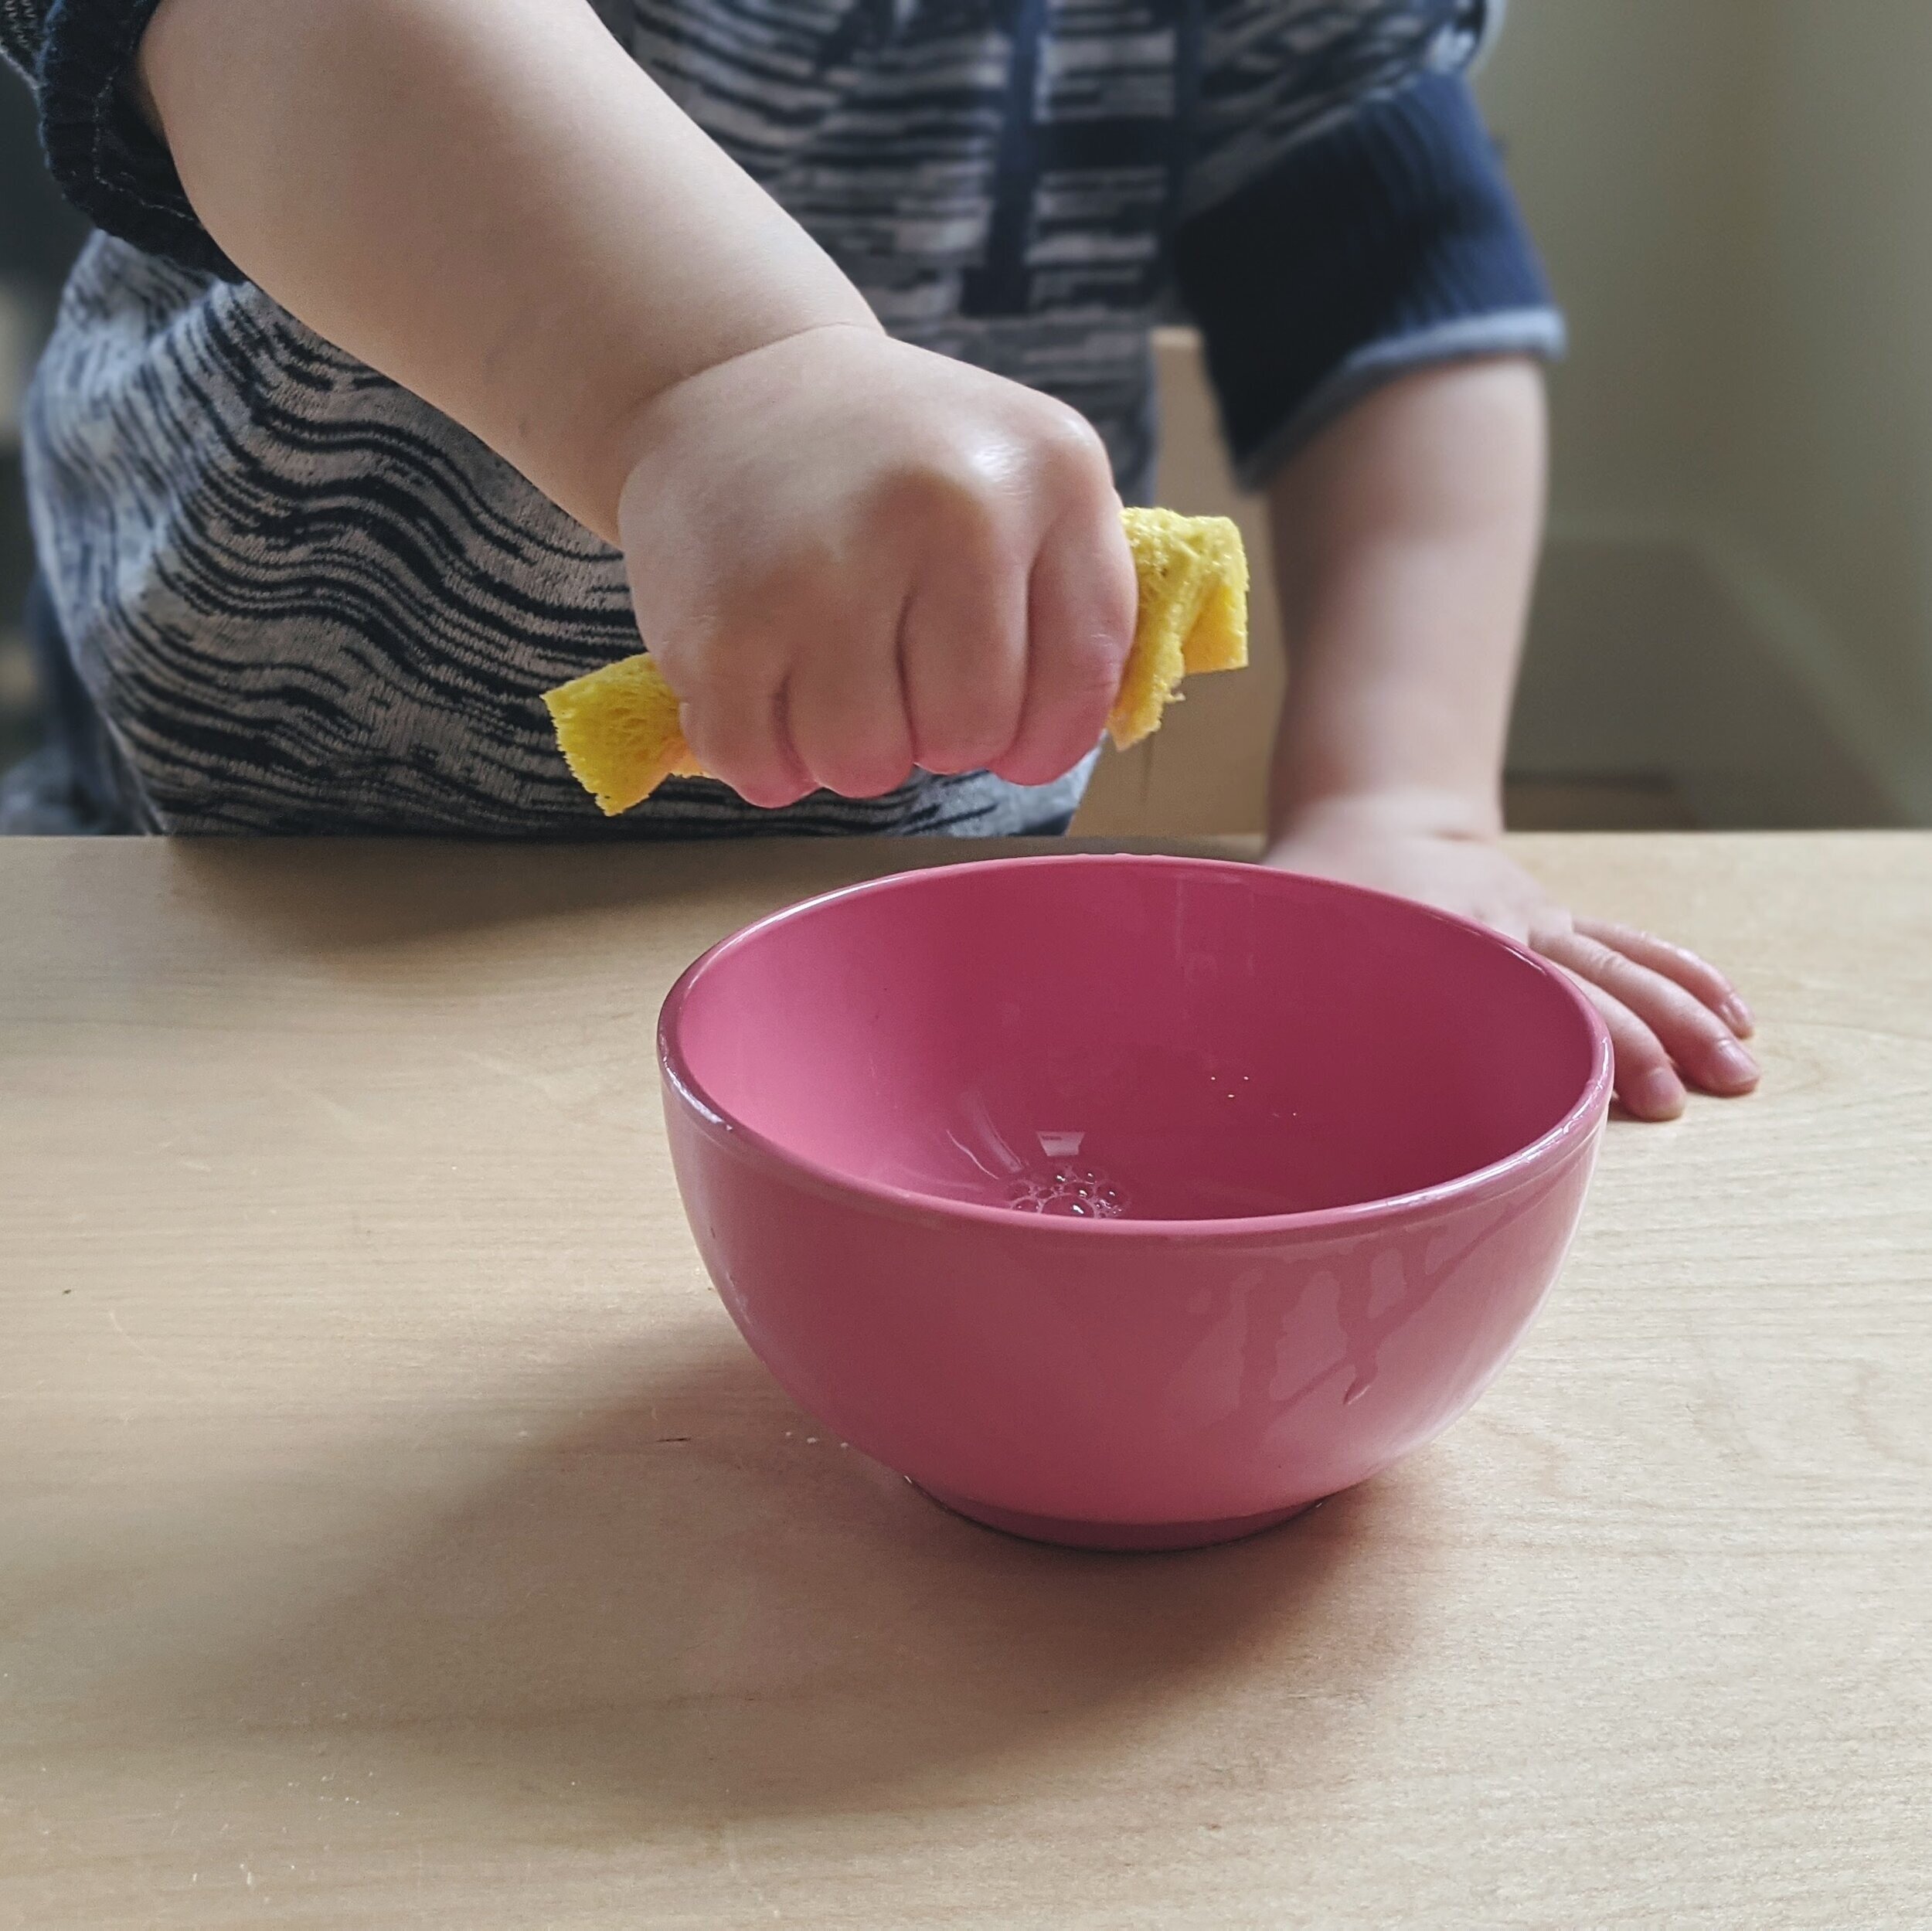
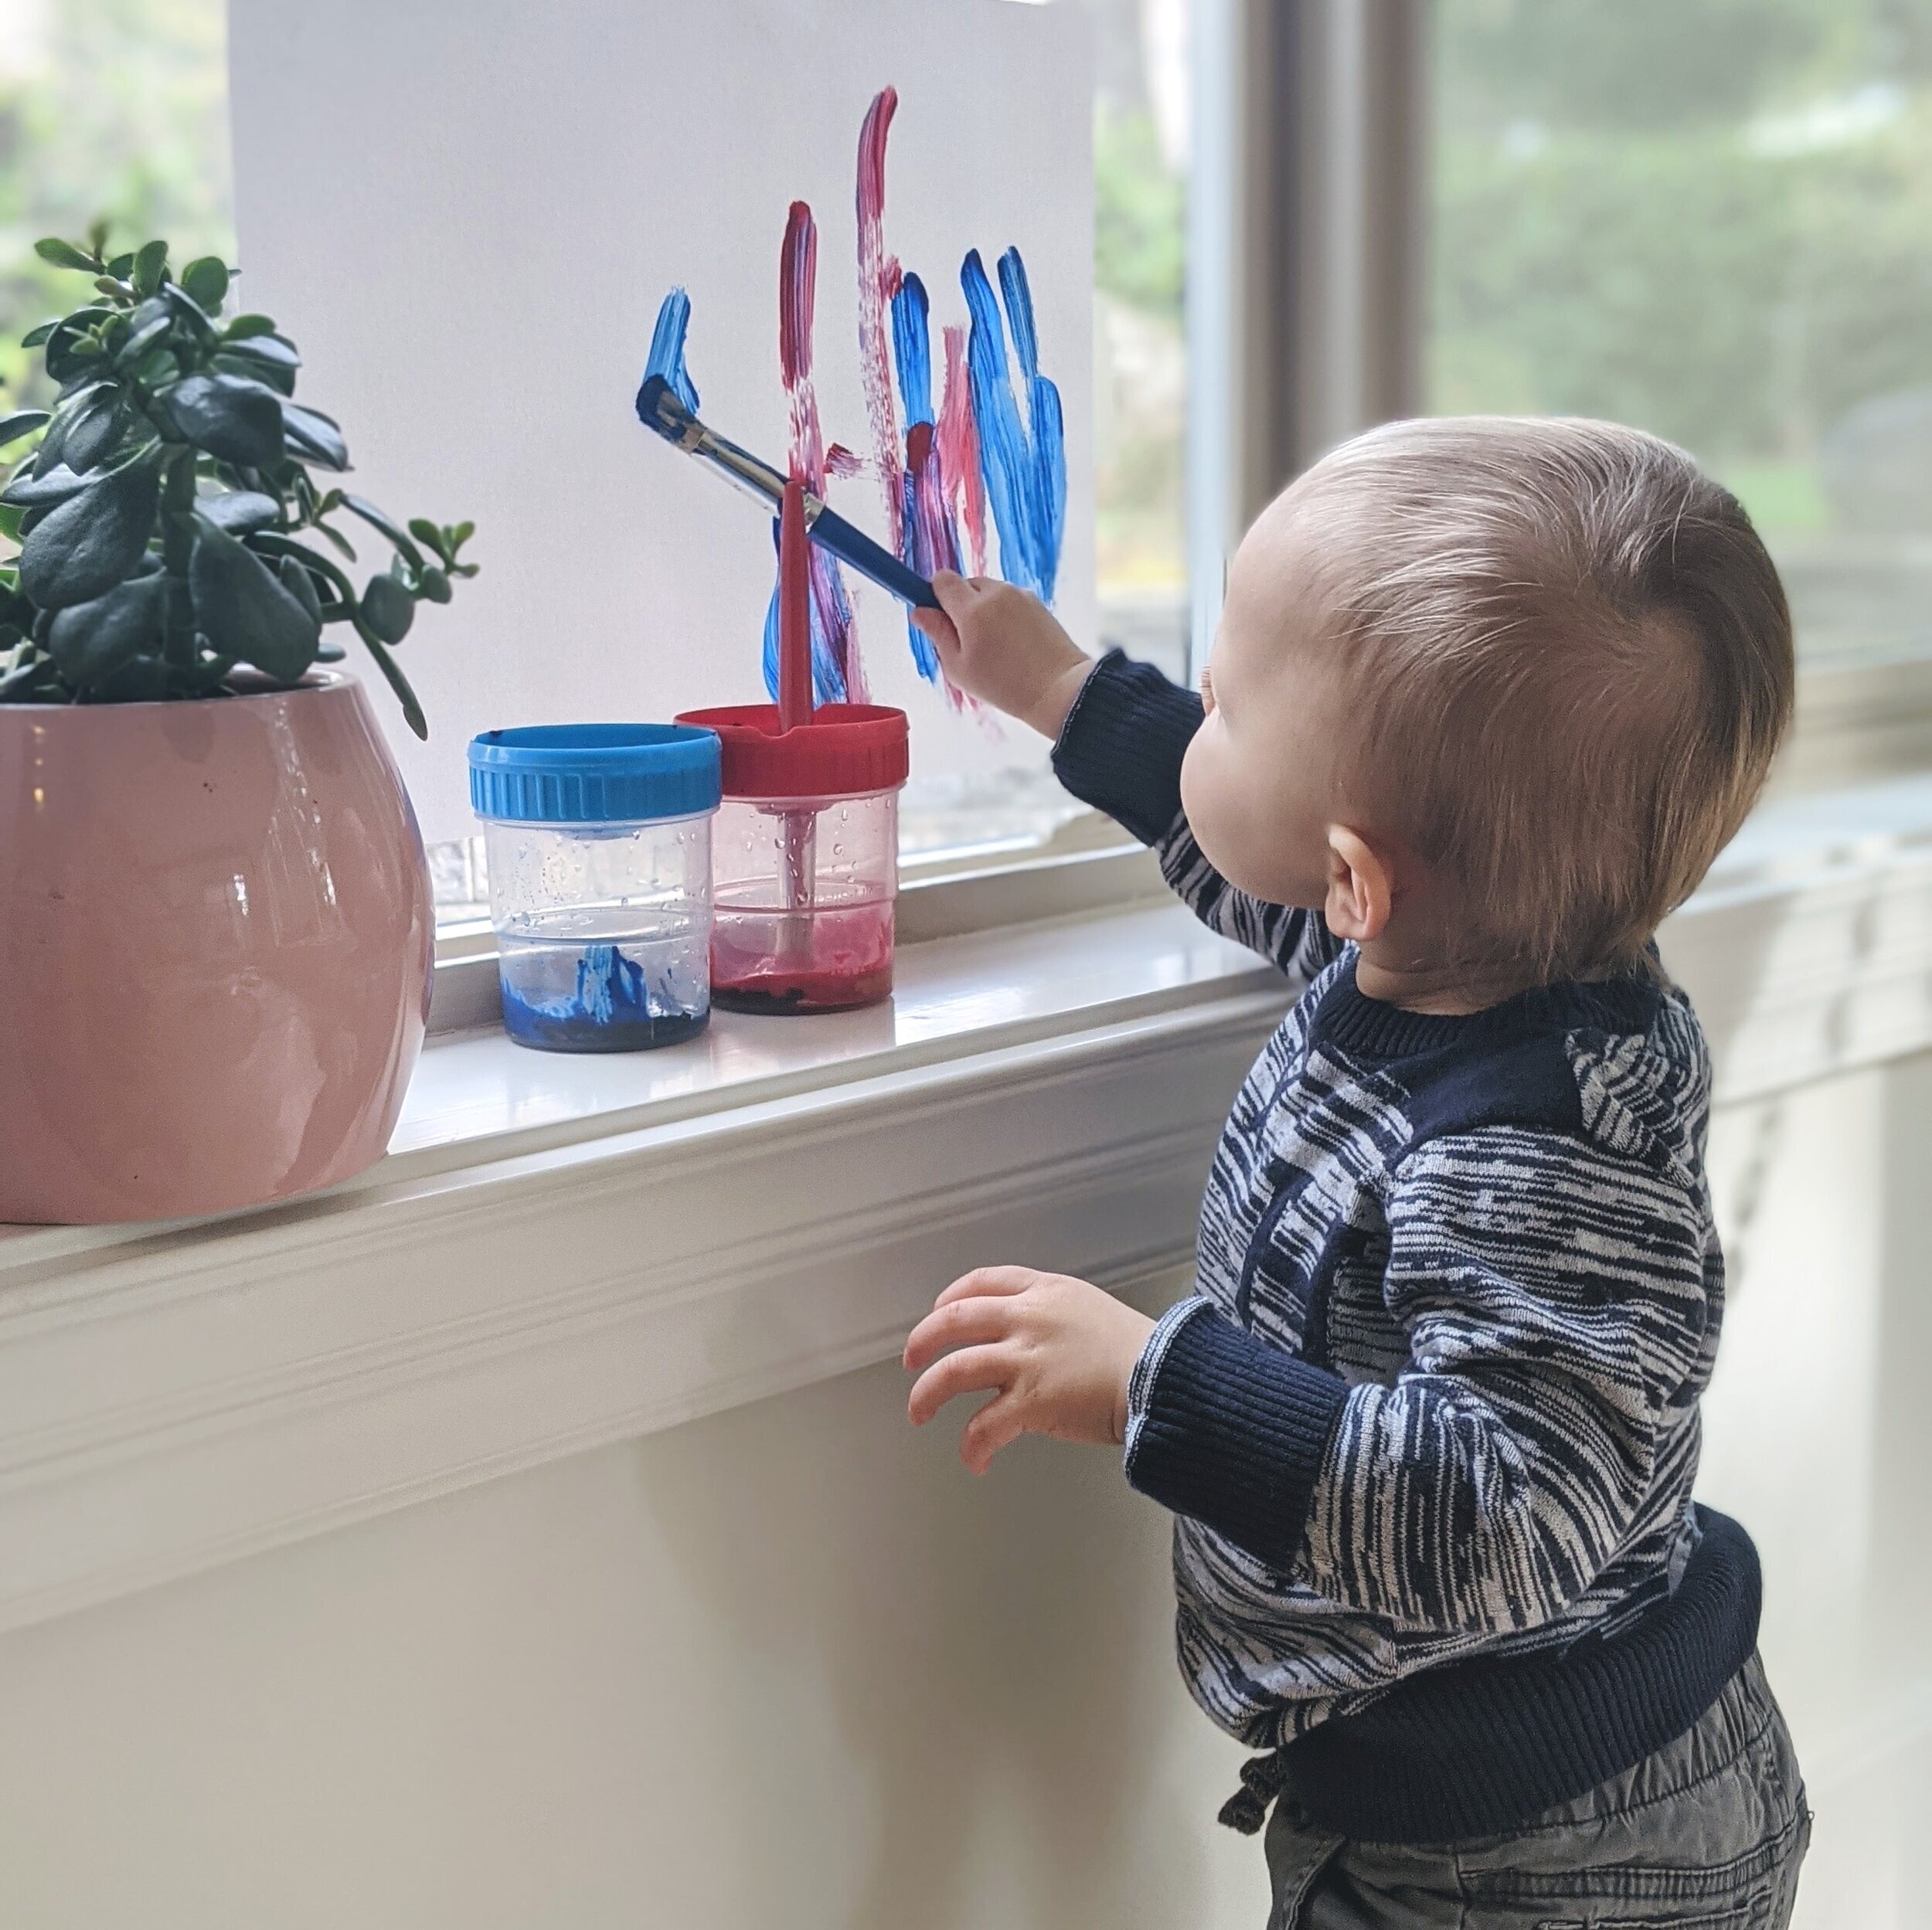
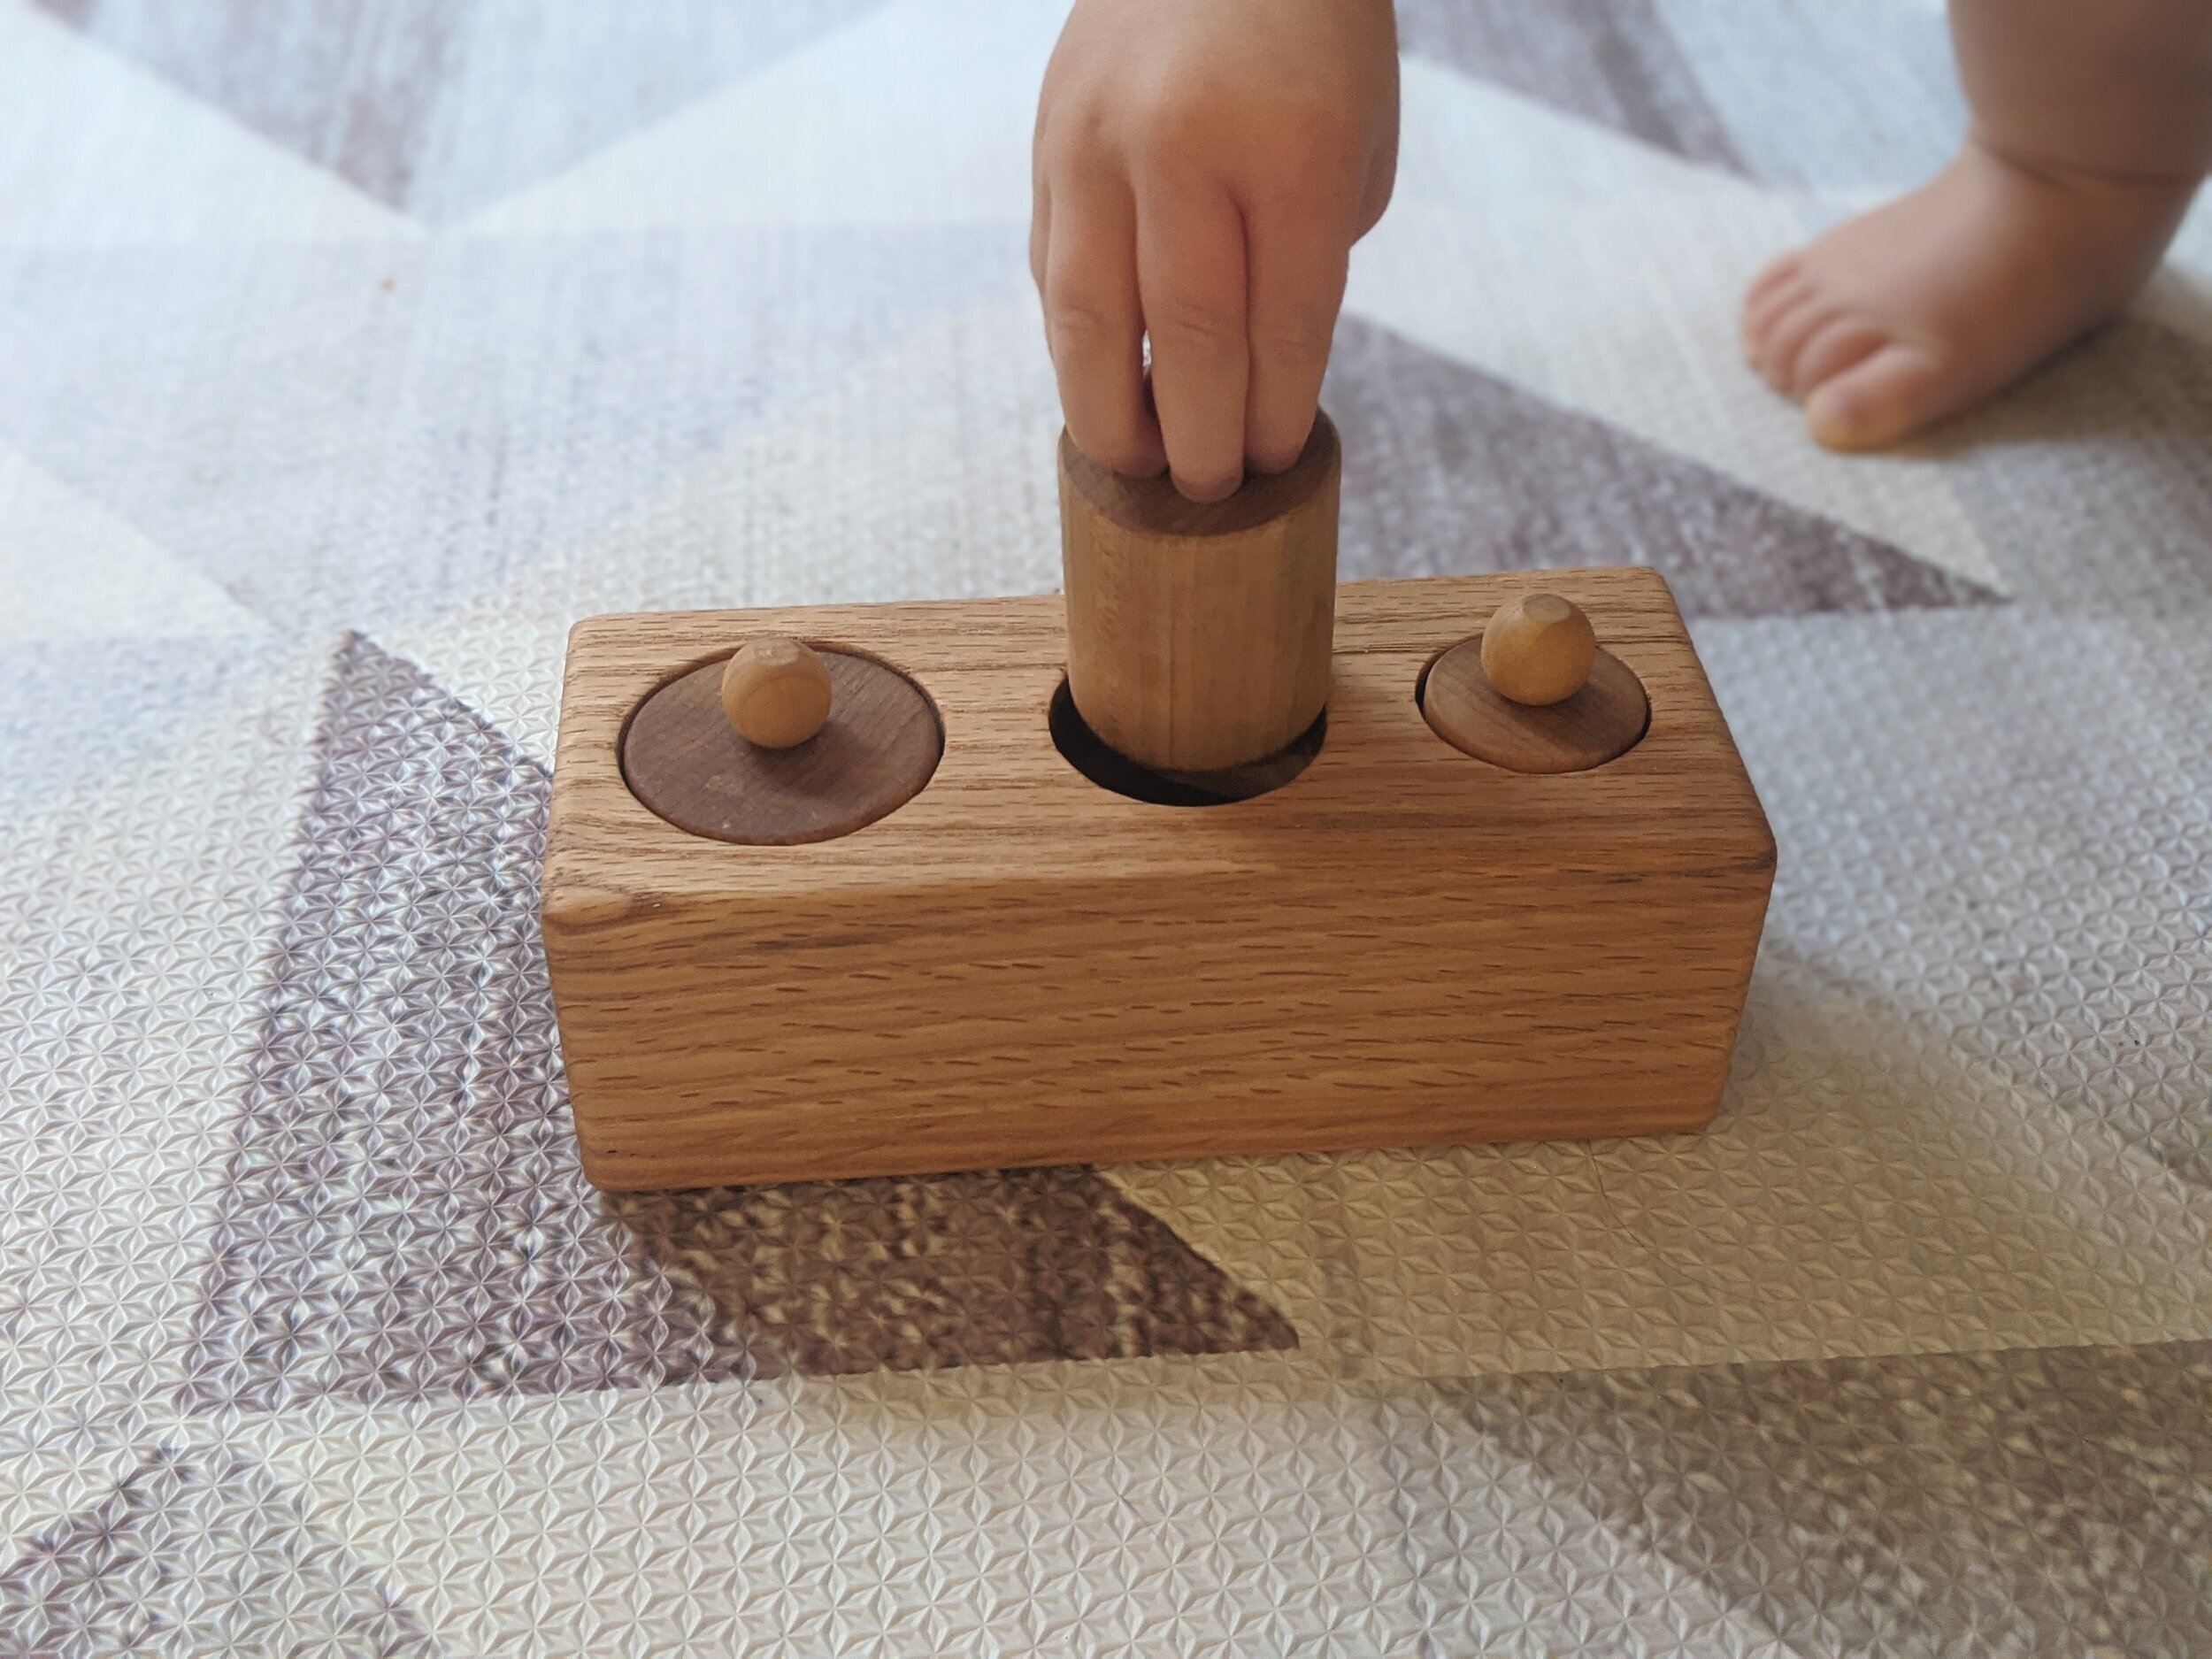
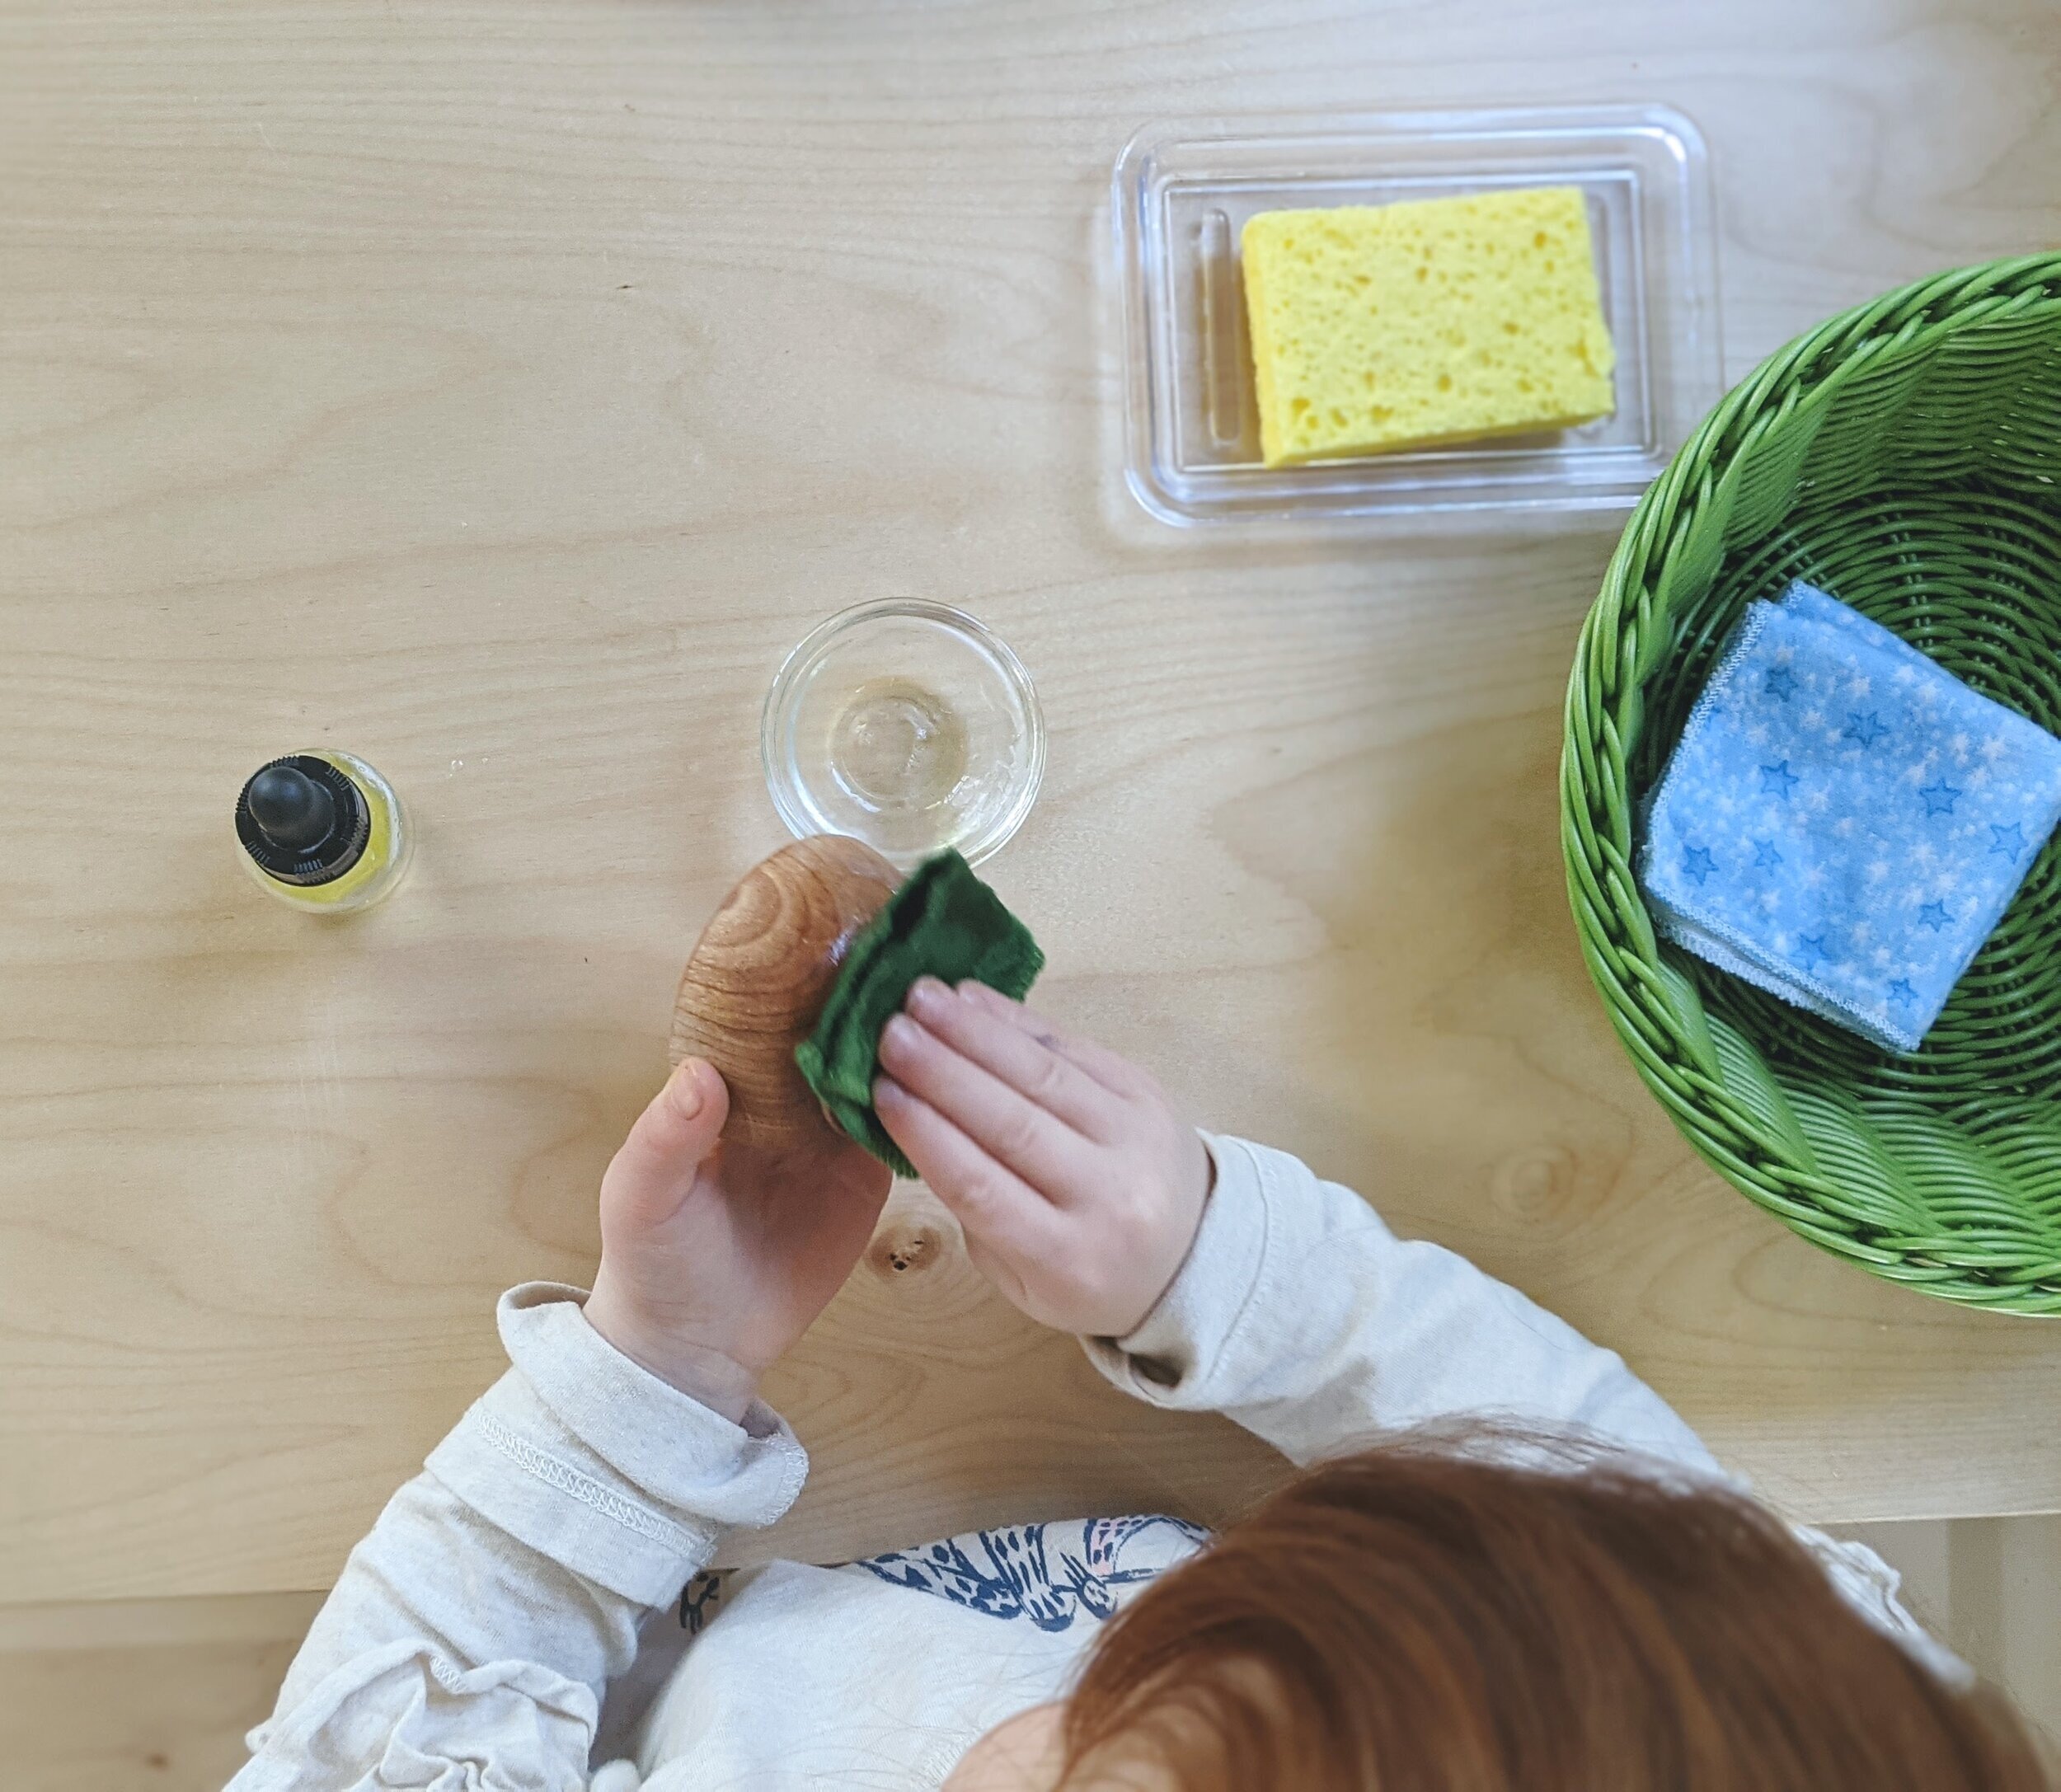
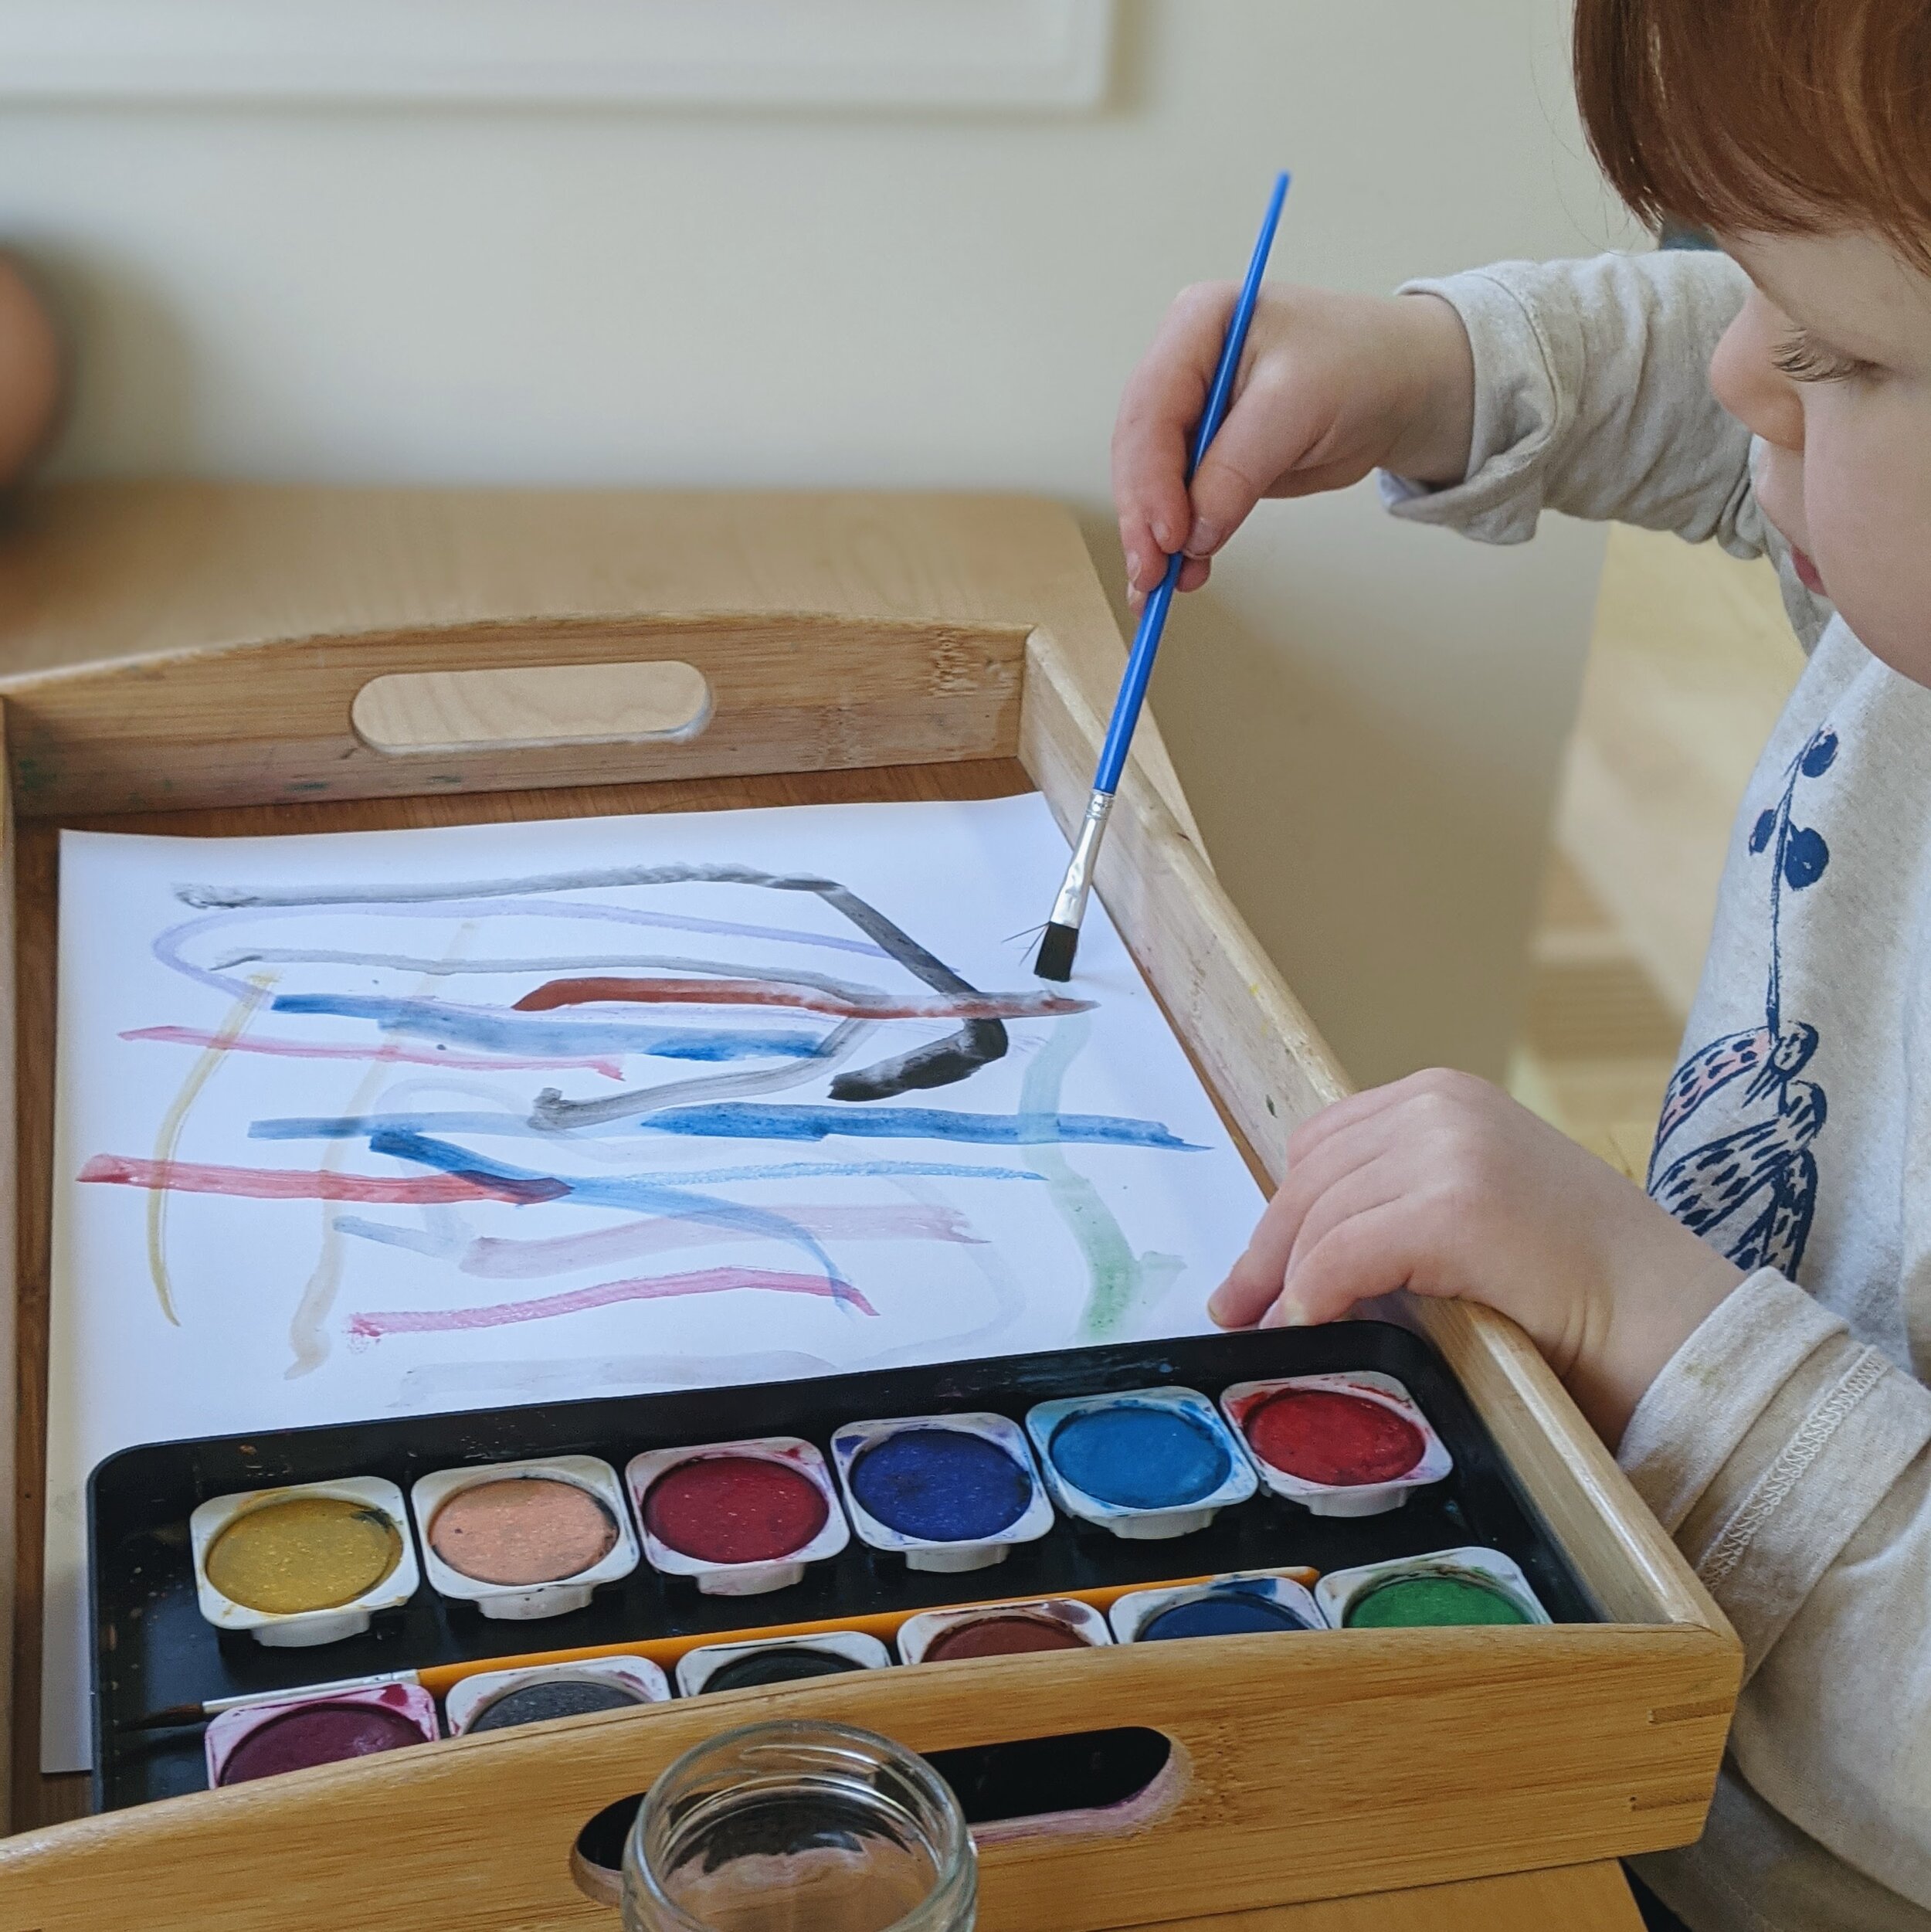
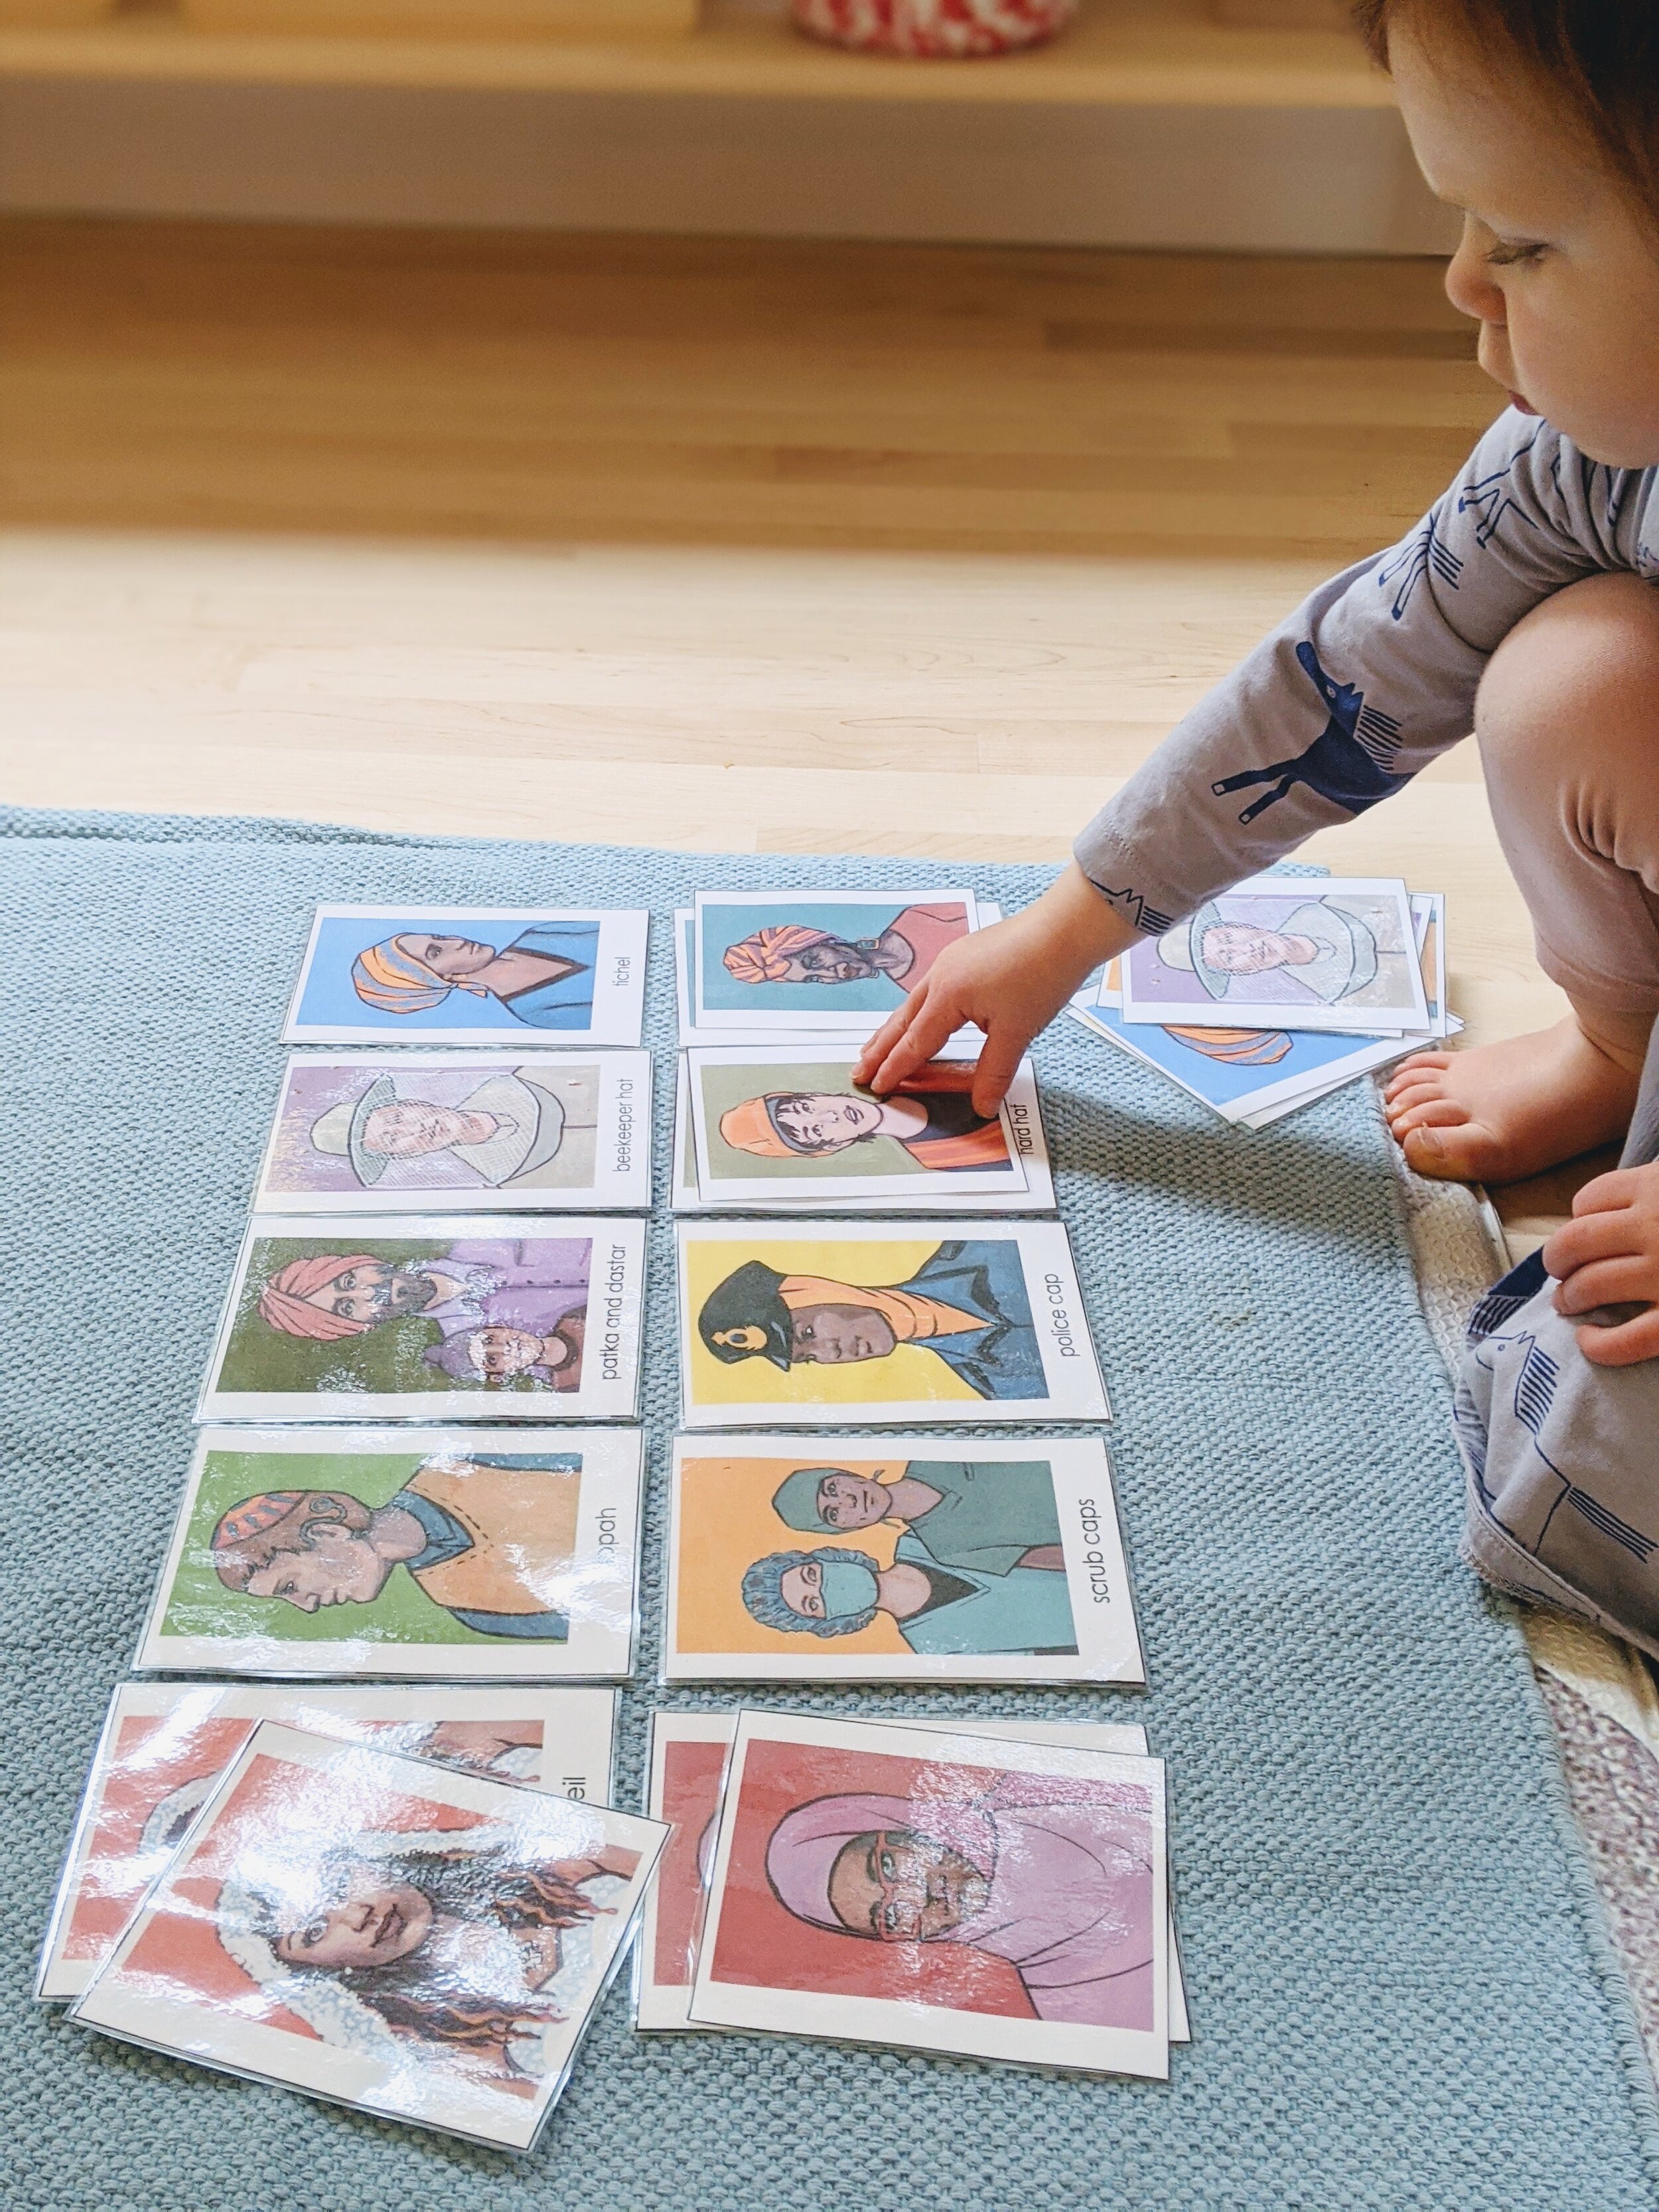
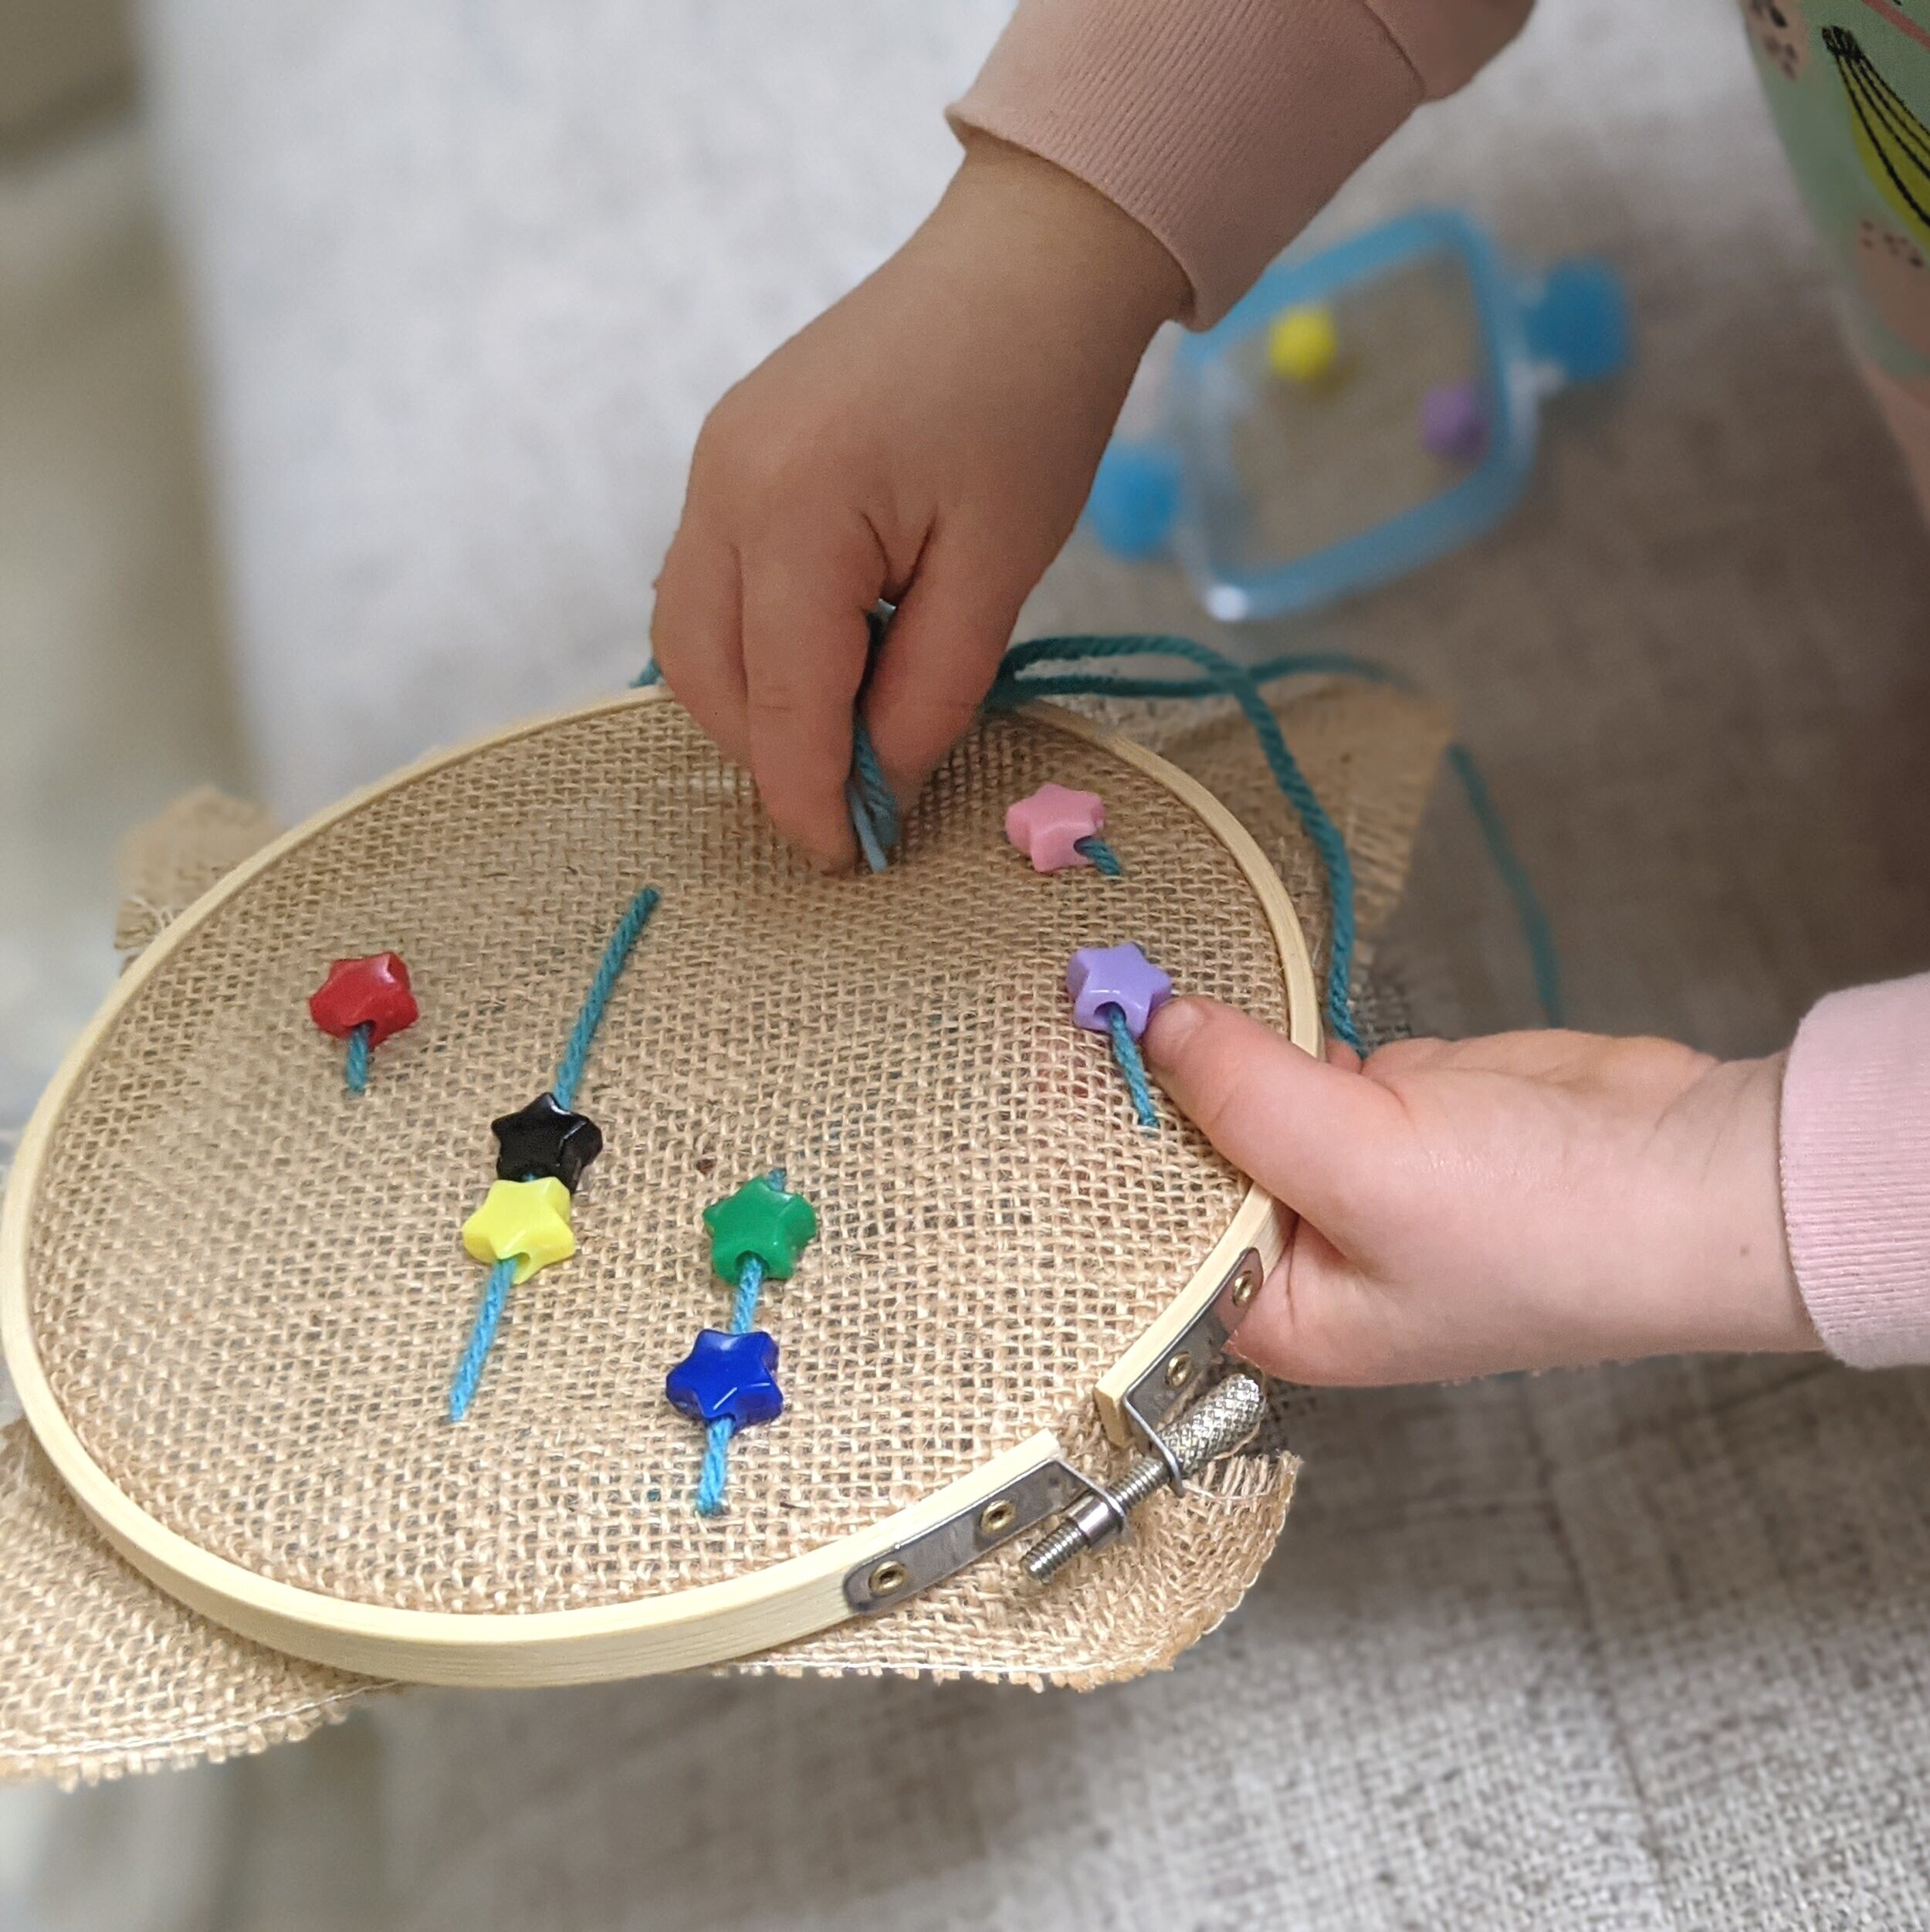
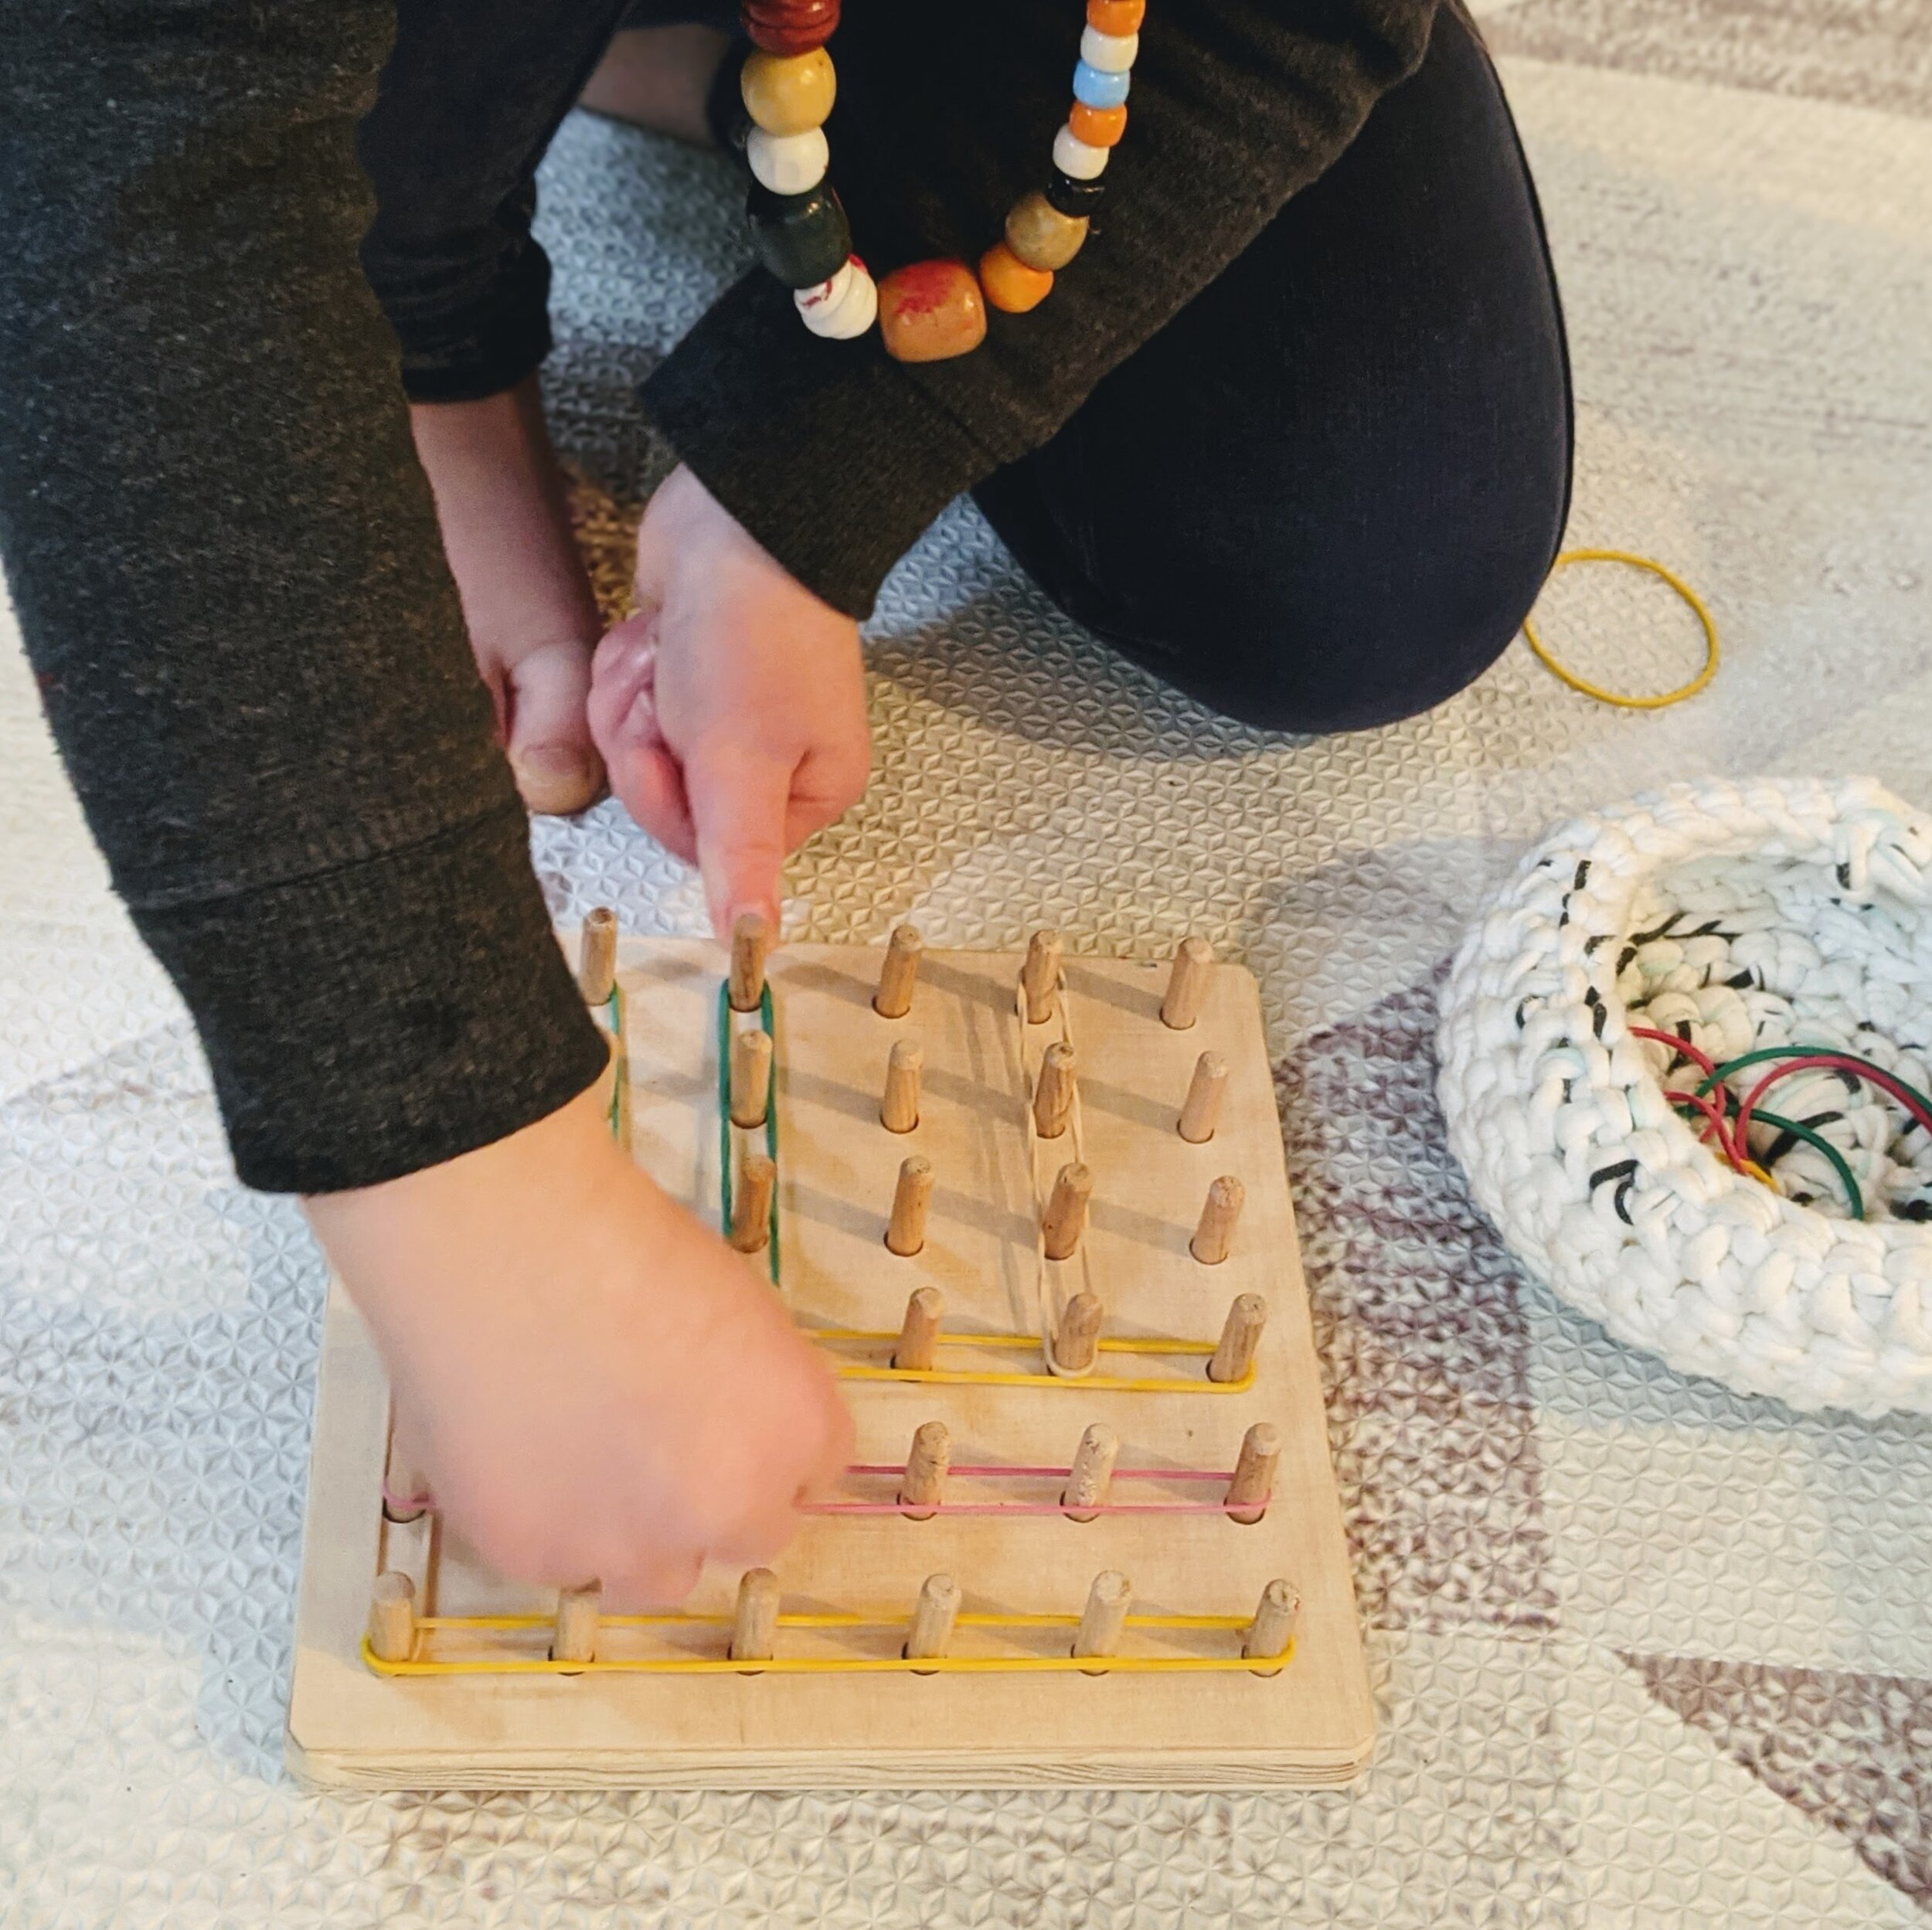
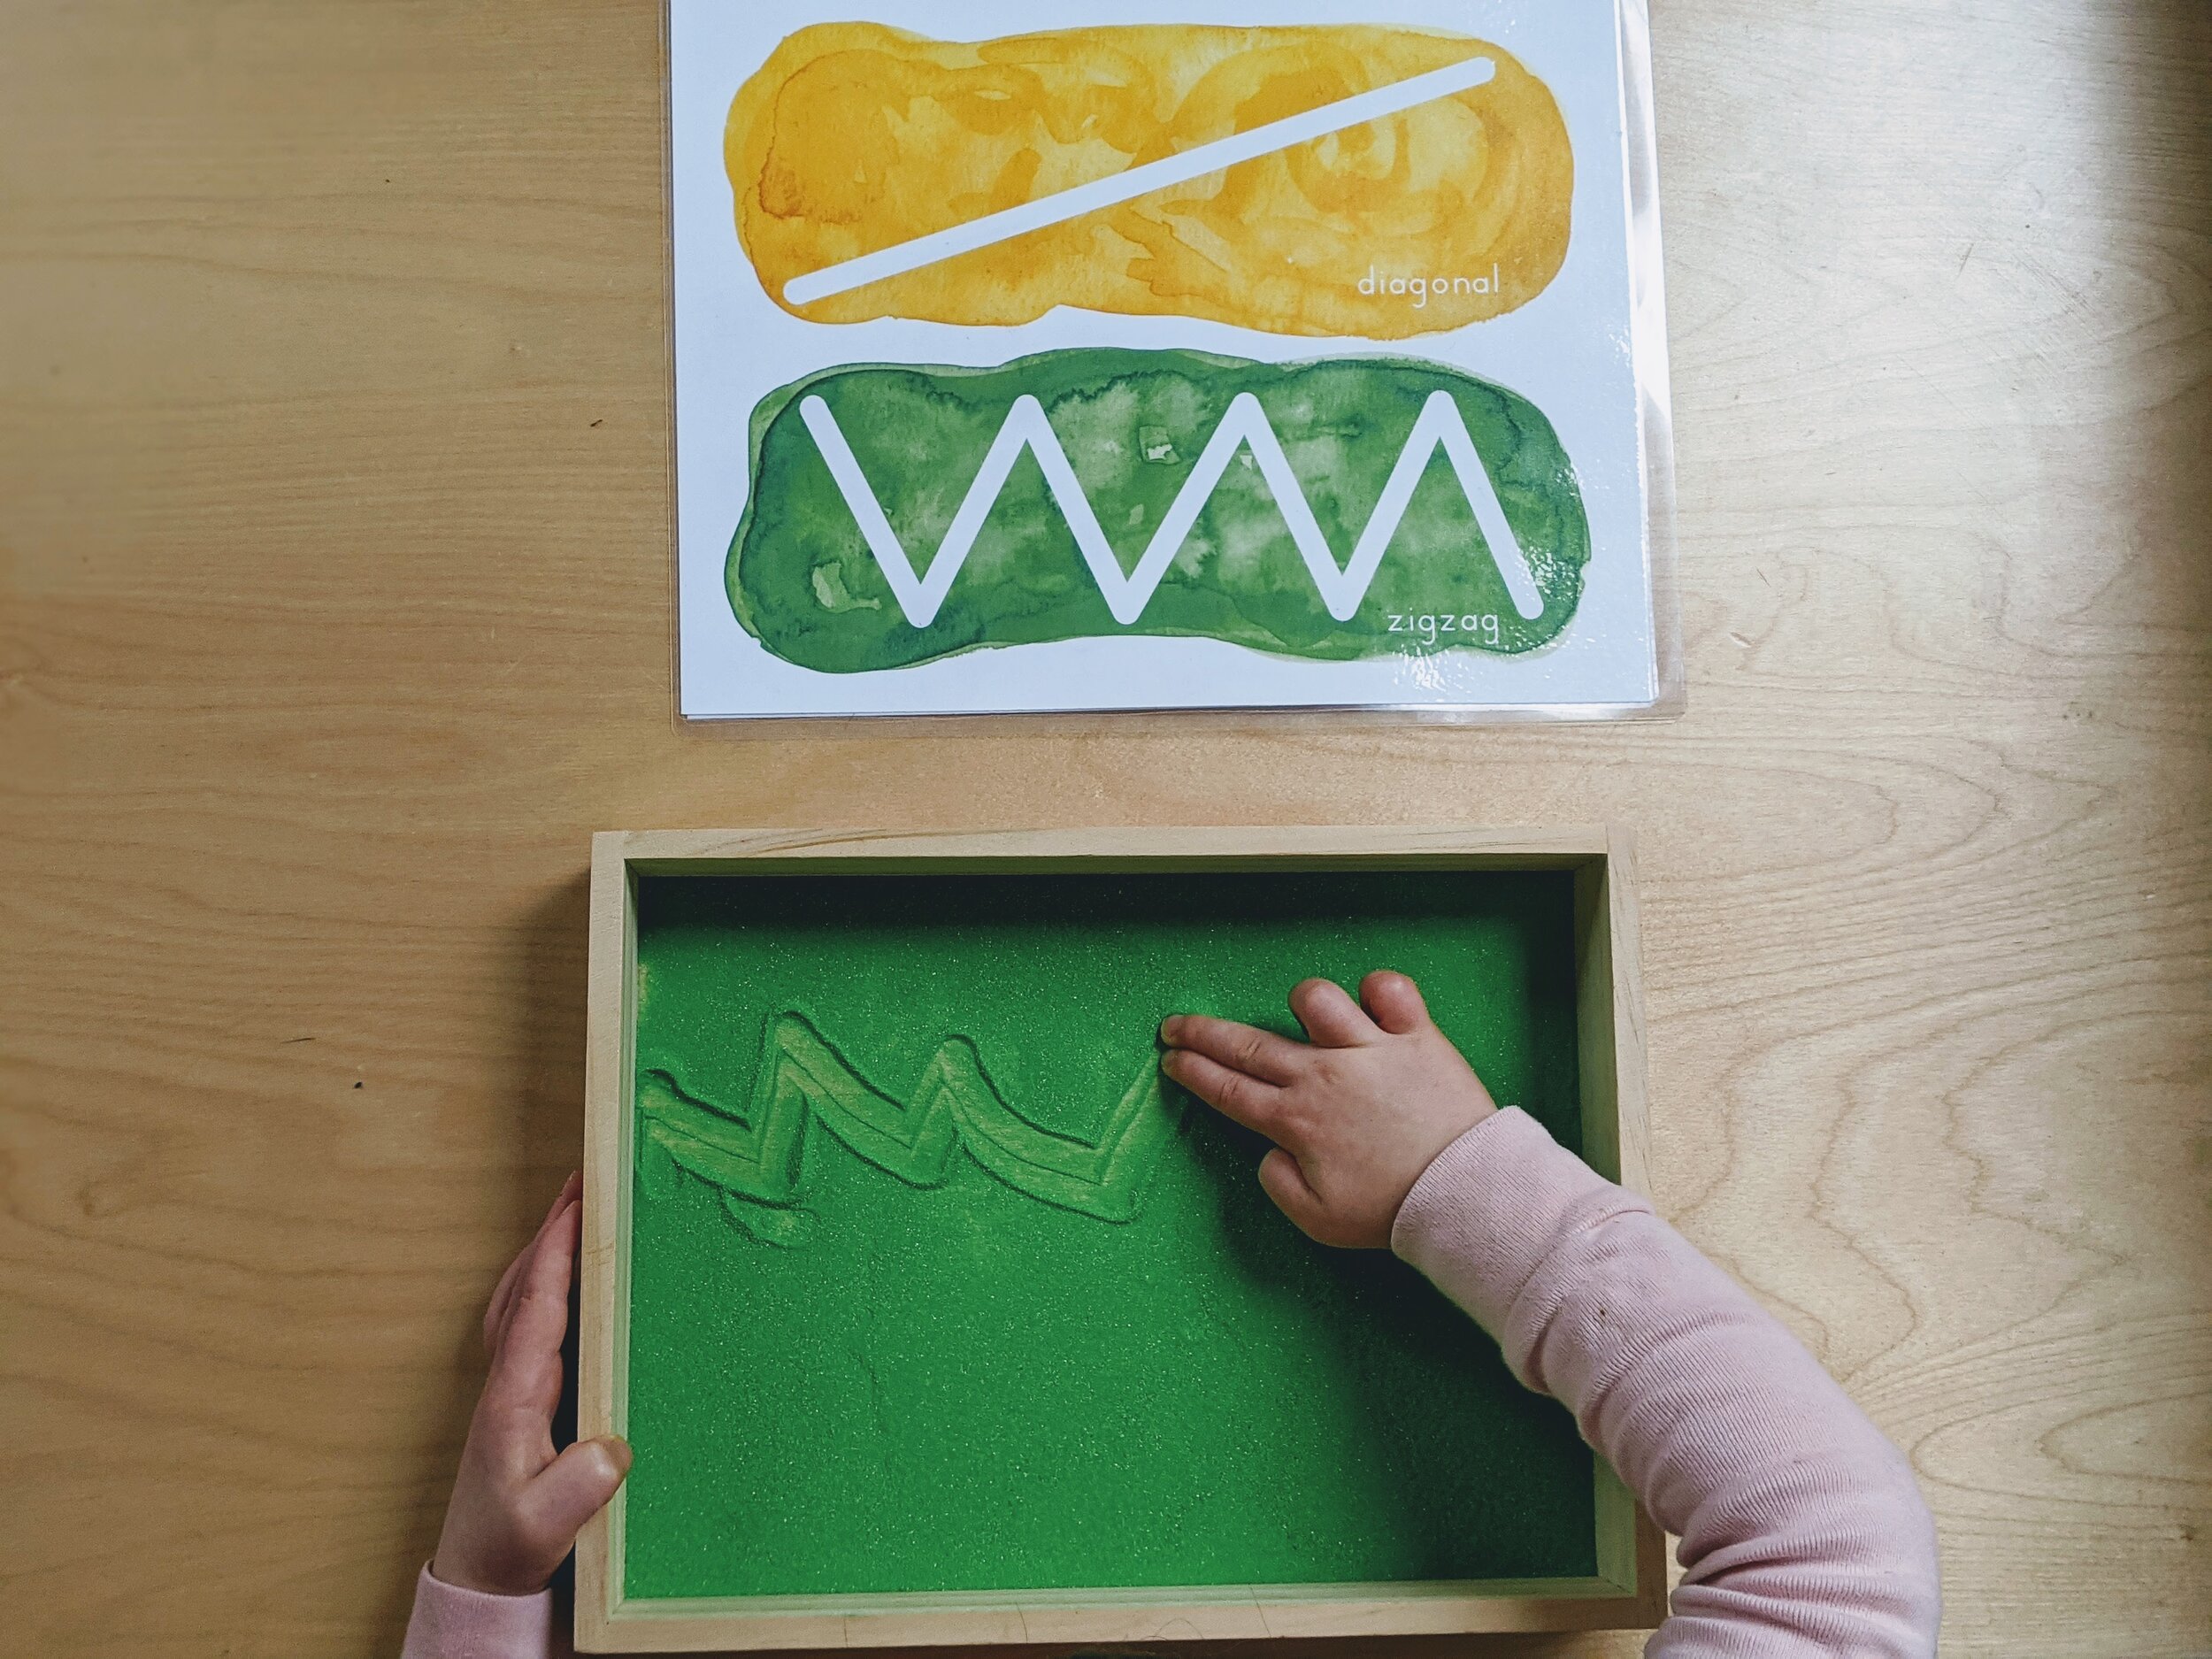
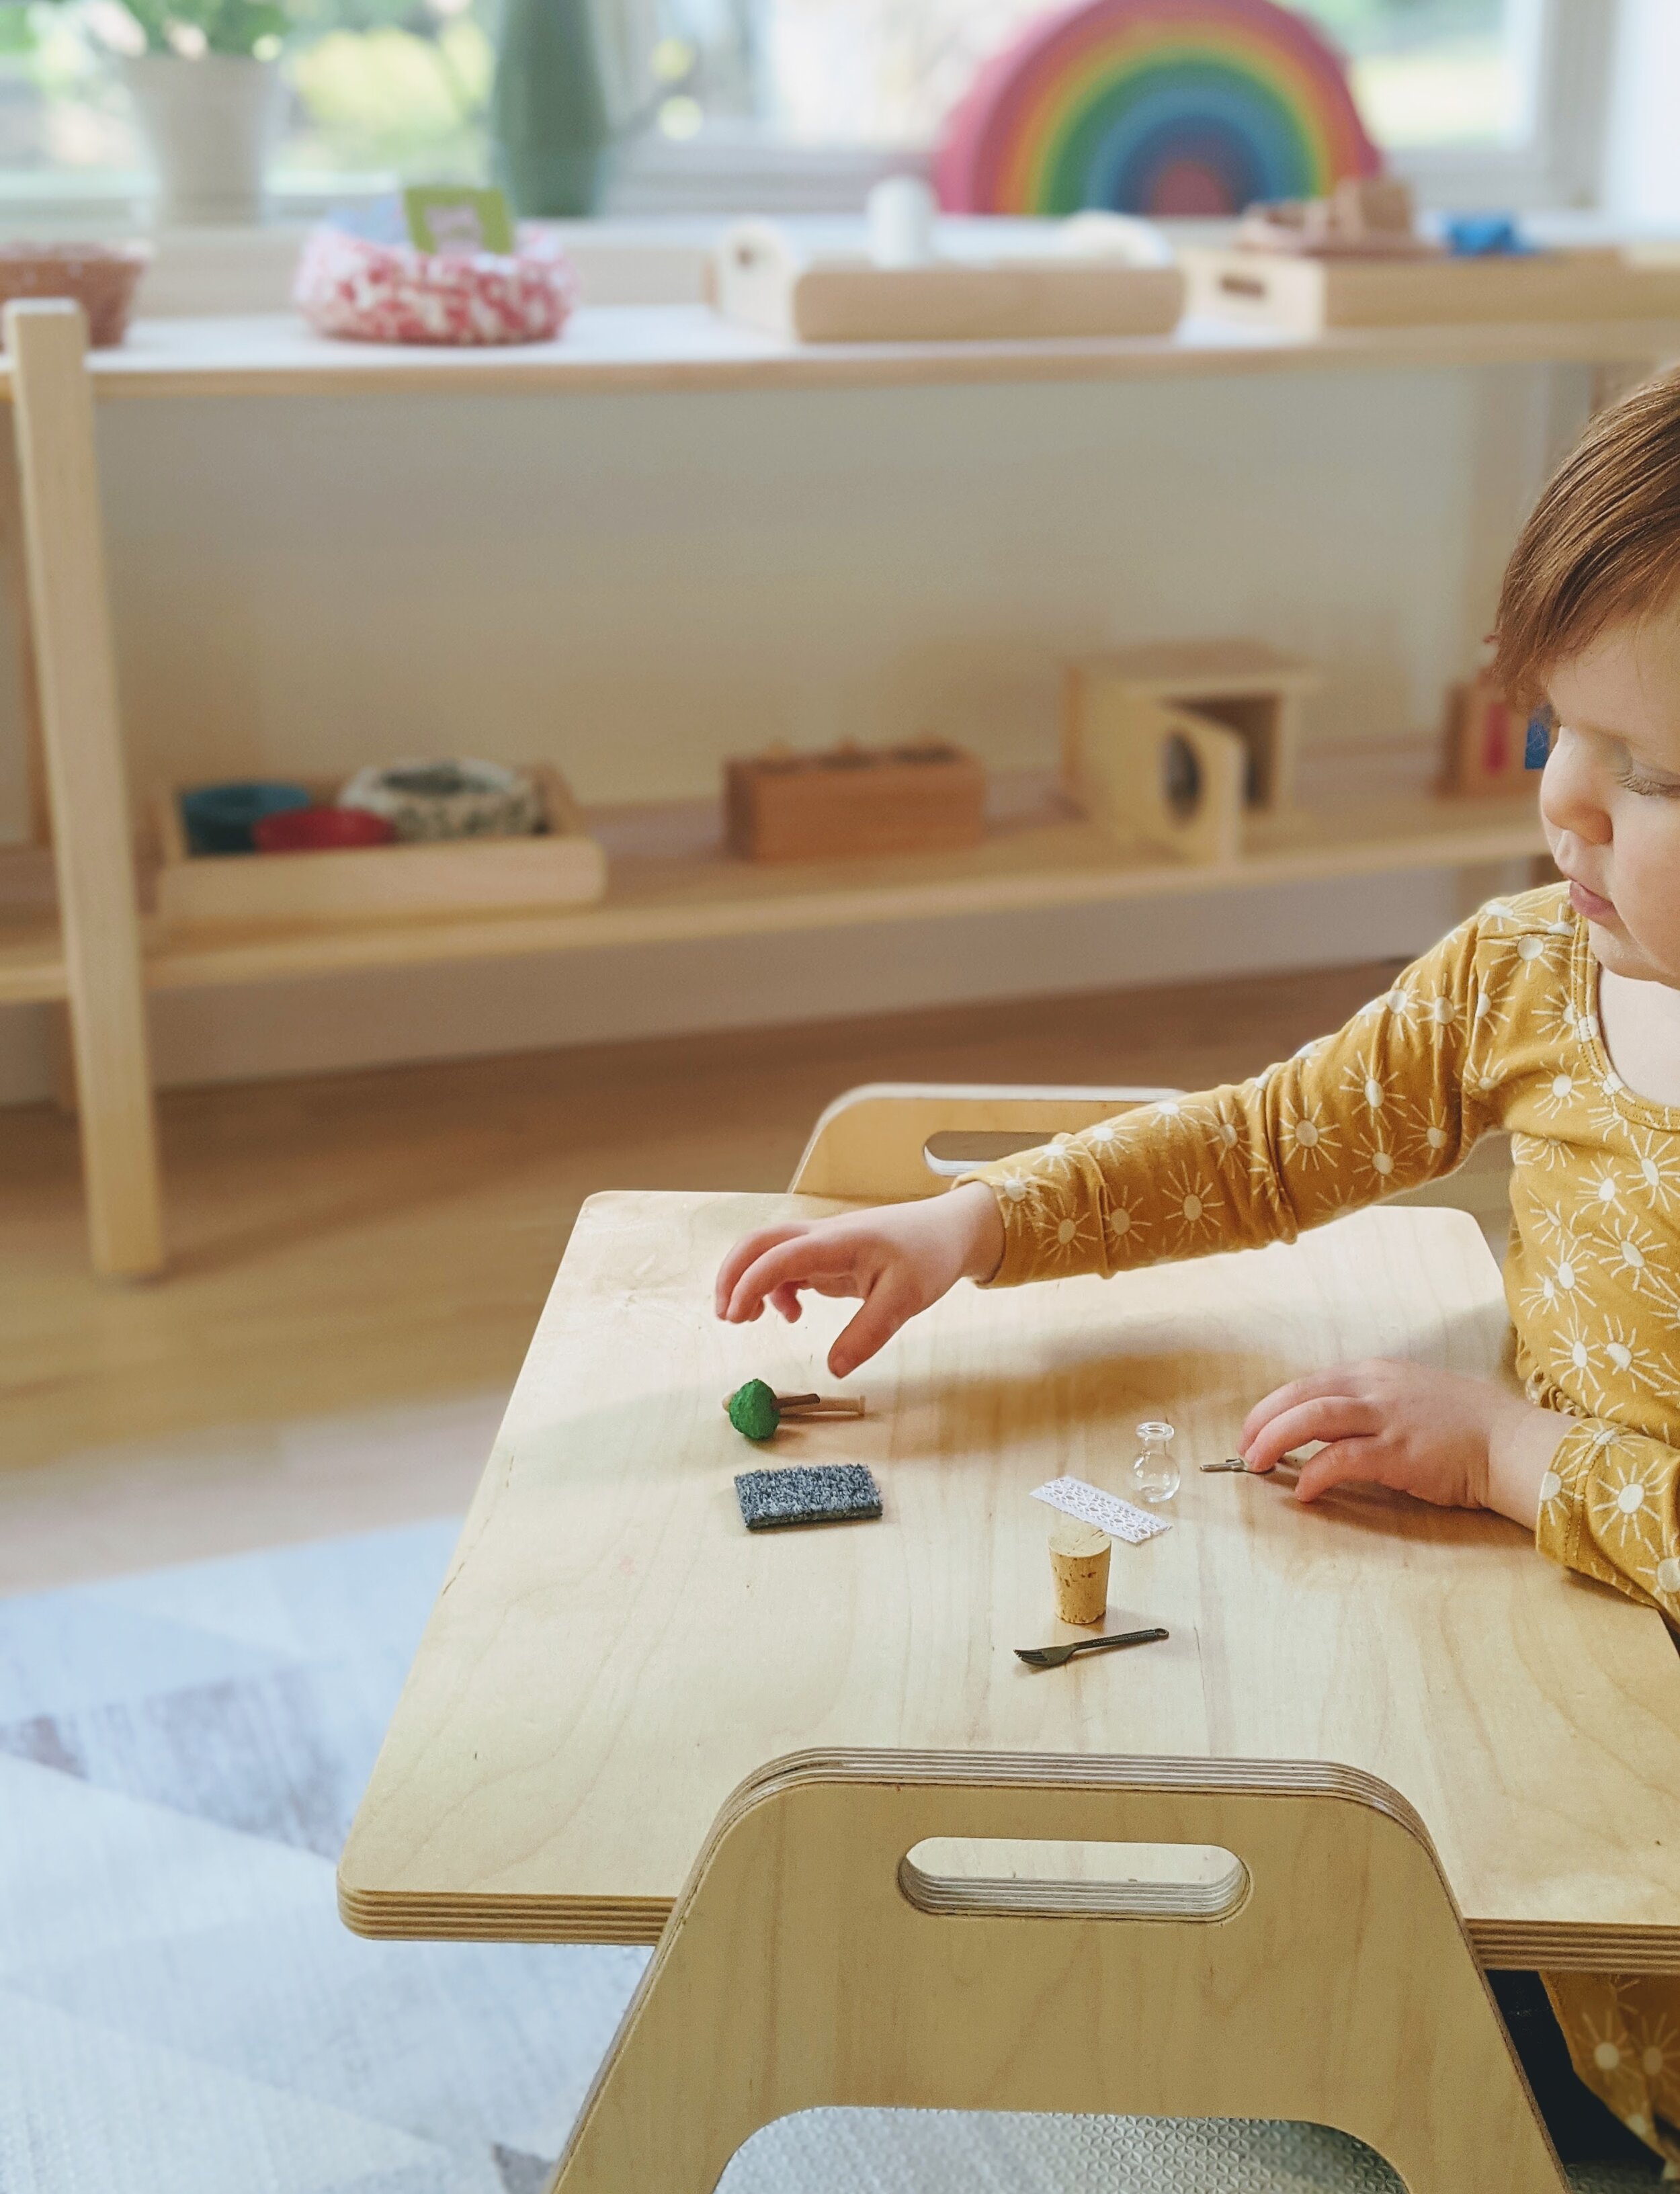
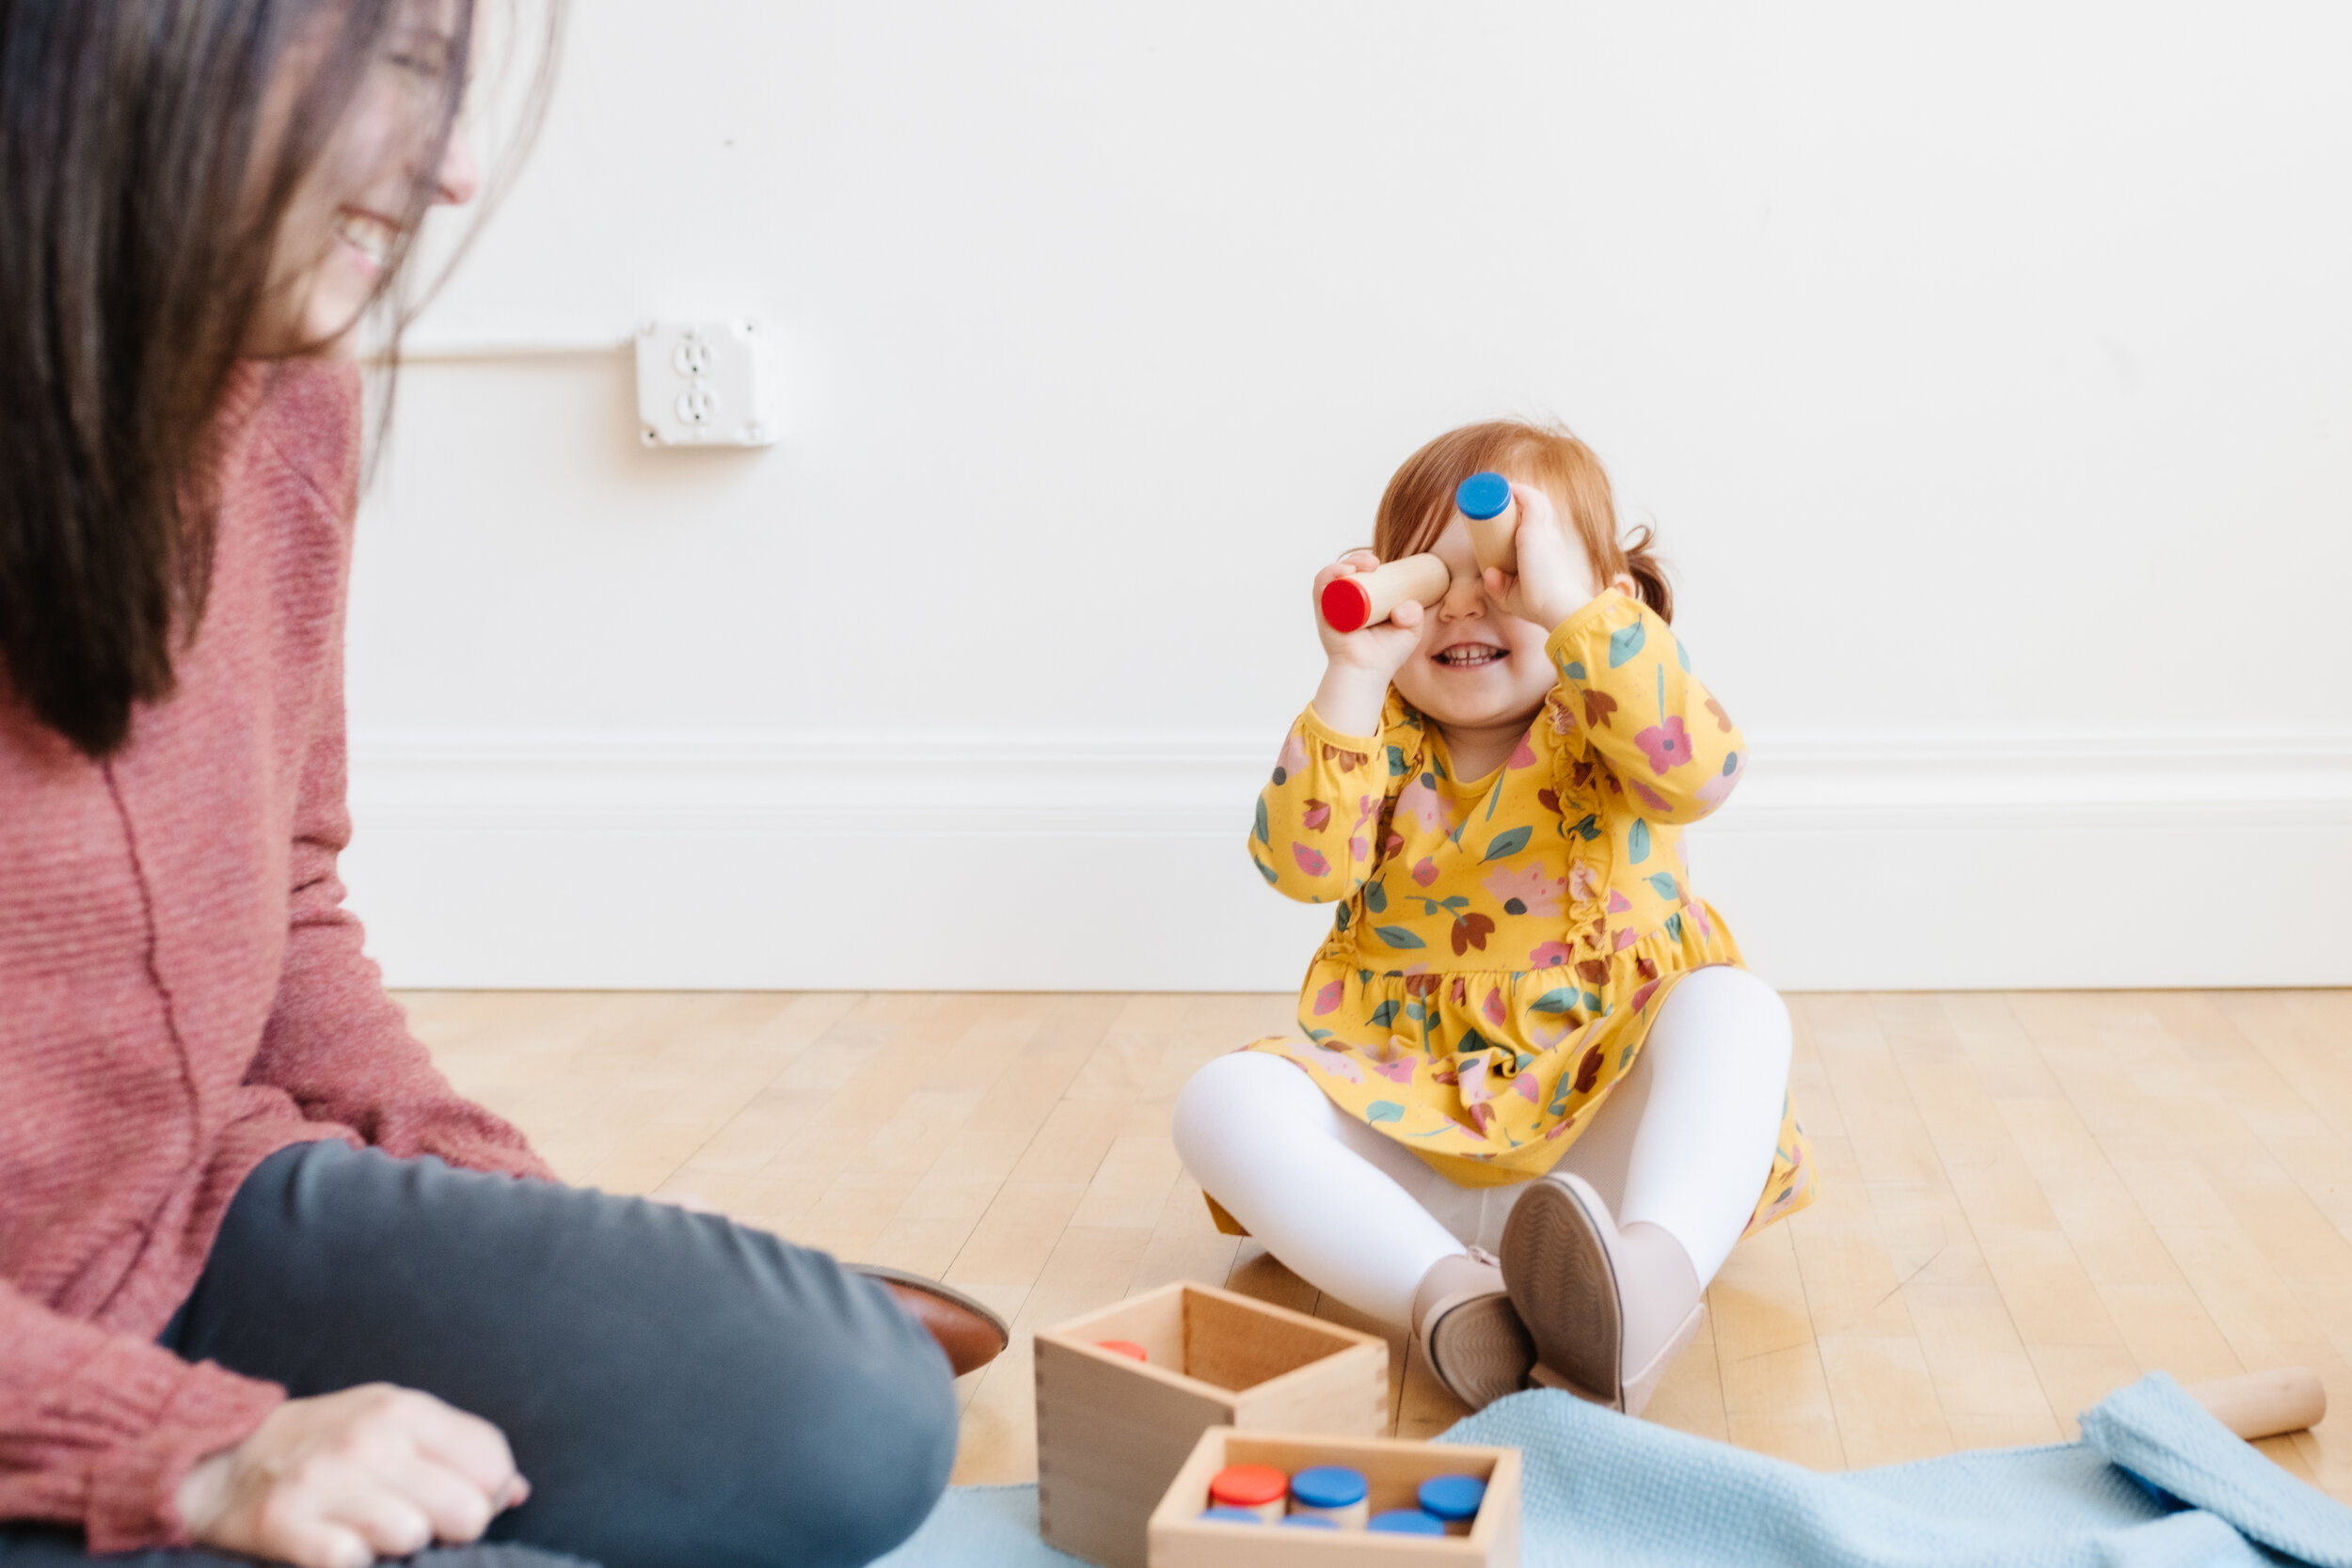
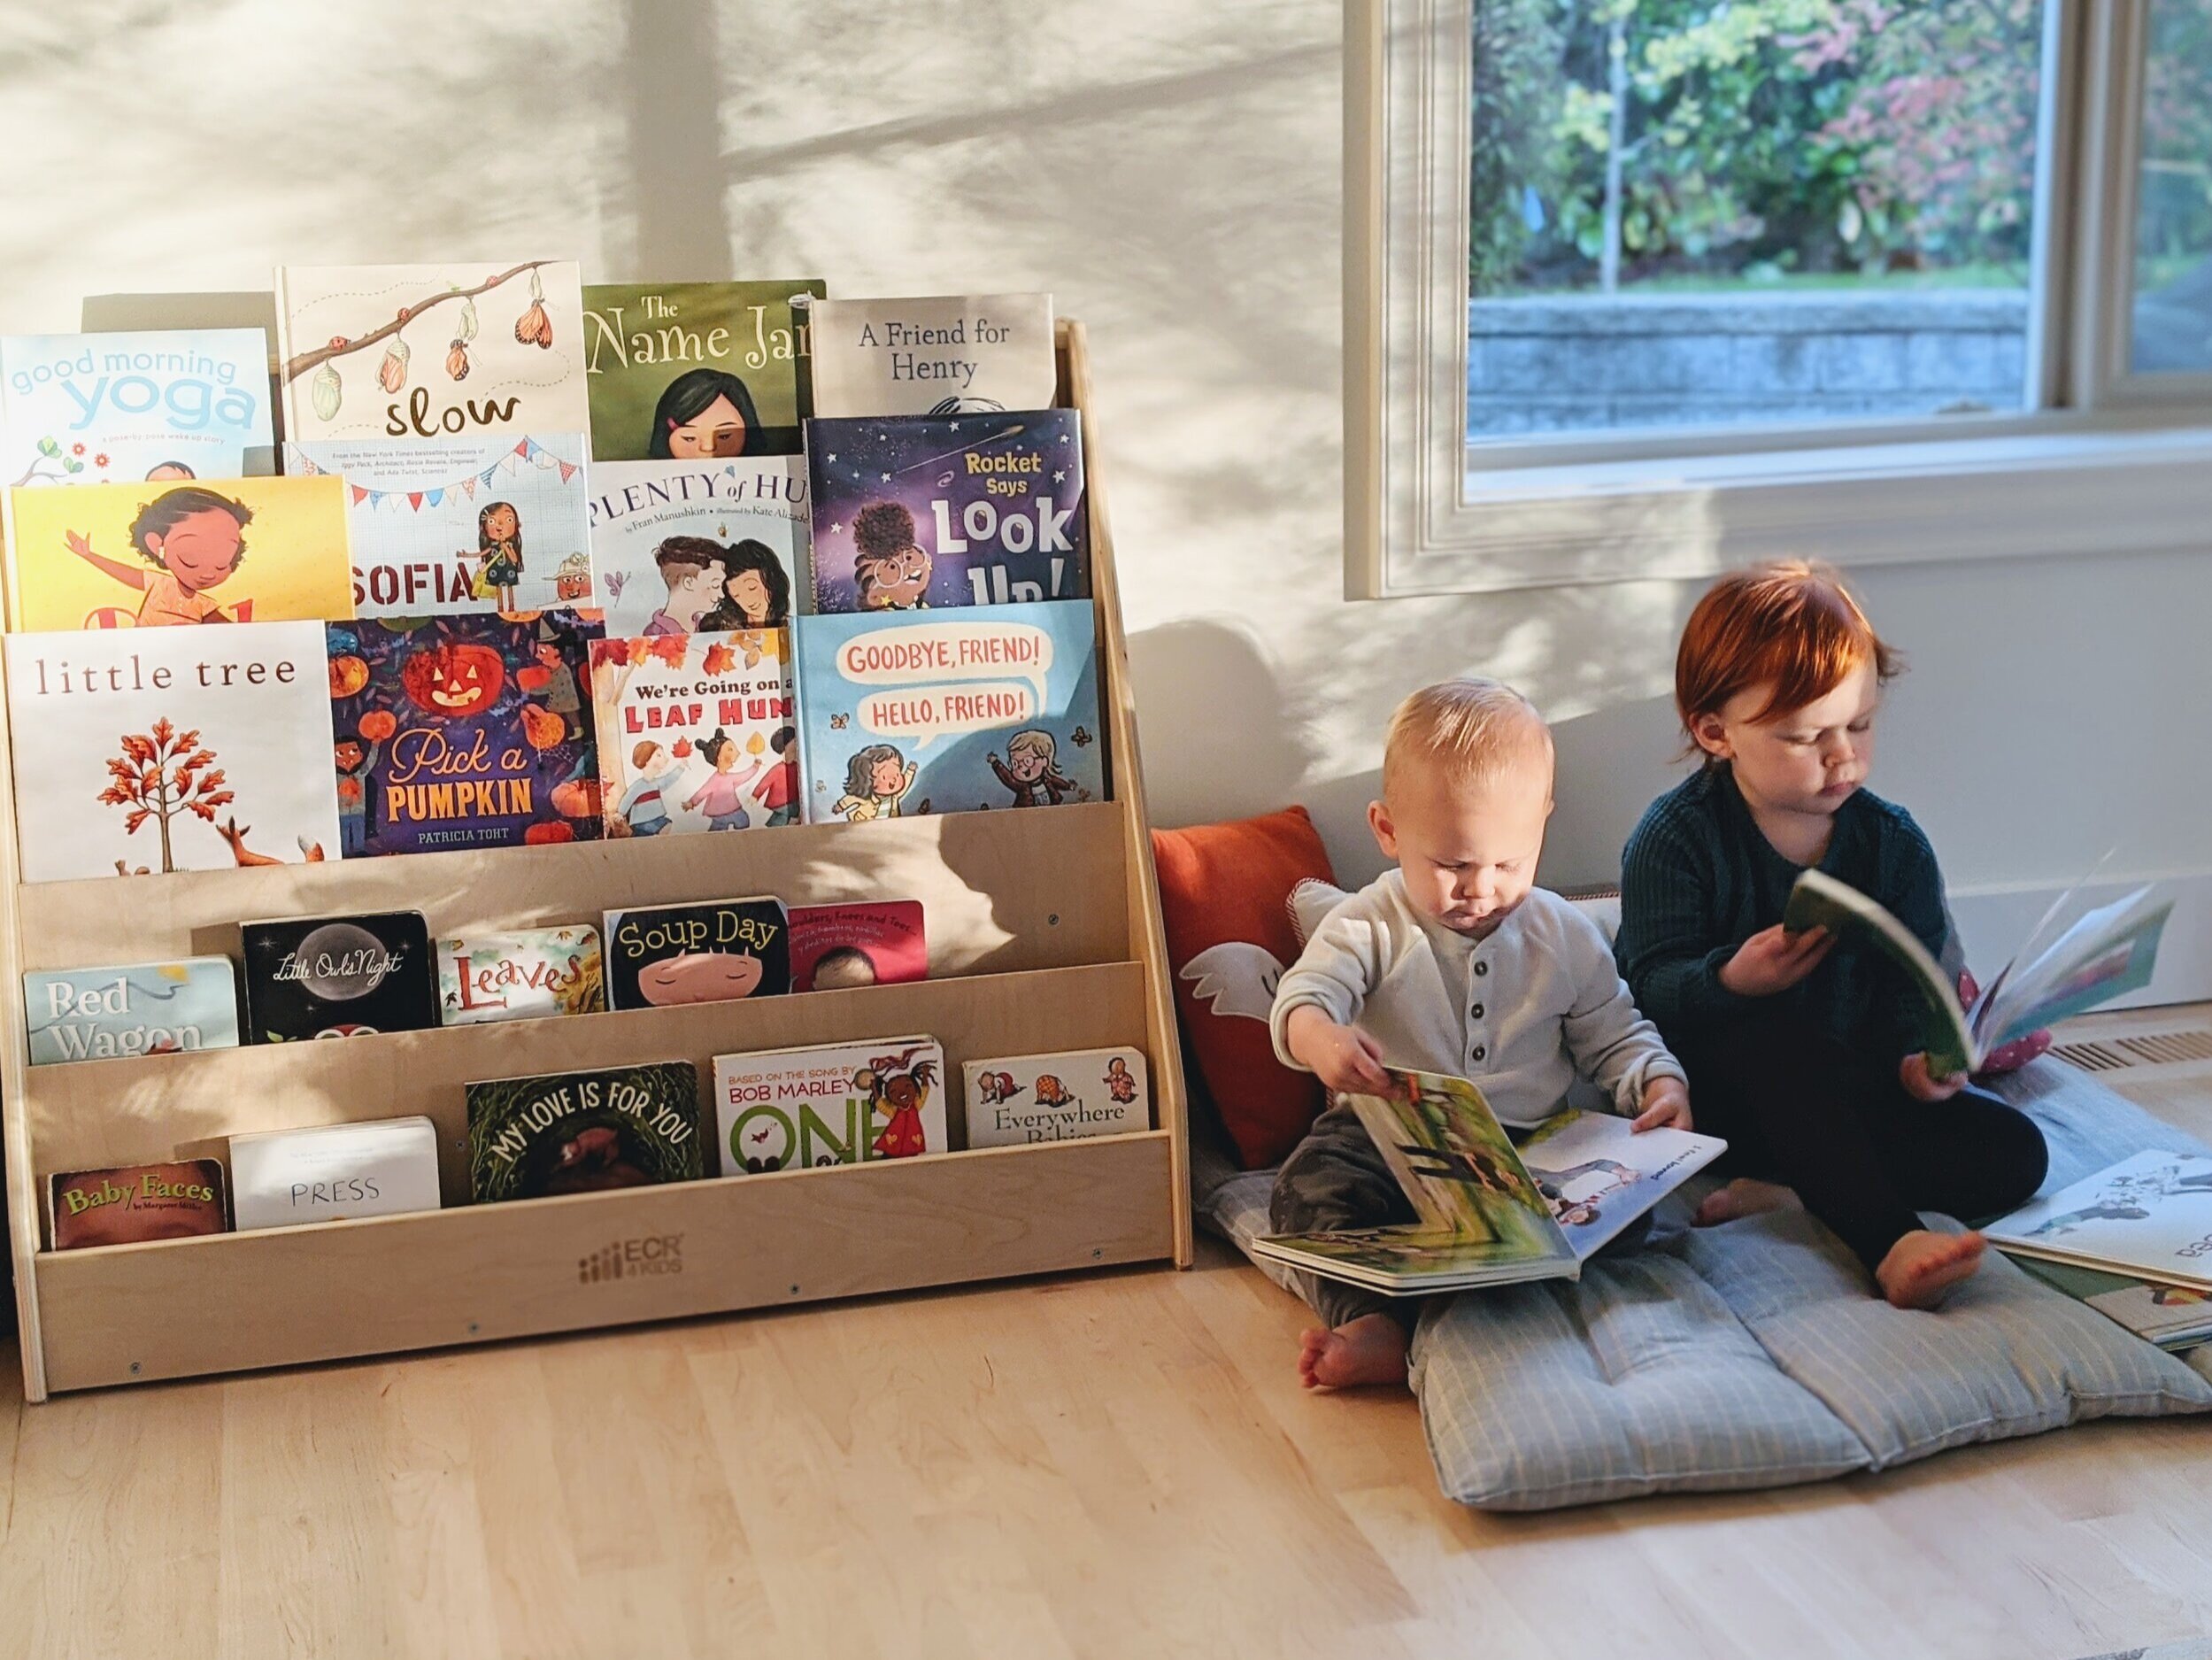
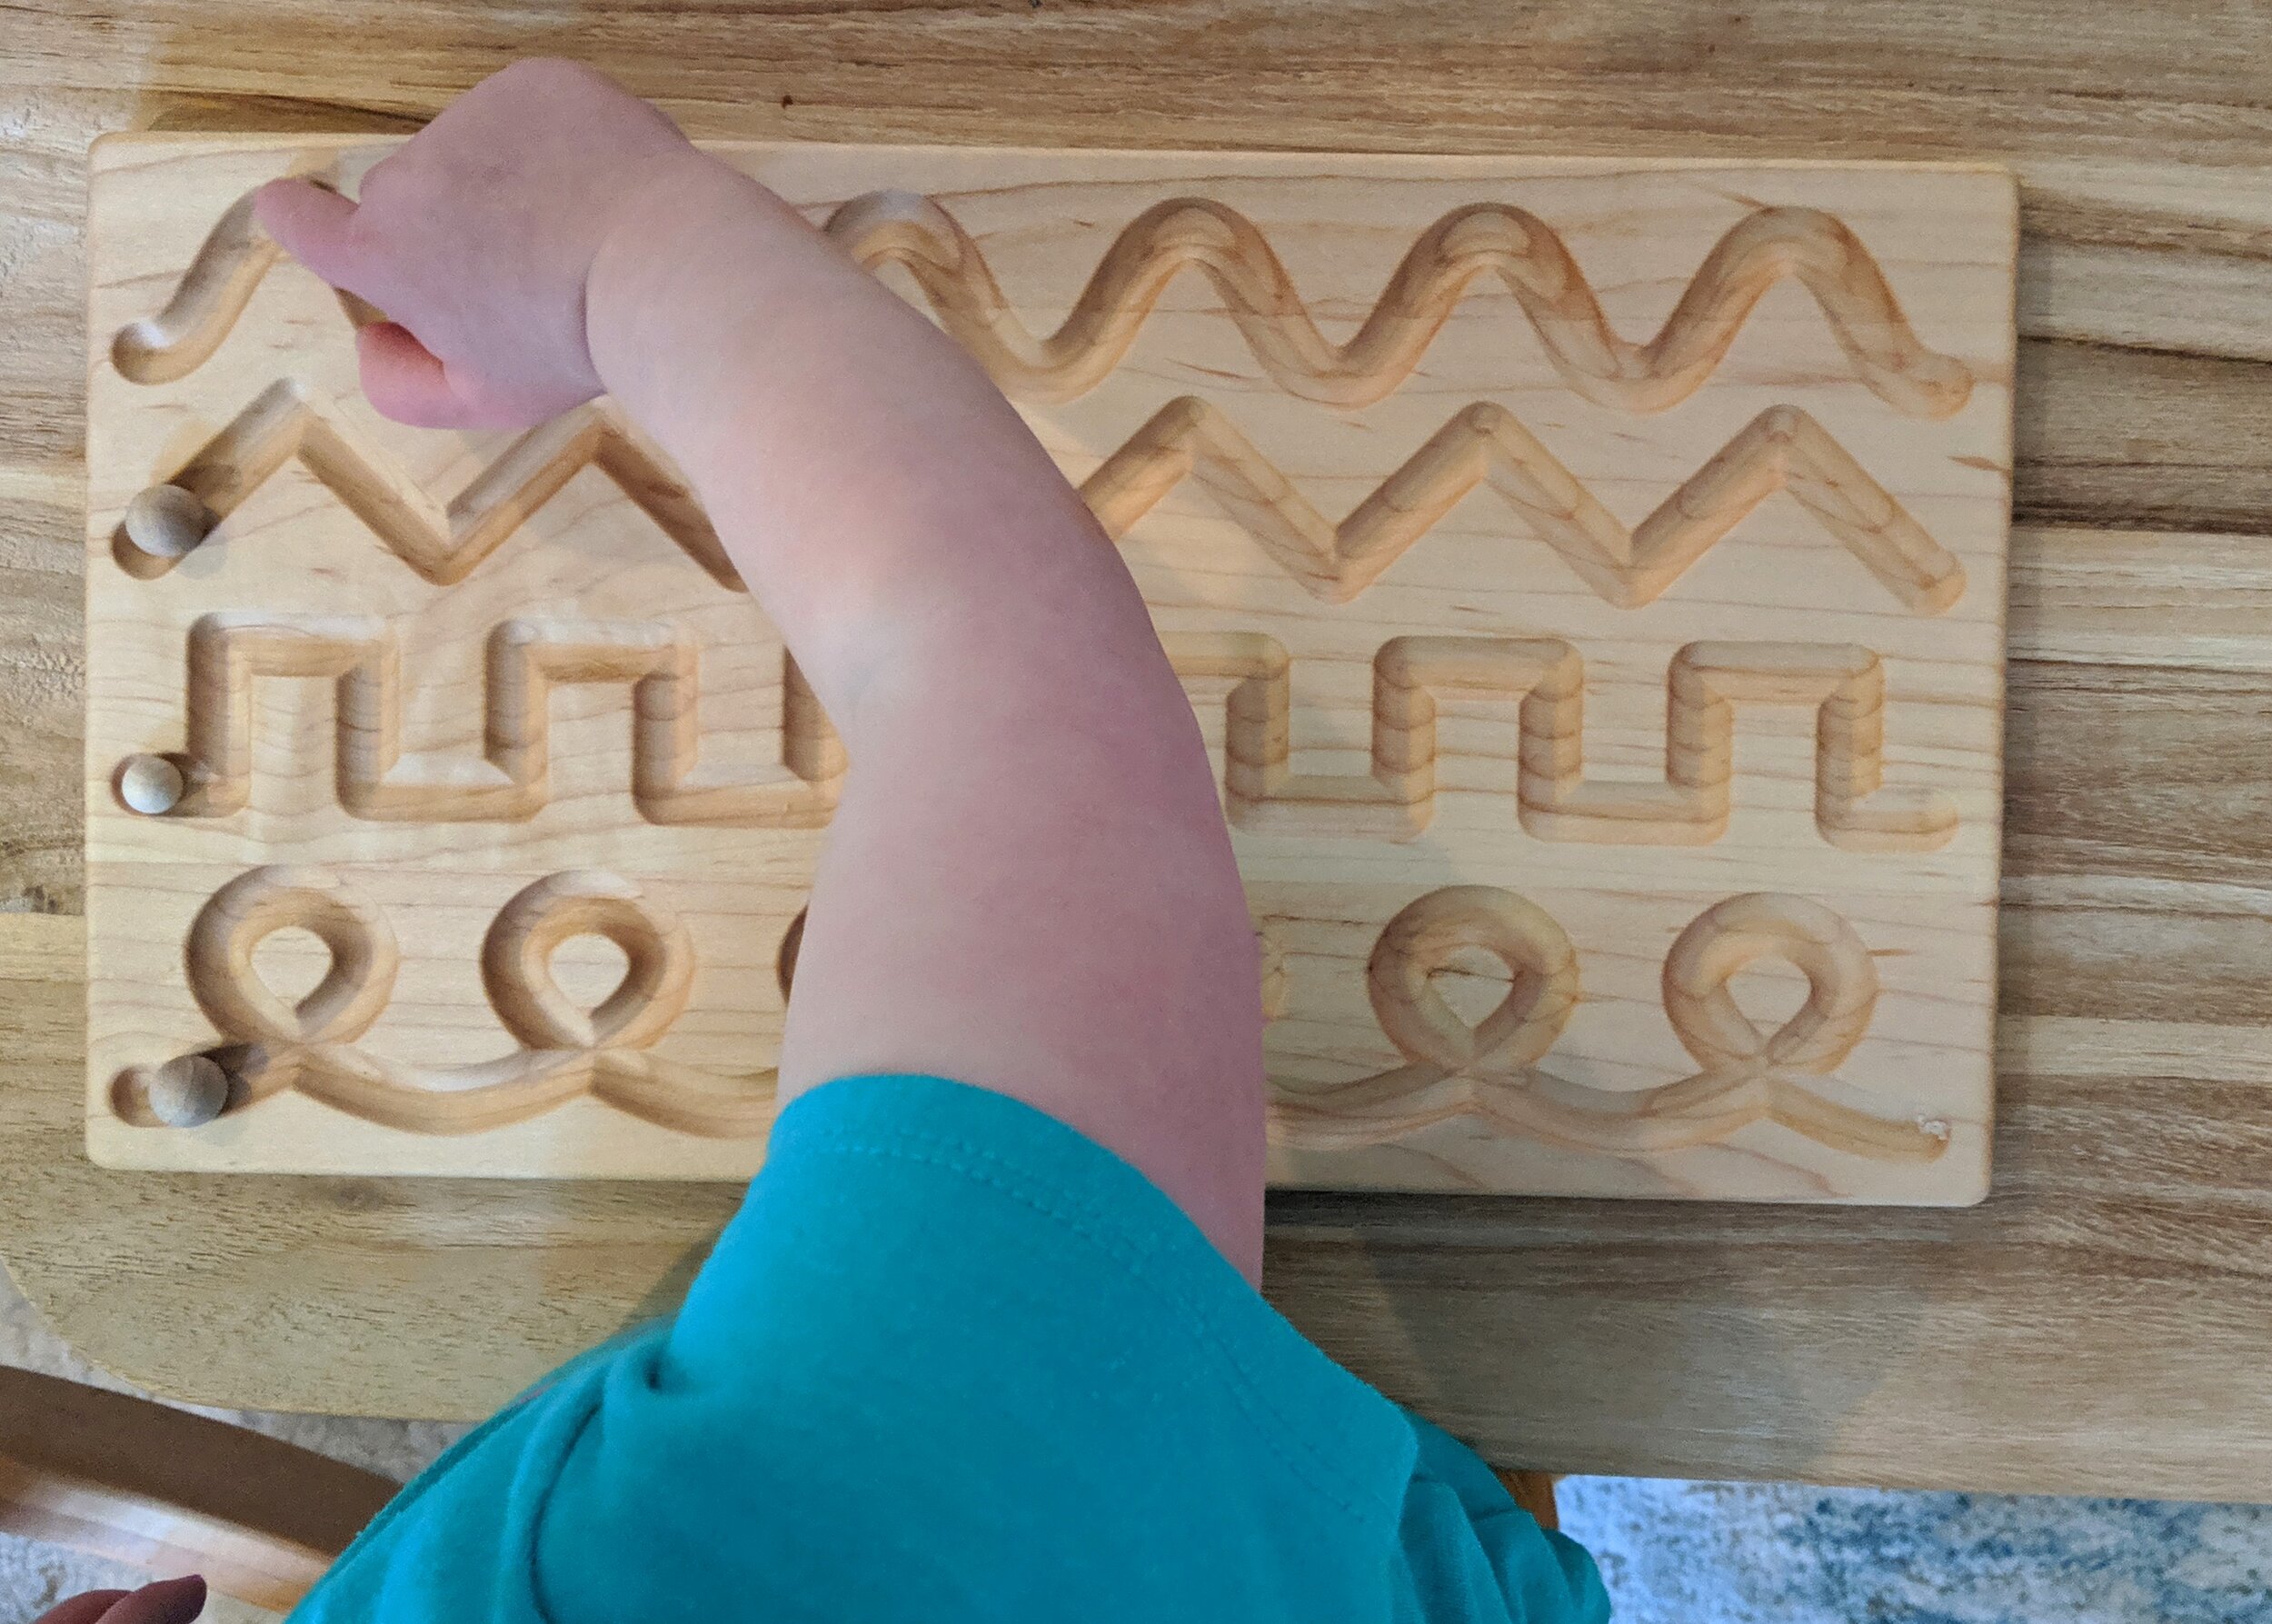
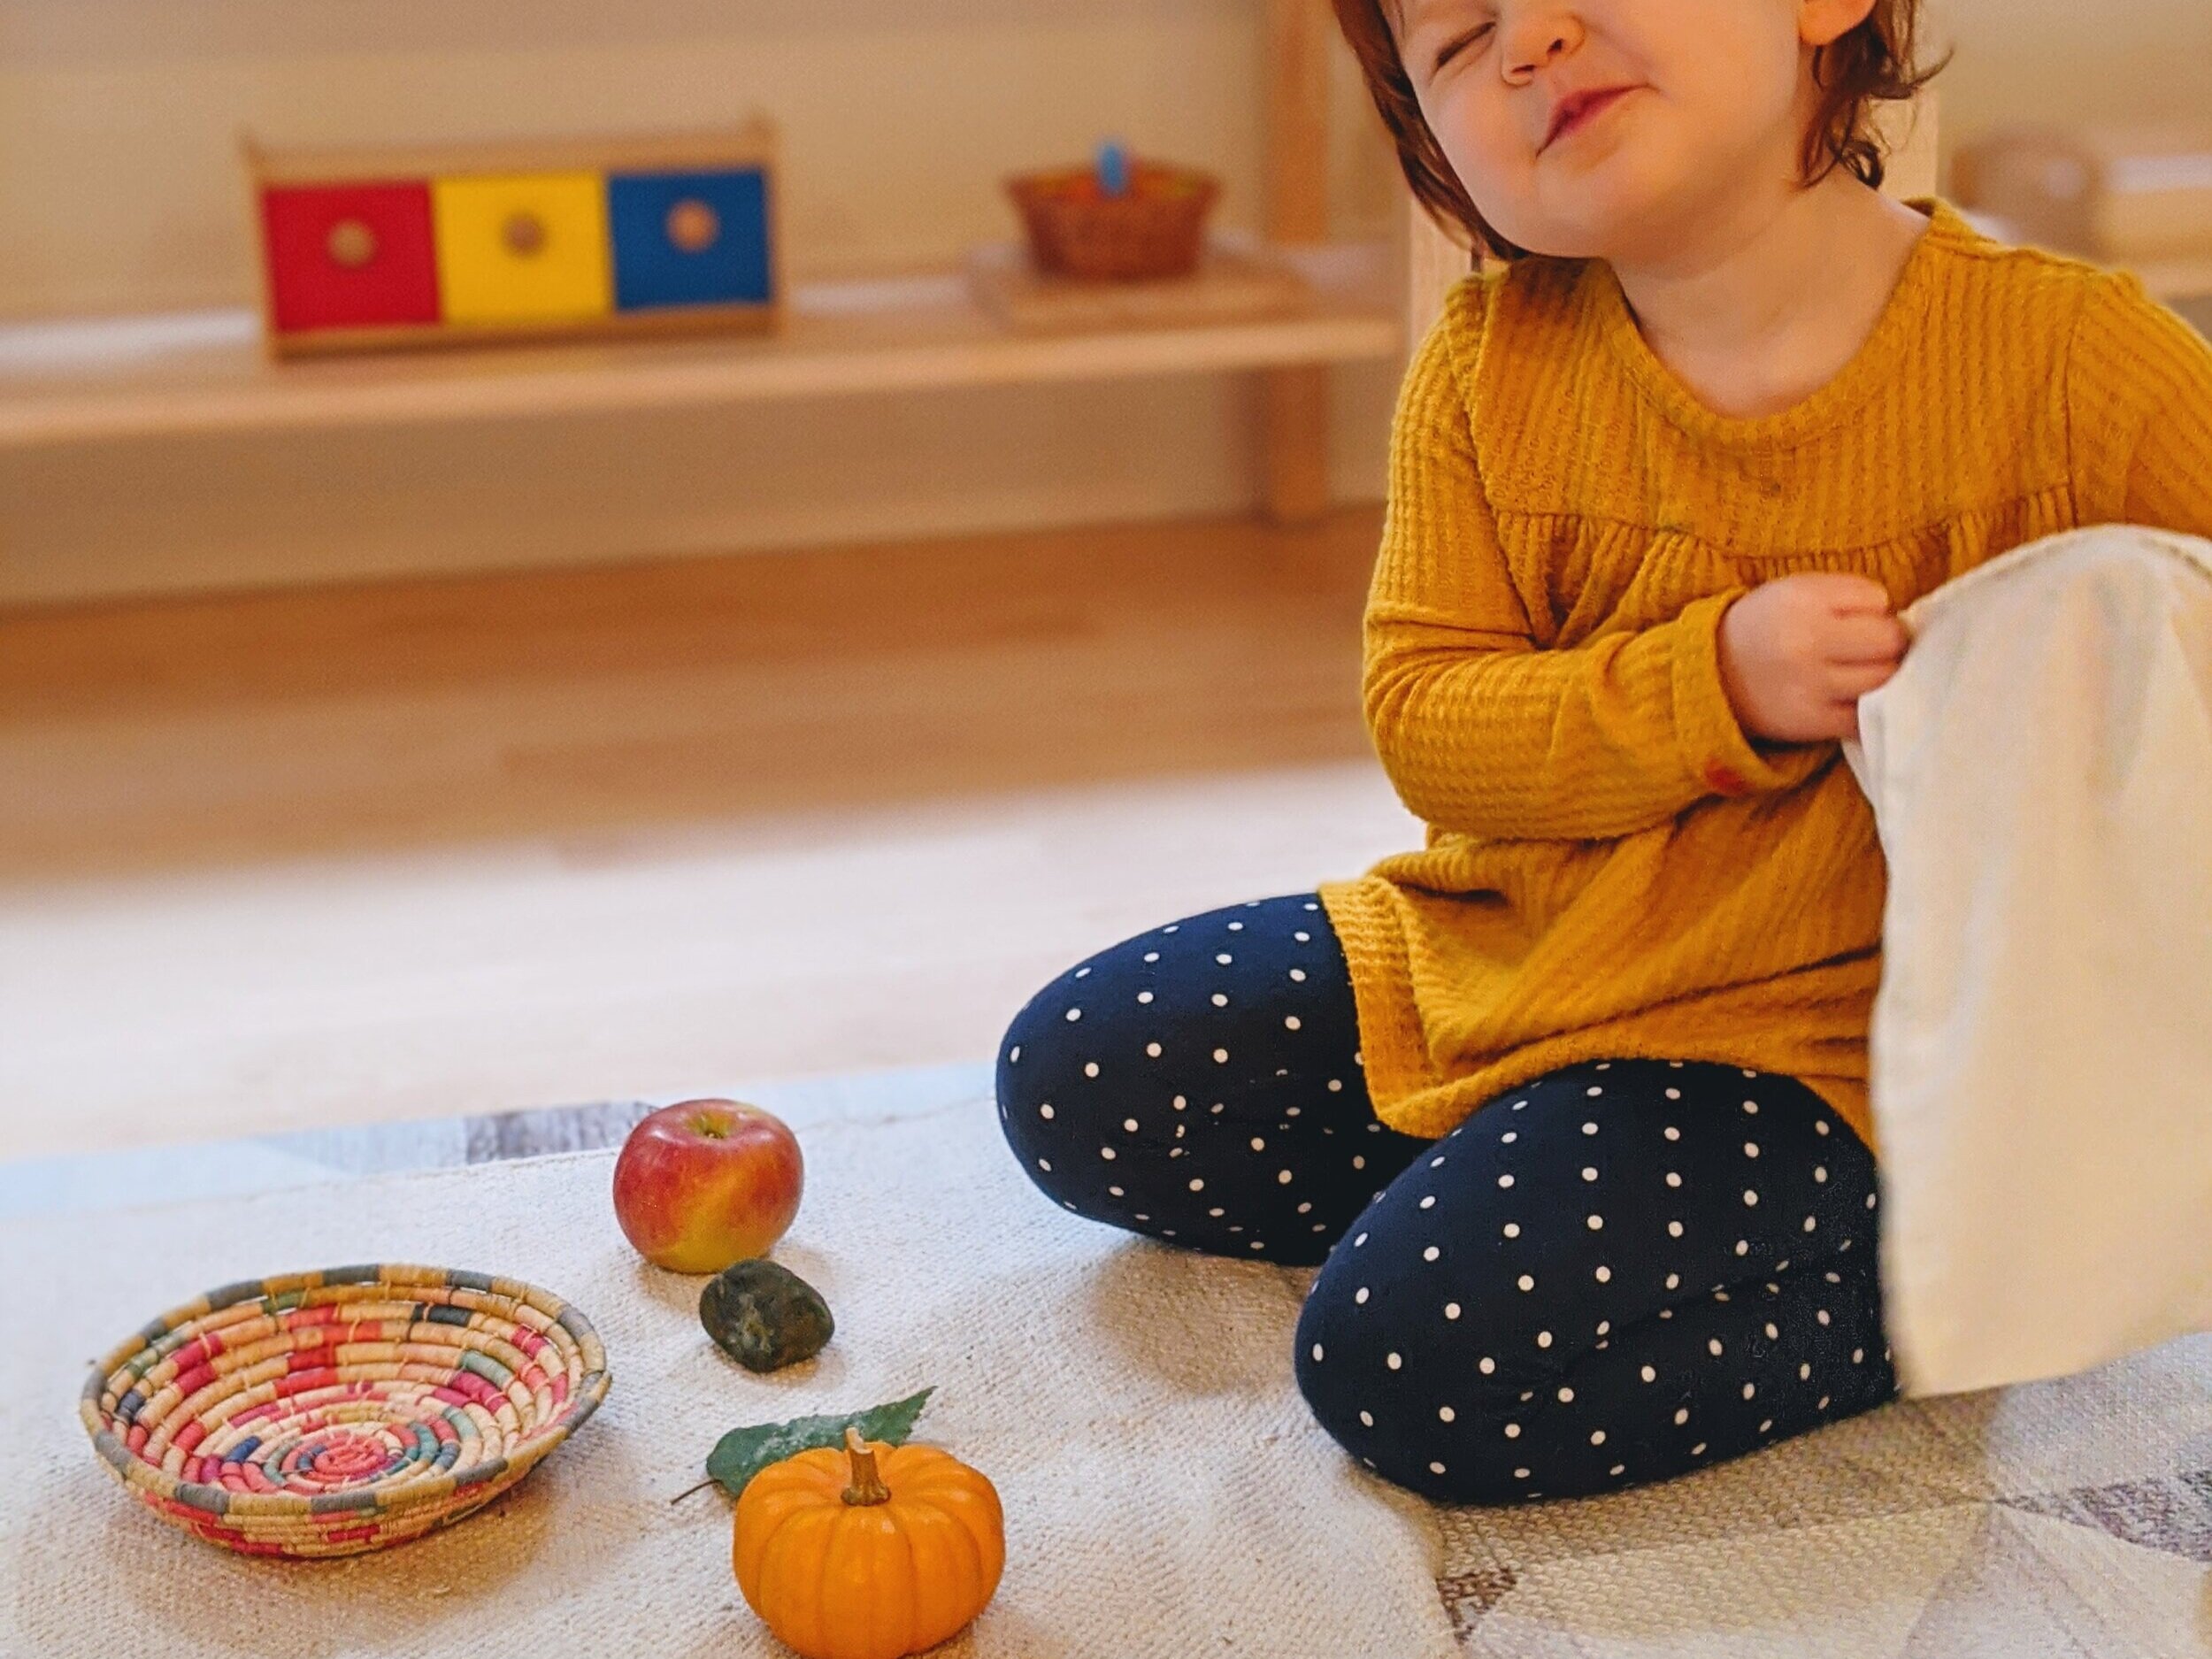
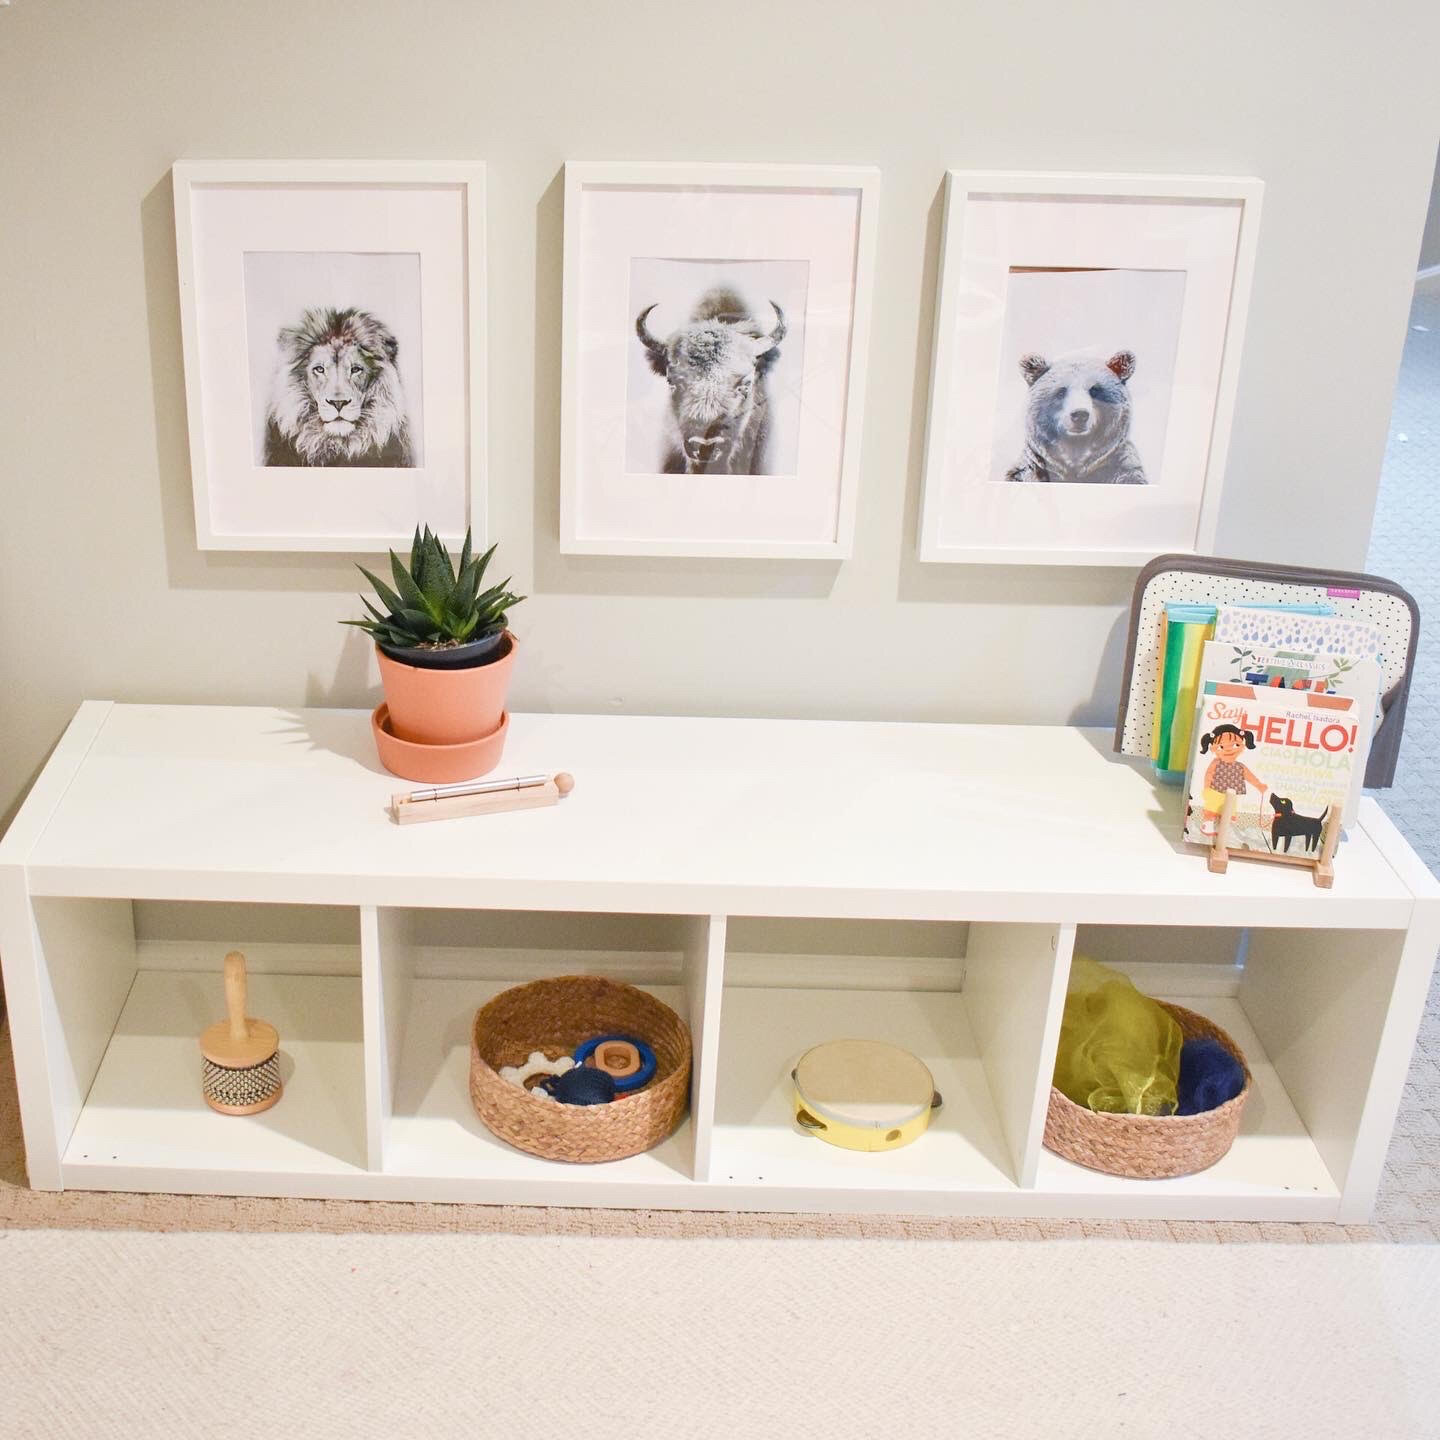
  3. Create a space that is special and cozy. Quiet time can happen in their bedroom or a shared space. Whichever you choose, make it a place they want to be. This might include a few favorite toys, books, comfy pillows, or even music or an audiobook. Make sure everything that they have with them is safe for them to use independently. 

  4. Start small. This might mean 5-10 minutes to start. Explain how and where quiet time will happen and when you will be back. Make the first quiet time very short so they trust you and feel okay about it (if they are engrossed in play, quietly stand near their door and wait for them to look up. Let them know that they may join you when they feel ready but let them know there is no rush. Gradually add on 5 minutes at a time. How long quiet time lasts is really up to you and your child. 

  5. Use visual cues. A helpful visual tool for children in quiet time is a time-to-rise light. When the light changes color, they know quiet time is over. We love our Hatch but there are others. Another option is a visual timer but this makes some children anxious, as they watch the clock slowly tick down.

It may take a bit of time to transition into this new routine, or it might be a seamless transition from nap time like it was for D. Either way, keeping your home quiet and choosing an activity for yourself that is calm and quiet will help create a restful atmosphere and give an opportunity for everyone to recharge each afternoon.

Quiet TIme - Montessori in Real Life

Finding a Caregiver you Trust

Montessori in Real Life

The process of finding a nanny or babysitter can be stressful and intimidating. Entrusting someone else to care for our children can bring up anxious feelings. Yet caregivers are necessary and helpful for many families. As someone who had great trepidation over leaving each of our children with date night babysitters for the first time, I hope this post can answer some of your questions and relieve some of your anxiety so you can go into this with courage and confidence! I will be channeling this courage too as we navigate finding a date night sitter for the first time since before the pandemic began.

Finding a caregiver you trust - Montessori in Real Life

How do I find a nanny or babysitter?

  1. Ask friends and family

  2. Local Facebook parents group

  3. Nanny Websites or Agencies

What qualifications do I look for?

This depends on the ages and needs of your child(ren) and family. If you are looking for a mother’s helper a few days a week, a neighborhood high school student may be a great fit. Once they have spent time with your family and learned about your children, you may feel comfortable leaving your children in their care for a date night. Providing these opportunities to teenagers can even help to inspire our next generation of teachers and caregivers!

If you need full-time care or are looking to homeschool, you might prefer someone with a master’s in education or Montessori training. Each family’s needs are slightly different. It’s worth it to take the time to think about the ideal situation for your family before reaching out to find care.

Note: If you are posting on the internet or talking to a nanny agency, you can be a bit more specific about the way you parent. Mentioning Montessori and respectful parenting can help you to find a caregiver who matches your needs.

Must haves:

  • Adult, infants, and child CPR/First Aid certification 

  • Professional/Personal references (call them) 

  • A background check (if you are hiring someone from the internet)

  • Clean driving record (if they will be driving your children)

What questions do I ask them?

Ideally these questions are asked in person during an interview. I recommend inviting your potential nanny or babysitter over when your child(ren) are around so you can see how they interact with your child with you present. These are just a few sample questions. These will also depend on the type of care you are seeking.

“Why did you start nannying/babysitting?” 

I like to hear that they enjoy playing with my kids, helping them to learn and grow and that they enjoy being in a home setting because it helps my children to feel more comfortable. 

“What ages of children have you worked with?”

Though a nanny or babysitter could have years of experience, I like to know they have experience caring for children roughly the same age as mine. When I check references, I want to be sure to talk to a former employer of theirs who has/had children of similar ages if possible.

“What do you enjoy about working with children?” 

I like to look for an answer that shows me that this person cares about my children’s happiness and is not here just because they think babies are cute. 

“What is your preferred method for putting a child down for a nap?”

Most answers are okay, as I leave details about our own family’s routine. Having an answer to this question means that they have spent time learning and trying out different ways of helping kids to fall asleep. This shows me that they have taken the time to learn more and are observing children to learn what works well for them. 

“Are you comfortable preparing meals?”

It’s okay with me if they are not, but it will indicate how much I need to prepare food ahead of time.

“What do you enjoy doing in your free time?” 

I like to get a feel for this person’s personality and see if we have common interests. Getting to know them helps me to feel more comfortable when I leave my children in their care. 

“What is your favorite activity to do with children?”

Having an answer shows me that they have spent enough time with children to have a favorite activity. It also gives me a sense of what they might spend time doing with my children. Lastly, it lets me know that they understand what kinds of activities are age-appropriate for my children.

Finding a Caregiver You Trust - Montessori in Real Life

How do I prepare my toddler?

I find this transition works best when it’s a slow start. Whether it’s grandparents or a date night babysitter, I like to first spend time all together so that my children see me interacting with the caregiver. This lets my children know I trust that person and they can too. Then, I invite the caregiver to watch the children while I’m around but not invovled. Finally, I leave, but for a shorter time. Next, a longer time. This has allowed them to warm up in a gradual way.

Another important piece is preparing the kids the day of each event, so they know what is coming. I’ve found that children feel more comfortable when they know that I will be leaving a few hours before I actually go. So we talked about what would happen and then continued with our day as we usually would.

How do I actually say goodbye?

When the time arrives for me to actually depart, I let the kids know that I am getting ready to go but do not say any goodbye until I am about to walk out the door. I know from working in a toddler classroom that drawn out and unpredictable goodbyes are extremely hard for toddlers. Leaving without saying goodbye can also be scary and confusing for them. 

When I say goodbye, I give each child a quick hug and kiss goodbye and say "I love you so much. We will be back before bedtime." Being clear, confident, and calm as I say goodbye is so important. As is being honest about when I will return. Even though I might feel nervous, I know I have to exude confidence for the children to feel that too. There are typically some tears, but I trust any caregiver I leave them with to comfort them and help them through any hard feelings while we are gone. Often the tears end as soon as I am gone and everyone has a good time.

What is a Daily Rhythm?

Montessori in Real Life

What is a daily rhythm and what makes it different from a schedule? Schedules are often rigid, encompass each moment of the day and follow a clock. A daily rhythm on the other hand is fluid and leaves time for spontaneity, while still providing a general pattern to our days. Though the exact time at which things happen might change day to day, the general flow of events is quite similar, even season to season. For example, in summer, bedtime might be a bit later, but the events leading up to it remain the same. In the summer more free play will be spent outside, and walks might be quite a bit longer than in winter.

Daily Rhythm - Montessori in Real Life

In a world so big, young children are often overwhelmed, but having a daily rhythm allows them a sense of control over knowing what comes next. This is empowering and comforting to them, and often for us as adults too! 

A daily rhythm also allows us to move at a slower pace. Rather than pack in a bunch of events (even fun ones!) into a day, we can make sure there is plenty of time for free play. This allows children time to become engrossed in whatever they are drawn towards. 

Following a daily rhythm allows for more flexibility than a strict schedule. No day is exactly the same, nor should it be. We travel and go on day trips and adventures. We have playdates and soccer class. Some events happen 1x a week and some 1x a month. Some are planned and some are spontaneous. A daily rhythm allows for this flexibility while still meeting everyone’s needs for routine. 

How can you create a daily rhythm?

What works for one family doesn’t necessarily work for another. Your daily rhythm will look different than mine. If you are interested in creating one but don’t know where to start, first begin with the fixed aspects of your day (such as mealtimes, naps, or school) and then plan a rhythm around that. It also helps to jot down things you want to happen every day (e.g. periods for uninterrupted play, walks, reading) and add those in. There may be other things (e.g. art projects, baking together, library outings) that you make a specific day for each week, or just choose to do spontaneously. When creating your daily rhythm, try to avoid adding the times, at least at first. Focus more on the pattern of events, to reduce pressure and let the day happen organically.

I have included a template you can print to create a daily rhythm yourself! Click the image below to download.

6 Common Misconceptions about Montessori at Home

Montessori in Real Life

This week I’m breaking down some common misconceptions about Montessori in the first few years. I bring up these misconceptions because too often I see people dismiss Montessori for reasons that aren’t even true. I completely believe in every family choosing the parenting philosophy that works best for them, but I do hope everyone has the correct information about their options first, and then chooses from there! I hope this helps clarify some of the hot button Montessori topics in the first few years.

Photo by Megan Hooks Photography

Photo by Megan Hooks Photography

1. Kids have complete freedom

It is true that independence is a cornerstone of Montessori. Providing the youngest of children with choices and making our homes accessible promote their capabilities, confidence, and motivation. However, we give our children independence within clear and safe boundaries, in age-appropriate ways. We call this freedom within limits. We offer choices and set clear limits. Young children want predictability and to know that the adults are in control and that their environment is safe. When they receive mixed messages about their limits, they test to see what is and is not acceptable until they feel they are able to predict their environment again.

For example, a freedom is how much to eat at mealtimes. A limit is that we sit down while we eat and that the grown-ups decide what food is offered. A freedom is choosing which books to read before bed. A limit is that we read three books. A freedom is running and playing as loudly as they want. A limit is where that kind of running and play happens (outside).

Montessori Misconceptions - Montessori in Real Life

2. The Shelf is the most important part of Montessori

Looking on the internet, it might appear that the materials on our shelves are the main focus of how we practice Montessori at home, but that is far from the case. Montessori is not defined by the shelf. 

The most important material in your environment is YOU. Preparing yourself is the first step in anything we do in Montessori. Our language, attitude, and response to our children are more impactful than anything on their shelf. 

Montessori is also about learning with all of our senses engaged. It is about learning through movement, learning through our hands, and above all, it is learning about and in the beautiful natural world we live in. The richest learning environment we can give our children is not their shelf at home, but the natural world around us.

PXL_20210407_190727037.PORTRAIT.jpg

3. Our children eat and play alone

While we do encourage starting infants and toddlers on solid foods at a small weaning table, we do not encourage eating alone. A small table encourages independence by getting in and out of the chair as well as reduces throwing and dropping behaviors as there isn’t as far for food to fall. In toddlerhood, the weaning table offers a way for children to set their own table and serve their own snack. Our babies and toddlers are not sitting here alone though. We typically sit on the floor or on a small cushion and join them. Often we also use a high chair for family dinners and meals that pulls right up to our kitchen or dining table.

Similarly, it is true that we encourage independent play as it allows our children to concentrate, problem solve, get creative, and fulfill their own interests. However, it is always balanced out with time together. Often we are sitting right next to them as they explore toys on their own and we talk to them when they look to us for feedback, labels, or conversation. We also spend quality time with them during transitions, such as diapering or toileting, dressing, preparing food, and cleaning. Though not always in the photos, Montessori is about connection as much as concentration.

PXL_20201011_224719110.PORTRAIT-01.COVER (1).jpg

4. Pretend play isn’t allowed

While it is true that fantasy is discouraged in the early years, it is not true that pretend play is discouraged.

One reason why it can feel as though pretend play is discouraged is because of the emphasis on reality over fantasy. In Montessori we encourage real activities that teach children about the world we live in and give them rich sensory experiences. We also lean towards books and materials that are based in reality. When young children read books that describe real places, people, and animals, they develop a sense of wonder for the world we live in. Books based in reality help to explain the already-gigantic world we live in.

When we let young children lead their own pretend play, we see them create scenes all on their own. These scenes mimic what they see in the real world and in their books. Pretend play offers them a way to work through new experiences and test out new ones. When we provide toddlers and young children with all that the real world has to offer, their pretend play only becomes richer and more fun for them. Sometimes pretend play is with dollhouses and other times it is using the shelf materials themselves in a creative way.

PXL_20200929_150108848.PORTRAIT-01.COVER_2.jpg

5. Montessori Children Aren’t Social

It is true that children are not forced to share in Montessori. They are also not forced to play with others. Rather, we let the child decide whether to play alone or with others. There are always opportunities for both in a Montessori classroom. We model kindness and compassion ourselves. We give children the opportunity to collaborate and resolve conflict themselves.

Often people bring up the social aspect when children are just toddlers. Toddlers aren’t social beings yet. Though toddlers enjoy being around people, especially family members, they are mostly engaging in parallel play - playing beside not with peers. It isn’t until age 4 or so that children share common goals in their play. Understanding typical social development tailors our expectations of chlidren’s social play and lets them take the lead.

Montessori+Misconceptions+-+Montessori+in+Real+Life

6. Children are Forced to do Chores

Sometimes people see toddlers washing windows or 3-year-olds sweeping the floor and think that this has been forced upon them. Rather, cleaning up is something we model and build into our daily rhythms. It is something that young children really want to be a part of. In Montessori, we invite even the youngest of toddlers to join us as we go about our daily tasks. Toddlers feel valued and helpful when they get to be a part of these important jobs.

As children reach preschool age, we do encourage cleaning up after oneself, e.g. when we make a spill, we wipe it up. The goal isn’t to “make children clean” but rather to instill a sense of personal responsibility, caring for our shared environment, and learning to work together as a family or community.  We model this ourselves and help each other out as needed.

I hope that helps clear up a few of the most common misconceptions I hear about Montessori at home in the first few years. Montessori looks different in every home and every family. Find what works for you!

Our Favorite Nature-Based Spring Activities

Montessori in Real Life

As soon as Spring emerges, I find it hard to stay inside for long. Especially since having children, I have a new appreciation for witnessing nature “come alive”. From the bright flowers to the tiny insects to puddles, there is always something to explore. It’s always a reminder for me to slow down, and to get down to my children’s level, to simply appreciate what is growing and living around us. As we spend more and more of our days outdoors, these are some of the activities that are keeping us busy as we welcome Spring.

Nature-Based Spring Activities - Montessori in Real Life

Planting Seeds - Though I don’t have much of a green thumb, I am drawn to gardening this year especially, as we spend our first Spring in our new home. We went to the garden store together and selected seeds that we thought would be interesting to watch grow and fun to harvest. I used the Old Farmer’s Almanac to determine when to start planting seeds. Our hope is to grow a few vegetables and herbs for cooking, strawberries to enjoy on hot summer days, and wildflowers for attracting butterflies and flower arranging.

Gardening/Weeding - There is so much to do in the yard beyond planting! To help keep our plants growing, the kids can help me water, weed, and eventually harvest our vegetables. We found these toddler-sized gloves and other garden tools at our local gardening store!

Flower Identification - It is much more fun for the children to have names for each flower as we notice new blooms in our own yard and on our neighborhood walks. To help them with identifying, I printed off these Spring flower cards by Little Spark Company. Though they can be used for matching or 3-part-cards indoors, our favorite use for them is identifying and matching in nature. Last year, we also made our own wildflower cards for our walks in the forest!

Flower Arranging - The children have loved using flowers from our own yard (or even bouquets I’ve purchased at the farmer’s market) to make flower arrangements in vases. D uses scissors to clip stems and both of them place the flowers in small vases to add to the dining table, their low table, or a coffee table. It’s a lovely way to bring a bit of spring inside. This year, D also helped me plant and arrange flowers in a pot for our porch!

Flower Pressing - To press flowers using a flower press, the children either collect flowers from the garden or petals from the ground while we are out on a walk. It takes a few weeks for them to completely dry, but once dried, they can be used as an art addition or framed for display! For a more immediate reward, check out a sunprint kit to create flower and plant designs on photosensitive paper.

PXL_20210326_000409149.jpg

Bird Feeders - Adding a bring feeder to our backyard has brought an impressive number and variety of birds. Last year, we made these DIY orange feeders which we look forward to making again soon! My children love refilling our other bird feeders and watching the birds come and go throughout the day.

Bird Identification - Once we have our bird feeders up this year, we will observe and take note of the types of birds that visit it. Being able to name each type of bird is empowering and fun for the children. We love this book as a field guide for identifying backyard birds.

Farmer’s Market - Our local farmer’s market starts back up in the Spring and it is our favorite place to go on the weekend. It is such a great opportunity for the children to hear live music, support local farmers and makers, and meet new people. We often learn something new about where our food comes from!

Scavenger Hunts and I Spy - One of our favorite ways to mix up our daily walks is with scavenger hunts or “I spy”. I draw or print out a card with various pictures of items to find as we walk. This depends on the season, but in Spring I might include types of flowers, insects, and other things like a white fence or a dog. D also really likes to play “I spy” where we trade off by saying “I spy something blue” or “I spy something that starts with “/b/” and try to guess.

Puddle Jumping and Boot Scrubbing - Rain is a big part of Spring for us, and one that we welcome! The children love nothing more than splashing in puddles. When their rainboots get muddy, no problem! This creates a fun outdoor practical life opportunity. We fill up a big bin with soapy water and some brushes, and let them clean them off again!

00100lrPORTRAIT_00100_BURST20200413100655027_COVER_3.jpg

Our Favorite Spring Picture and Board Books

Montessori in Real Life

It already feels like Spring in the Pacific Northwest, and I’m not sure there has ever been a year we needed it more. The best parts of our day are spent outside, noticing every new bloom, bud, and bird. The fresh air and bright sun gives us hope for picnics, playdates, and visiting with friends and family who we have missed so much this year. As we welcome Spring with open arms, here are some of our favorite books to help us celebrate this new season. You can find links to these and more on my Bookshop storefront.

Favorite Spring Books - Montessori in Real LIfe

Picture Books

Hurry Up - Although not Spring-specific, I feel like it captures the essence of Spring, which is to slow way down. In a world where he is always told to “hurry hurry”, the young boy in this story decides to slow down to enjoy all the little things - running free, smelling flowers, blowing bubbles. A good reminder for us all year round, and especially now as beauty blooms all around.

Goodbye Winter, Hello Spring - We have all four in this series, one for each season. I love the watercolor illustrations and poetic prose, welcoming the small changes that each season brings. This book beautifully depicts the gradual shift we observe as winter winds turn to running brooks, buds, and birds.

Up in the Garden, Down in the Dirt - This is another one of a set of books that we love. This Spring version follows a young girl who starts a garden with her grandmother. As they work together, we see and learn all about the busy life under the soil as well as the animals who are interested in eating the fruits of their labor. We see the garden come into fruition through summer and go to sleep again in winter.

Little Dandelion Seeds the World - Dandelions are D’s favorite sign of spring returning, and this book makes dandelions all the more wonderful. This book tells the story of how dandelion seeds fly and spread all across the world, as “the flower fades. Fluff puffs. Poof! Swish, swirl, one hundred seeds fly.” My children love the repetitive nature of this and discovering that dandelions do in fact bloom on all 7 continents.

Hummingbird - Another favorite sign of spring is the return of the hummingbirds! This book explains the migration of hummingbirds through a story of a young girl and her grandmother. We follow the hummingbird’s long journey north from her grandmother’s home in Central America all the way over the ocean and up to the girls’ backyard in New York City. We can’t wait to put out our feeder!

In the Garden - This giant lift-a-flap book is full of fun discoveries in Spring as well as all year round. Plum and her brother Robin walk through the garden, tending to it and noticing how the garden changes as the seasons change. The sibling duo teach us all about the plants, animals, and insects, and fruits that call their garden home.

Favorite Spring Books - Montessori in Real LifePXL_20210312_001031535.PORTRAIT.jpg

Board Books

When Spring Comes - We love this set of four books, one for each season. This sweet spring board book depicts the subtle changes we see in nature as winter disappears and spring emerges. With phrases such as “but if you wait…”, it captures the beauty of patience as we wait for the beauty of Spring blooms and the joy that comes from the rain and the mud too.

Nest - With only one word per page, this is a perfect book for babies and new talkers. With beautiful illustrations, this board book tells the story of the robin, from egg to hatchling to flying to nest again. In such a short a simple book, we learn about a robin’s life cycle and how robins adapt through the seasons.

Fly - This is a really fun and interactive board book. Each page features removable play pieces that fit back inside other pages like puzzle pieces. A similar story as above with the life and growth of a baby chick, but worth it for the interactive nature!

Whose Chick Are You? - In this cute story, a mysterious egg is ready to hatch and none of the birds can figure out whose egg it is! Each mother bird explores it but nobody can figure it out until finally it hatches and the mother and father swan find it. It’s their baby cygnet!

Spring Babies - This is one of four season books in this series. They are cute and simple, and a great way to introduce little ones to the seasonal changes that come each year. With bright and fun pictures, rhyming words, and cheerful faces, it’s one of S’ favorites. He likes to mimic the actions and faces on each page.

Planting the Rainbow - As all Lois Ehlert board books, this one is both beautiful and educational. We learn the process of planting a seed and watching it grow, and are rewarded with a rainbow of flowers and pages at the end! I love that it provides the name for each flower too.

PXL_20210312_000751249.PORTRAIT.jpg

Note: This post contains affiliate links. If you purchase a product through one of these links, you won’t pay anything extra, but I will get a small commission, which helps keep this blog going. Thanks for supporting Montessori in Real Life!

What Comes Before Writing?

Montessori in Real Life

Often as parents, we want to rush into teaching our children how to write. I get it - it’s such an exciting time! However, if we push our children into something before they’ve built the foundation and before the intrinsic motivation is there, it leads to frustration all around. When we wait until our child is in the sensitive period for writing and we’ve helped build a strong foundation through grasp refinement, there is joy and confidence.

It also helps to keep in mind that children’s hands must go through a long series of micro-developments before they are able to hold a pencil properly. Preparation of the hand starts in infancy, and many of the materials we give infants and toddlers help them to coordinate movements and build up the hand muscles that will help them to accomplish many tasks, including writing when the time is right for them. 

00100lPORTRAIT_00100_BURST20191019130240795_COVER.jpg

A Timeline: The lead-up to writing

  • 3-5 months: purposeful grasp

  • 6-8: whole hand “raking” grasp 

  • 9-10: pre-pincer grasp (between thumb and fist)

  • 11: inferior pincer grasp (finger pad to pad)

  • 12: pincer grasp

  • 12-18 months: begins to hold a pencil with a fisted grasp

  • 2-3yrs: begins to use all fingers on a pencil with arm movements

  • 3-4yrs: begins to use tripod grasp when holding a pencil

*Note that all children have their own timelines. This is simply a typical progression.

0001-17818560536_20210304_195501_0000.png

Infancy (0-15 months)

When our bodies are learning new skills, we typically learn by first using our core and then moving outward to more fine movements. This means that our youngest infants are working by moving their whole arm, then elbow and fist, then with their hand.  Grasping mobiles between month 3 and 5 help them practice all of these movements. An easy DIY is placing a large bell, or wooden ring on a ribbon and hanging one from a hook or simple activity gym. 

Once our infants are sitting and moving around more we offer baskets of balls, and boxes to drop balls into. These activities are usually discussed as ways to encourage large gross motor movements, but they also encourage the development of the palmar grasp into a more refined inferior pincer grasp. Additionally, these activities allow infants to practice releasing objects at a specific time, which is a skill developed around 7-8 months. 

(Click photos below for links)

Toddlerhood (15 mos - 36 mos)

Toddlers are still moving their whole body, while also beginning to refine their pincer grasp. We first see this as they pick up small pieces of food and find every possible crumb left on the floor! There are so many ways to promote hand development in toddlerhood, through both gross and fine motor work.

We can give toddlers materials with large knobs, such as puzzles or knobbed cylinders to develop their grasp for later handwriting. We can give them activities to strengthen their hand muscles, such as play dough to manipulate, tongs to serve snacks, or sponges to squeeze and wipe the table. We can offer simple opportunities at mealtimes to focus on coordination and control, such as sprinkling chia seeds on oatmeal or peeling a satsuma. We can offer activities to strengthen arm and wrist movements through a fisted grasp, such as providing large wooden spoons and big paintbrushes on vertical surfaces. We can give them containers to open and close and small objects to hold (with supervision). The possibilities are endless. 

(Click photos below for links)

Three years and beyond

Between three and four, children often become interested in writing. It is important to establish a strong foundation for the writing that will come. When we break down all the aspects of writing, we can see which areas to focus on: fluid yet controlled movements, working from left to right, and the joy felt from expressing oneself.

Materials to aid in fluid movements: painting, window washing, and polishing

Working left to right (the same way we write): 3-part cards and matching work, cooking (when ingredients are placed in order of when to add), as well as practical life work such as transferring

Control in movements: Beading, scooping, pouring, and pin punching.

If we lay the groundwork in this way and then wait for our children's sensitive period for writing (typically emerging between 3.5 and 4.5), they will be driven towards repetition, interest and excitement without any pressure from us!

(Click photos below for links)

Sensitive period for writing

Typically the sensitive period for writing emerges between 3.5 and 4.5. There is a wide range, so it can help to look for signs that a sensitive period is emerging. Here are a few I noticed with D: At the park and at the beach, she uses sticks to make shapes and figures in the sand. At home, she scribbles grocery lists beside me and tells me exactly what each “word” says. She asks about letters and words and their associated sounds. When presented with any work that involves writing, she is 100% focused and absorbed in it. 

My role came next: setting up the environment to meet her interest and needs. At home, I provide simple and fun ways for her to practice writing without focusing on writing letters. For us this means shape stencils, tracing, and lines in colored sand. It also means including all the work she has enjoyed before that will continue to help her in her writing journey: beading, sewing, practical life, and sound games. Slowly but surely, with all of her newfound intrinsic motivation, and with a bit of guidance from the adults around her, she will joyfully teach herself to write.

(Click photos below for links)

Fostering a Love of Writing

To wrap this up, it’s worth noting that the most important component to fostering a love for writing is us! We are our children’s role models and the way we use our hands and write directly impacts our children’s desire to do the same. If we are not writing or working with our hands around them, they will not see why it is worthwhile to put in all of the effort necessary to learn to write. This has been something I have to remind myself of daily! 

We can write shopping lists out by hand, write down ideas our children tell us, and even carve out time in the day to write for fun. We can also use our hands to create in other ways. Crochet, drawing, crafting, woodworking, and sewing are just a few ideas. It is so beneficial for our children to see our hands work in these creative ways. 

(Note: This post contains affiliate links. If you purchase a product through one of these links, you won’t pay anything extra, but I will get a small commission, which helps keep this blog going. Thanks for supporting Montessori in Real Life!)

Gearing up Toddlers for All-Weather Play

Montessori in Real Life

Let the children be free; encourage them; let them run outside when it is raining; let them remove their shoes when they find a puddle of water; and when the grass of the meadows is wet with dew, let them run on it and trample it with their bare feet; let them rest peacefully when a tree invites them to sleep beneath its shade; let them shout and laugh when the sun wakes them.
— Maria Montessori - The Discovery of the child
20210216_152432_0000.png

How we prepare and talk about the weather has a profound impact on how our children experience the weather themselves. When we are curious and excited, rather than disappointed, our children are too. Montessori encourages spending lots of time in nature and letting children have the freedom to explore as they wish. It can get muddy, sandy, messy, and cold, but getting outside every day, even in less than mild conditions, helps our child adapt their bodies to their climate, boosts their immune system, and creates a lasting love of our world.

PXL_20210215_175939188.PORTRAIT.jpg

Gear for Toddlers

I’ve found that investing in high-quality rain and cold weather gear not only for S and D, but also for myself has made a huge difference in getting out each day. I like to make sure we all have comfortable tall rain boots, walkable calf height winter boots, a long rain jacket, warm layers, hooded puffy, warm hats, and gloves. For the kids, rain suits and rain boots are essential in the pacific northwest, as well as layers such as fleece or down underneath. 

I know this can get quite expensive, so I’ve shared some websites to find used outdoor clothing below. I’ve also gotten many high-quality hand-me-downs for the kids from family and friends.

Used Gear:

https://wornwear.patagonia.com/shop/kids-and-baby

https://www.rei.com/used/shop/kids-clothing-just-added

https://www.geartrade.com/clothing/kids


Rainy Weather

Tuffo Rain Suit - This has hands-down been the best purchase. As we live in the rainy pacific northwest, these rain suits ensure we get outside every day. I like that we can add plenty of layers under them too and that they scrunch at the ankles to keep rain out when puddle jumping.

Oakiwear Rain Jacket and Pants - When it’s not pouring and D just needs a rain coat for school, this is our favorite. You can also pair it with the pants to make a rain suit!

Stonz Booties - We didn’t use these ourselves but I’ve heard great things about them for babies and toddlers! They don’t fall off.

Bogs Rain Boots - These are my very favorite for toddlers. They are soft and flexible. S has stomped in every puddle and still come home with dry feet. It helps to have the rain suit over the top of the boots to keep rain from getting in.

Oaki Rain Boots - These are the best I’ve found for independent dressing. D can pull these on her feet in seconds which make them great for home and school.

PXL_20201208_192311777.PORTRAIT.jpg

Cold and Wet

Rain suit and boots mentioned above

Waterproof Mittens or Kid Snow Mittens - For all ages, mittens keep hands warmer than gloves! I like ones that scrunch at wrist to keep them on!

Warm base layer - A long-sleeved shirt, fleece layer, and wool socks under the rain suit and boots will keep toddlers extra cozy and warm!

Down coat under rain suit - On really cold and wet days, we do a long-sleeved shirt, puffy jacket, and the rain suit on top.

Warm hat - I really like any lined winter hats for toddlers, which can be found lots of places! Ear flaps are a nice addition for warmth.

PXL_20210215_174243133.PORTRAIT.jpg

Snow Days

One-Piece Snow Suit - This is the best snow suit for toddlers. I always size up to make it last two seasons. There are also less expensive versions many places, just make sure it’s waterproof too! D’s is just from Carter’s this year.

Stonz Booties - We didn’t use these ourselves but I’ve heard great things about them for babies and toddlers! You can layer to make extra warm in winter.

Lands End boots - The kids got these this year and they have been great for walking and playing in the snow! I like that they are velcro rather than laces.

Base layers - Cotton, fleece, or wool pants and long-sleeved top and wool socks under the snowsuit and boots (depending on how cold it is!)

Waterproof Mittens or Kid Snow Mittens - For all ages, mittens keep hands warmer than gloves! I like ones that scrunch at wrist to keep them on!

Warm hat - I really like any lined winter hats for toddlers, which can be found lots of places! Ear flaps are a nice addition for warmth.

PXL_20210213_170527272.PORTRAIT.jpg


Don’t forget yourself too! I am definitely going to invest in a rain suit myself but for now I have a long rain jacket, a good puffy jacket, tall rain boots, and lots of warm layers too!

PXL_20210215_175759351.PORTRAIT.jpg

An Introduction to Sorting

Montessori in Real Life

Sorting is an activity toddlers begin to enjoy as they enter the sensitive period for order. In a world so big, order gives them a sense of control and comfort. One way toddlers create order is through categorizing, or sorting. We see this naturally through play as toddlers group or line up vehicles or animals together. We can also set up specific activities to help toddlers learn about new kinds of categories. Color is an obvious category to start with. Though toddlers may be able to discriminate colors and categorize earlier, we don’t typically see them sorting in their play until 18-21 months.

PXL_20210210_172604749.PORTRAIT.jpg

Sorting Bowls or Tray: When I first introduce sorting, I use these colored bowls and chips. I find beginning sorting activities are more successful when it involves matching too. To keep this as clear and simple as possible, I start with only two colors and two or three chips of each color. I like this set of bowls/chips because the color variable is isolated, meaning the only characteristic that’s different between the two chips is the color.

You can also replicate this at home with what you already have, for example, a blue and red cup and blue or red objects you have around. You just want to make sure that the objects are all identical except for the color. Otherwise, young toddlers will be confused whether they are sorting by type of toy, shape, or any other number of characteristics.

20210209_171130_0000.png

To set this up, I put the blue and red bowls on a tray with the chips in a neutral, separate bowl, or simply on the tray. I place the two bowls in front of me, with space in between, and pick up one chip. I label it with one word e.g. “red” then pause and say “red” again. I slowly place the red chip in the red bowl. I repeat this with the rest of the chips, labeling and sorting accordingly. Toddlers may not let us get through them all, and that’s okay. We can simply let them have a turn with it.

We do not want to correct in the moment. It’s okay if they put the chips in bowls, not paying attention to color. That tells us that they aren’t ready for this or that we need to model again. We can wait until another more appropriate time to model and then give them a few more chances to explore. If they are enjoying it but not sorting by color, let them play with it as they wish. Children all develop this interest and skill at different times. If it’s frustrating to them, consider removing and waiting a few weeks to rotate back in.

PXL_20210207_221547850.PORTRAIT_3.jpg

Once our toddler masters this simple sorting task, we can introduce more colors and more chips. We can also move on to a sorting tray, in which we set out three pairs of objects and let them sort into the divided spaces of the tray. As with before, we ideally want only one variable to be different, e.g. if they are sorting by shape, make sure all other features of the objects are the same except for the shape. Examples include sorting by size, texture, or shape. Objects found in nature can be great for these activities!

PXL_20210210_001924501.PORTRAIT.jpg

Older toddlers can do more complex sorting, such as sorting vehicles into land/water/air or sorting living vs. non-living things. Primary-age children can sort animals by continent or sort objects by their beginning sound. There are also plenty of practical life applications for sorting. We can let our toddlers sort items of clothing, sort socks by pairs, or sort silverware from the dishwasher into the silverware holder. The sorting possibilities are endless!

Product links (Note: This post contains affiliate links. If you purchase a product through one of these links, you won’t pay anything extra, but I will get a small commission, which helps keep this blog going. Thanks for supporting Montessori in Real Life!)

Color Bowls and Chips

Small sorting tray (larger one was from a sensory box)

Toob vehicles (DIY sorting scene)

Sandpaper letters

Miniature objects

Children’s utensil sorter

7 Phrases to Diffuse Toddler Frustration

Montessori in Real Life

Frustration is something we all experience. When we become frustrated, tasks that are usually easy become difficult, and calm responses become emotional reactions. The same is true for toddlers, but for them, it can be especially heightened. Toddlers are caught in a balancing act of wanting to do everything themselves while struggling to have the motor and processing skills to accomplish what they’d like to do. Our job is to encourage and scaffold their need for independence. Rather than stepping in and doing tasks for them, we can offer the least amount of help to get them started. We can offer them time and space for practice and encouragement to keep them motivated.

7 Phrases to Diffuse Toddler Frustration - Montessori in Real Life

If we constantly step in and do tasks for our children that they are capable of themselves, they lose confidence in their own abilities and stop trying. If we ignore their pleas for help or tell them “you can do it, I’ve seen you do it before!” they feel unheard and misunderstood. We have to find a middle ground.

When our children are working through challenging tasks, there are a few phrases that I always come back to. Most of these center around the theme of acknowledgement, encouraging effort, asking questions, and being present but not hovering. Examples of when I use these phrases range from frustration over getting dressed to figuring out a puzzle to learning how to ride a bike. Children respond to frustration in different ways - some yell “I can’t do it!”, some throw, some whine, and some simply stop trying. It’s helpful to know how your own child responds and to recognize the signs as the frustration begins to build.

7 Phrases to Diffuse Toddler Frustration - Montessori in Real Life

“I hear you.” - It’s amazing what a difference it can make to simply listen and acknowledge our toddler. They want to know we are there with them, more than they want us to fix anything.

“That looks really tricky.” - Along with letting toddlers know we hear them, we can empathize with their frustration. Even if they are struggling with a task they have done before or that we feel is easy, the best thing we can do is simply acknowledge that it’s hard for them. Because it is! Certain activities are harder at certain times - this is true for us too. Realizing and acknowledging that makes children (and adults) feel heard and their experience validated, which is a very important step in their ability to return to a calmer state.

“Sometimes I get frustrated too.” - We can even take it one step further and acknowledge out loud that we have struggles too. Children, just as we do, want to relate to others. Knowing that they aren’t the only ones who get frustrated or have a hard time with certain tasks, can be really helpful in diffusing a tense situation.

You are working really hard on that!” - Part of helping a child with frustration is encouraging them to value the process over the product. We do this by acknowledging effort rather than only praising the outcome. When we put value in working through something challenging, our children feel appreciated for that effort, whether or not they get to the desired outcome. You can read more about acknowledgement vs. praise in this blog post.

“What part would you like help with?” - When we do offer help, we want to do so in the most gentle and unassuming way possible. Rather than assume what our children might need, we can ask first. This also helps them learn to ask for more specific assistance rather than whine generally or say “I can’t.” We can offer help after they’ve made it clear which part is actually causing them the most frustration, which also gives them a sense of control over the situation. When we do offer help, we can start by verbally offering assistance before physically helping. When we do physically help, we can offer the least amount of help by loosening a lid rather than opening entirely or opening the sock rather than putting it on their feet. This helps toddlers become more capable and confident.

“I'm here if you need me.” - Another way to offer help is to simply let our children know we are available and present without stepping in. Again, we don’t want to just jump in and do something for them, but we can be nearby so that they know we are “with them”. Simply knowing we are supporting them by being close by and listening to them can be immensely helpful for young children.

“Would you like to take a break and try again soon?” - Sometimes if frustration just keeps building, it’s best to take a break and try again later. This might look like putting the shoes on for them and giving them opportunities to practice more tomorrow (slippers are easier!). It might look like leaving a puzzle on the table and coming back to it after lunch or a nap. It’s never worth it to force something on our children, setting them up for increased frustration over time.

Montessori in Real Life

Try each of these phrases with your child to see what resonates best with them. Sometimes when children feel incredibly frustrated, they just need space to feel their big feelings. In these moments, I use the same phrases “that looks tricky; you look like you are feeling very frustrated right now. I’m here if you need me.” I do not expect a verbal response. I stay near and simply wait for them to look for me for comfort when they are ready.  

It is often very frustrating to be a toddler. There is so much they know they would like to do but don’t have the ability (or patience) to accomplish yet. These phrases offer solidarity and connection. When we can show our children that we understand, are there for them, and are willing to give them the time they need to gain the independence they strive for, it will relieve some of this frustration. This will make it easier to push through and keep trying in moments that are very difficult for them, which is a lesson we could all benefit from.

How Montessori Has Made Parenting More Fun

Montessori in Real Life

This feels taboo but I think it’s important to normalize: parenting, especially toddlers, can be monotonous. It can also be incredibly challenging. It can also be absolutely wonderful! While those might all sound like opposite experiences, most of us experience a range of all three emotions, and then some. Let’s start with the monotony: Children thrive on routines and toddlers love reading the same books and doing the same kinds of activities over and over. This doesn’t mean we do. Sometimes keeping up with the routine and the sameness feels boring. Other times there just isn’t time to feel bored because parenting feels completely overwhelming. Toddlers are figuring out who they are, how to navigate big emotions, and where their place is in this world. That process is intense and challenging. Whether you feel bored, overwhelmed, or any other “negative” emotion in your parenthood journey, know you aren’t alone. Especially in the time of a pandemic, parenting is HARD.

What we don’t want though, is to be in such a rut or so frustrated that we can’t ever enjoy our time with our children. We want to experience the joy too. I have personally found that Montessori has given me more ways to stay engaged, more tools to deal with challenges, and more joy to our days at home together. Sometimes it’s a shift in our routine, sometimes it’s the kind of activity we do, and other times it’s simply a mindset switch. Below are a few of the ways Montessori has helped me to find more joy throughout my parenting journey.

Photo by Megan Hooks Photography

Photo by Megan Hooks Photography

Geeking out on child development - The more I read about child development, especially from a Montessori viewpoint, the more interested I am in my own children’s development. When I have a better understanding of what changes are happening in their brain and body, it makes it even more fun to see how that unfolds in their play, behavior, and interactions. Understanding sensitive periods makes me appreciate what my children might be especially drawn to or needing at different phases. You can check out my favorite child development books on my Bookshop storefront.

Screenshot 2020-12-30 at 12.13.21 PM.png

The power of observation - Observation is a key piece of the Montessori philosophy, and I find that the more I observe my children - their new skills, interests, challenges - the more interested I am in their play. I enjoy making little mental (or physical) notes about how they engage with materials or what new way they use their hands or body. It can be so interesting to see how they find new ways to use an old material or experience an “aha” moment with something they previously ignored. It can also be telling when I simply notice they need more time and space to use their imagination through open-ended and pretend play!

Photo by Megan Hooks Photography

Photo by Megan Hooks Photography

Rotation to Spark Interest - Rotating materials and toys based on my children’s interests and development can spark interest for them, as well as for myself! I am usually just as excited to see my children engage with a new material as they are. Of course, it’s important to note that we never want to rotate materials that are still being enjoyed by our children, even if we, ourselves, are bored with them! But when it is an appropriate time to rotate in some new/old materials, it’s okay to enjoy that process too. Sometimes I make DIY or themed materials simply because I enjoy doing so!

How Montessori can Make Parenting More Fun - Montessori in Real Life

The Value of Planning - Part of observation and toy rotation involves planning ahead of time. I find it extremely helpful to have a place to jot down notes at the beginning of the week, during the week, and at the end of the week. Making plans, observing, and reflecting at the end of the week can give even more meaning to my days at home and the skills, activities, and challenges I am working through with my children. If this sounds like something that might interest you too, check out the new Montessori Parent’s Planner, free when you sign up for my newsletter!

How Montessori can Make Parenting More Fun - Montessori in Real Life

Finding joy in everyday tasks - Doing chores is not something that innately brings me joy. However, I have a newfound appreciation for these tasks since having toddlers. They do find pure joy in practical life tasks such as sweeping, scrubbing, and doing laundry, and therefore I find meaning in modeling these everyday chores and letting them help in small, or big, ways. It helps me to see the value in contributing to and keeping our family’s space beautiful. The more I model, the more they participate. And even when they don’t join me, they often use this time to play much more independently. What’s more, I often end up quite enjoying the calming process of cleaning once I get started!

How Montessori can Make Parenting More Fun - Montessori in Real Life

Following Each Child’s Path - Parenting, especially with the influence of social media, can feel like one big competition. We see every other child’s highlights and milestones and we make comparisons. The more we compare, the less content we feel, and the more pressure and less joy we feel in parenting. If Montessori has taught me one thing, it’s that every child is different and that we wouldn’t want it any other way. Children have their own interests, their own timelines, and their own challenges and strengths. Embracing my own children’s unique personalities and paths has made parenting much more enjoyable.

PXL_20201208_180615993.PORTRAIT_2.jpg

Doing Things With and Beside Them, not For Them - As parents, we give so much of ourselves to our children. As we should. But that doesn’t mean we can’t also maintain our own hobbies, work, and time. Montessori emphasizes helping children help themselves from a young age. This gives toddlers a strong sense of control and satisfaction, but it is also meaningful for us as parents. My children know that I will play with them, but they also know there are other times we will work alongside one another. They know I am not going to do things for them that they can do themselves (but that of course they can ask for help.) It is so important for all of our happiness and sanity to have a balance of playing together, apart, and alongside one another.

How Montessori can Make Parenting More Fun - Montessori in Real Life

Appreciation for the bigger World - Montessori philosophy emphasizes the importance of connection to the natural world and one’s community, large and small. As I teach my children about new places, plants, people, and animals, I often learn (and re-learn) right alongside them. Not only does this keep things interesting for me, but it is such a delight to see the big world through my childrens’ eyes. There is such a look of wonder as we take a walk in the woods, see a caterpillar up close, or travel to see new places and meet new people. I can feel that wonder too.

How Montessori can Make Parenting More Fun - Montessori in Real Life

There are a hundred more ways I find joy through Montessori and parenting and also a hundred ways I struggle with parenting. My experience and your experience is valid. But when the days are especially long and hard, I hope this helps you find a few more ways to find and spark that parenting joy. And to remember we are all in this together!

Close-Ended vs. Open-Ended Toys in Montessori

Montessori in Real Life

A question I get asked frequently is why purchase toys that are “one and done”, or in other words, have one way to use them. I call these “close-ended materials”. This is in contrast to open-ended materials which can be used in any number of ways. Montessori classrooms and homes are primarily comprised of close-ended materials. Why? I think there is a common misconception that young children always prefer open-ended toys. I have found that children enjoy close-ended as much if not more, and create open-ended play with anything they have. It isn’t an “either/or” situation. Close-ended materials give children a sense of purpose, order, and satisfaction of accomplishment. Open-ended toys give children a space for creativity and freedom. There are reasons for each and for both. My goal here is to explain, in more detail than anyone asked for, why. :)

Close-Ended vs. Open-Ended Toys - Montessori in Real Life

Close-Ended Materials

With close-ended materials, there is one specific purpose and way to use them. These types of materials are more always found in a Montessori classroom and home. Close-ended include materials such as knobbed cylinders, a puzzle, tracing, object to picture matching, or one-to-one correspondence. Often a lesson is given before the child interacts with the material.

Benefits of close-ended materials

  • Purpose - Young children love nothing more than having a purpose, and close-ended materials provide just that. There is a clear purpose to each material, which gives children a sense of ownership and accomplishment.

  • Challenge - These types of materials can be chosen to provide just the right level of challenge for a child. There is something so satisfying for children (and adults) when working through a problem that is tough but not out of reach.

  • Mastery - With that purpose and challenge comes the satisfaction of completing the work. Children feel the sense of “I did it” when they master it, particularly for the first time. They can then even go on to teach a younger child how to use the material.

  • Concentration - As children work though these materials and challenges, there is often a look of “in the zone”. When children are deep in concentration in this work, they often want to repeat over and over even after mastering.

  • Self-correction - Many close-ended materials allow for self-correction, meaning they indicate when something is wrong, rather than an adult telling them so. For example, with knobbed cylinders, if one cylinder is placed incorrectly, the last cylinder won’t fit, and they will know to try a different way.

  • Order - Young children crave order, as order gives them a sense of security in a world that feels so big. Close-ended materials give them this sense of order, which is attractive and inviting to them.

  • Specific Skills - Each material aims at teaching or honing a specific skill, whether that’s size discrimination, shapes, writing, or colors. By isolating one skill at a time, children can really focus and master that skill.

  • Sequencing - Often, close-ended materials involve multiple steps, which helps young children learn how to sequence steps and plan ahead. They memorize a specific order to the steps, and gradually add on more steps with age and experience.

  • Cleaning Up - Part of the sequencing involves taking a tray off the shelf and putting it back on after. Even toddlers get practice with the full cycle of an activity: Taking the tray off the shelf, putting the material on a work mat, using the work, putting it back on the tray, and back on the shelf. These are wonderful habits to develop.

It’s important to note that just because a material is close-ended, doesn’t mean that it will always be used in the way intended. If no one or nothng is getting hurt, there is typically no problem with the material being used creatively. D prefers to pin poke inside the lines than on the dotted lines, and S might stack instead of nest blocks. Lots of “close-ended” materials end up being used in an open-ended way!

Photo by Megan Hooks Photography

Photo by Megan Hooks Photography

Open-Ended Toys

That being said, most homes, including Montessori homes, also include plenty of open-ended materials, or toys. Examples of open-ended toys include magnatiles, objects from nature, art supplies, dolls, and cars. With these materials, there is no reason for us to show them how to play. These are often especially enjoyed more by children 2.5 and up, as they begin to play pretend, and tend to get more fun with age.

There are also a number of benefits of open-ended play:

  • Creativity and Imagination - There are endless ways to use these materials. Children can come up with their own ideas of how to play with them and make up stories to go along with them. There are no limits.

  • No Rules - Especially after a period of structure, such as school, open-ended toys can be a lovely reprieve and calming for children who just want to play without any rules or expectations. Without a right or wrong, this play can feel freeing.

  • Processing events and stories - Open-ended toys and pretend play in general is such a great way for children to work through events, friendships, and new situations. It is also a way to retell stories or make up their own.

  • Independent Play - Often this type of toy is the best for long periods of play while we get our own tasks done. With room for creativity, mess, and imaginative play, children can really get lost in their own little world with this kind of play.

00100lPORTRAIT_00100_BURST20190910145513608_COVER.jpg

Both types of toys can be wonderful for problem solving, finding calm, language, and social skills. Both kinds of toys are valuable and enjoyed by children. Balance is key!

Our Small Shop Holiday List

Montessori in Real Life

Now more than ever, I want to support my favorite small shops. Not only do I want to support the businesses and the families behind them, but I find the toys and materials we purchase from small shops are the ones that we love the most and stay with us for years. The items below are the ones on our wish list this year. Importantly, several of these are also from Black-owned small shops. Lastly, I have included any discount codes I currently have, but keep in mind there may be bigger sales on Small Shop Saturday. I hope you find some inspiration here and with these small shops this holiday season!

Our Small Shop Holiday Gift List - Montessori in Real Life

Nursling apron - Nursling is one of my favorite small shops, from their reading pillows to their small napkins, and now these beautiful new aprons! They come in three sizes and are made of organic cotton and hemp. I plan to put this on the list for each of my children! Use code RealLife10 for 10% off

Sarah's Silks giant silks - These scarves are always on my list as they are just so beautiful and can be used in a hundred ways. I am excited to gift the kids a giant one to build forts with this winter! Use code RealLife10 for 10% off.

More than a peach crayons - I have been following Bellan, the girl behind More than a Peach, for a while on social media, and I am so excited to finally bring these multicultural crayons into our home. A perfect stocking stuffer!

Nuts and Bolts Board - Our screwdriver board has been one of the most well-loved materials on our shelf, and this will be a perfect progression for D. I like that she can use her hands at first and then learn how to use the wrench as she develops more coordination.

Birch Street Goods Mindful Mat - This is another one of my very favorite small shops. This is a wonderful calming activity, as well as speaking to D’s need for order and arranging small objects in lines!

Natural Playbox bowling set - You can’t go wrong with any of the Natural Playbox materials. This might be the only one we don’t have! Though this is on S’ wish list (our thrower), I think D would enjoy this as a cooperative game as well! Use code RealLife10 for 10% off!

Nuts and bolts - As S is obsessed with D’s tool sets, this is a version of nuts and bolts that will be perfect for S in the coming months. I love the natural look and simplicity of these as he works on coordination of the twisting motion.

PuzzleHuddle puzzle - I really appreciate the representation and diversity in these puzzles, and that they come in all sizes, to meet wherever your child is at in their puzzle journey. It’s hard to choose just one of these many beautiful puzzles.

Playroom creative strawberry stacker - How beautiful are these? This one might just be a gift for me, but I absolutely love these fruit stackers. S would have fun just stacking them but D would enjoy the puzzle aspect of making the fruit. I love supporting this local Seattle toy shop.

Kids Concept Recycling Truck - If there’s one thing S comes back to again and again every day, it’s the vehicles. I saw this truck and it had his name all over it. Not only would he love zooming this around the house but he’d also enjoy popping the little garbage/recycling boxes in and out of their spots on the truck. No plastic either!

Stukka Pukka Pizza Puzzle - We already have one beautiful puzzle from Stukka Puka and I can’t wait to present this one to D. Not only does she get to “make” pizza, but she is learning about fractions along the way! A great problem solving puzzle.

Paper Minikin Dolls - D loves fine motor work, dolls, and dress-up, so I think these will be right up her ally! I love the diversity of the dolls and the modern clothing options they come with.

A Montessori Approach to "Clean-up Time"

Montessori in Real Life

“How do you get your kids to clean up after themselves??” This is one of my most frequently asked questions. And one of the most frequent comments parents have when observing a Montessori classroom or home is how tidy it is. There are a few reasons for this.

  1. Maria Montessori believed in providing a beautiful and orderly environment for children. Young children are able to focus better and feel more at peace when their spaces are clean.

  2. Less clutter allows for more movement in the shared space.

  3. Children are a part of the community, and that means we all help each other keep our shared space clean and safe. This includes cleaning up after ourselves.

A Montessori Approach to Clean-Up Time - Montessori in Real Life

Children are more willing to help clean up after themselves in a classroom vs. a home because rules and expectations are often more clear at school, and home is where they know they are safest and comfortable. That being said, there are many ways we can help our children, even toddlers, consistently clean up after themselves when playing at home too. Most children are capable of cleaning up after themselves by 18 months, but children can be increasingly independent with age and practice.

A Montessori Approach to Clean-Up Time - Montessori in Real Life

Have a place for everything - It is very important to have a specfic spot for everything. Our children can only put toys and materials away if they know exactly where it goes. It is especially helpful for children if they can see what’s available just by looking at the shelf, e.g. books facing outward, materials on trays, and toys in clear bins or wire baskets (see Polished Playhouse post!)

Only put out what they can put away - This often means minimizing what is out at a time. The amount that is displayed depends on the child - their age and their current interest in dumping vs. cleaning up after themselves. In general, less is more. A toddler can put away 8 blocks, but not 48. I always encourage rotating materials more often and having less out at one time to prevent toy and mess overload.

Model it - We are our children’s best role models and they are ALWAYS watching. If we slowly model putting a material back on the shelf before we choose a new one, they are far more likely to do so too. It is also helpful to think about how we model tidying up after ourselves throughout the day. If we leave our own spaces cluttered, they are more likely to as well.

Make it part of the routine - The more we incorporate it into our day, the less of an issue it becomes. Most days, clean up happens naturally as we play. The children know that we put one work away before choosing the next. When they are busy playing independently with open-ended toys, they know that we clean up before rest time, or at least before bedtime.

Wait for a Natural Pause - It’s important not to interrupt a child who is concentrating with something to remind them to put a work away. If my child hasn’t put a work away and has already moved on, I wait until they are done with the new work before pointing out the one that need to be put away. This lets them know we respect their work and their concentration while still following through on clean-up.


A Montessori Approach to Clean-Up Time - Montessori in Real Life

Especially in a home versus a classroom, there are times when the children are playing independently, particularly with open-ended toys, when toys aren’t put away one at a time. This isn’t a bad thing, but it can lead to a bigger mess, and one that is harder for young children to initiate clean-up with. For S (17 mos), I simply continue to model. With D (3), here are some strategies I use:

Frame in the positive - When simple reminders are needed, I try to phrase in the positive instead of the negative. Instead of saying “You can’t ___ until you clean up!” I’d frame it in a positive light, e.g. “After you put these toys away we can make snack together!" That subtle difference makes a big difference.

Play a bell or Sing a song - Something about music makes everything feel easier and lighter. One tip is to ring a bell when it’s clean up time. Another is to sing a simple song together. These little tricks can make a big difference.

At the end of the day, we pick up toys, pick up toys, pick up toys

At the end of the day, we pick up toys, and put them all away.

Tomorrow we’ll take some out again, out again, out again

Tomorrow we’ll take some out again, and have fun when we play!

Offer choices - When there are toys all over, and it’s feeling overwhelming, it’s helpful to break it down and offer choices. For example, "Would you like to put away the blocks or trains? You choose." I typically help by cleaning up the one she doesn’t choose first.

Empathize - On that note, it’s important to show compassion. If our child is tired or hungry or just having a hard day, it’s okay to let the clean-up expectations go. In these instances I’ll say "It's been a long day. You can help or stay close to me while I tidy this up." That way, D is still involved in the process, seeing empathy modeled, but not forced into cleaning.

Keep in mind that all of this is a gradual process. I always recommend starting small, and giving them a little more responsibilty as they get used to being an active participant in the clean-up process. Our patience is key to clean-up being a positive and natural follow-up to play, rather than a battle of wills!

A Montessori Approach to Clean-Up Time - Montessori in Real Life

A Montessori and Movement Holiday Gift Guide

Montessori in Real Life

This is by far the earliest I’ve started holiday shopping, but these are unprecedented times! With another covid winter upon us, my priorities have definitely shifted. I am seeking out any and all materials, tools, toys, and games that involve MOVEMENT. I am anticipating lots of time at home and around our neighborhood, and I’m guessing many of you are too. All of these gift suggestions will have your kids burning energy and having fun while doing so. I have compiled some of our favorites as well as a few on our wishlist for ages one and up. Note that many of the items in the younger lists are used for years to come, so I recommend looking at each of these in more detail. I hope you find something here to bring your little one joy, and you a little rest, in this uncertain year ahead. Happy Holiday Gift Giving!

A Montessori and Movement Holiday Gift Guide - Montessori in Real Life

One and Up

A Montessori & Movement Holiday Gift Guide - Montessori in Real Life

Two and Up

A Montessori & Movement Holiday Gift Guide - Montessori in Real Life

Three and Up

A Montessori & Movement Holiday Gift Guide - Montessori in Real Life

Note: This post contains affiliate links. If you purchase a product through one of these links, you won’t pay anything extra, but I will get a small commission, which helps keep this blog going. Thanks for supporting Montessori in Real Life!

A Montessori Introduction to the Alphabet

Montessori in Real Life

Note: This is an updated version of my blog post from last year, after learning through teaching my daughter!

In Montessori education, learning to read and write is a gradual, natural, and tangible process that begins unconsciously. Already D is learning how to write. By using her pincer grasp to transfer objects and hold knobbed cylinders, she’s learning how to hold a pencil. By moving her paintbrush in zigzags and circles on the page, she’s learning the fluid movements of cursive. By hearing the beginning sounds of words, she’s learning how sounds combine to make words. There is no rush to this process; all children will learn to write and read in their own time.

“What the hand does the mind remembers.” - Maria Montessori

A common theme you will see in Montessori education is starting with the concrete and moving to the abstract. The more children can work with their hands, the better they will grasp the concept in their mind. (Same goes for adults!) The more we use multiple senses (sight, touch, sound), the more neural connections are made in the brain. This is especially true when it comes to literacy. For example, a Montessori child learning the letter “m” will hear the sound of the letter, then the feel and flow of the sandpaper “m”, and the look of “m” on paper, all at the same time. This makes learning letters not only more memorable and tangible, but also more fun.

A Montessori Introduction to the Alphabet - Montessori in Real Life

Here are a few elements that make the Montessori introduction to the alphabet a bit different:

Phonetics - Rather than read the letter (e.g. B as “bee”), the focus is on the sound each letter makes (e.g. “buh”. (It’s important not to draw out the “uh” part but rather make it a short “buh” sound.) Children learn to sound each letter out, helping them to later combine sounds to make words. It’s much more intuitive and helpful for a child to spell “cat” when they know the letter sounds than the letter names. “Cat” vs. “See-ay-tee”! We focus on the

Writing > Reading - It may seem counterintuitive, but Montessori teaches writing before reading. Children are more easily able to put letters (sounds) together to make a word than they are able to connect the letters in words on paper or in a book. By learning the sounds/phonetics of each letter, they can begin to create words themselves. You will often see primary-age children building words with the moveable alphabet, even before they can physically write words. Creating words in this concrete way helps the mind truly understand the meaning of each letter and word, before writing with pencil and paper, and often before reading.

Cursive - Not every Montessori school teaches cursive, but this is the traditional method. Though it may seem outdated, there are real benefits to learning cursive before print. With cursive writing, letters physically connect to form words, and words are spaced in sentences. Cursive also involves fluid movements which are easier and more natural for small children (look at their drawings or paintings!). Print is typically easier to pick up after first learning cursive.

Putting this into Action

A Montessori Intro to the Alphabet - Montessori in Real Life

Pre-Writing: When I first wrote this blog post last year, I introduced the letter with the sound. Though she showed initial interest, that was replaced with confusion about the letters. So now, I’ve removed the letter symbols for the time being, while instead finding small ways to familiarize her with letter sounds and writing skills. The first way I can help prepare D for writing is by providing materials and activities that allow for fluid movement and the pincer grasp. Though she’s had plenty of practice with fluid movements in the form of art, I really love this prewriting board by Treasures from Jennifer. This board offers beautiful patterns to trace, with a finger, small wooden stick, or beads, that pave the way for future cursive writing. On the reverse side are shapes! Whether or not you have this board, any kind of tracing is great pracice for later writing.

A Montessori Introduction to the Alphabet - Montessori in Real Life

Learning Phonemes: I’ve learned through experience that it is very important to first introduce the letter sound without the letter symbol at all. This can happen naturally as I label objects, e.g. “buh-ball!” in our play and exploration. Simply labeling objects and the sound they start with can be a great introduction to learning letter sounds. When she began to recognize a few letter sounds as we talked about them, we began to play simple sound games with familiar objects. Her favorites are “i-spy” and “mystery bag”. For I-spy, I set out 3 or 4 objects and say for example “I spy an object that starts with the sound “cuh” and she finds the cat. This helps familiarize her with the actual meaning of letter sounds before introducing the abstract letters themselves. Another challenge is “i-spy” around the house or outside, where she has to find an object not in front of her, e.g. “I spy something that starts with “ff” and she finds a flower.

A little more advanced than I spy is the stereognostic or mystery bag, where I hide the familiar objects in a bag and say “Can you find the hidden object that starts with “Puh?” and she pulls out a pumpkin for example. I love this one because she has to hold the image of the object in her mind as she feels around with her hands. It’s important not to over-correct during these games, but rather take note of what they DO know, adjust expectations, and acknoweldge what they are trying to show you. “Oh you found the a-apple!”

A Montessori Intro to the Alphabet - Montessori in Real Life

Sandpaper Letters: The most traditional Montessori approach to introduce the alphabet itself is through sandpaper letters, which allow a child to trace the letter, feeling its pattern and hearing or making the sound. There are different opinions about which letters to start with but often it’s m, s, t, and a. These are all used frequently and can easily form words when combined together. Letters are introduce in lowercase first, as that is seen much more frequently than uppercase. When I introduce a new letter, I use the three period lesson to do so.

A Montessori Intro to the Alphabet - Montessori in Real Life

Sound Tray: Since letters are pretty abstract, a fun way to make them more concrete is through a sound basket or tray. I like “S” as it’s a familiar and frequently used letter. When D is ready, I can put the “s” sandpaper letter in a tray with several objects that start with that sound: a sailboat, school bus, spider, and strawberry. When I show her this work, I simply lay the letter out, and slowly trace it with my index and middle finger as I make the sound “ss”. Then I label each of the objects, ensuring I make a clear “s” sound at the beginning of each word. She can then make the connection between the look, the sound, and the feel of the letter, as well as how it sound with real life objects. I use familiar objects (otherwise it’s important to first use the three-period lesson to introduce each object) and then play games such as “I spy” with each object to familiarize her with the objects and sounds. This activity helps her to group these objects in her mind, as things that begin with the same sound.

A Montessori Intro to the Alphabet - Montessori in Real Life

Sound Matching: Once she seems to have an understanding of a set of letters, I will create a matching activity with two letters and sets of objects. She can then sort each object depending on the sound it starts with. So if I had a basket with the letter “s” and “a”, she could figure out which letter “spider” goes with and which “airplane” goes with. Another fun variation once your child knows a few sounds is to play the “I Spy” game where you ask “I spy something that starts with “a” (showing them the letter) and they have to pick something from the basket (or around the house) that starts with that sound.


There is no one perfect age to introduce these activities, but in my experience, phonemes can be introduced around 2.5 and actual introduction of the sandpaper letters after age three. Every child is different, so follow yours and their own interests and abilities. :)

Note: This post contains affiliate links. If you purchase a product through one of these links, you won’t pay anything extra, but I will get a small commission, which helps keep this blog going. Thanks for supporting Montessori in Real Life!

Toddler Yoga Tips from Maia of Kumarah Yoga

Montessori in Real Life

Yoga is something I have really come to enjoy and appreciate since having children. I love how accessible it is and how even 10 minutes can lift my mood or calm my body. It has been especially fun to incorporate it into the day with D and S. As I am far from an expert, I was so excited to discover Maia of Kumarah Yoga’s website and Instagram, as she has so much experience doing yoga with children of all ages. We have enjoyed her yoga tools and videos for toddlers, and I am excited for her to share her tips with you all today! Happy Yoga-ing!

20201011_174712_0000.png

What are the Benefits of Yoga for Young Kids?

Little humans need to be active! They have lots of energy, they are exploring their limits, and they are learning new ways to move.  Yoga can be a fun way to get your kids to be active in different ways and explore the range of movement their growing bodies have.

Kids yoga doesn’t look like adult yoga. With kids, you can focus on creativity and movement, not just holding specific poses for a long period of time. Let them copy a pose, then move and make sounds within the pose.

Kumarah Kids Yoga

Yoga is super beneficial for kids because they get to turn, twist, stretch, and strengthen their muscles in new ways. It helps them with proprioceptive awareness, balance, coordination, focus, building mirror neurons, increasing lung capacity, and so much more!

How to Engage Your Child in Yoga

Start by doing yoga on your own in a space where they can see you. If they are interested, let them join in and have them copy the moves you do. 

Get them their own yoga mat so they can play and explore on the mat in their own space! Though they may like want to share your space too.

Kumarah Kids Yoga

Tell them the names of poses, invent new names for poses, and give lots of praise. They won’t be able to copy the moves exactly, but that’s ok! Praise their effort and make minimal corrections.

Use your excited voice, and even sing some songs. Make them up as you go, or try some “yogi-fied” versions of nursery rhyme songs. You can create lots of poses to go with the songs “Wheels on the Bus,” “Old MacDonald Had a Farm,” “Down by the Bay,” and “Row Row Row Your Boat.”

Get some adorable kids yoga cards to help them explore the pose shapes and be inspired to try them out. Show your child how to hold the cards gently, look at the picture, and copy the pose.

Lots of poses are based on animals and things in nature! Use these to teach kids about different animals, or create a themed yoga session and “explore” new environments to talk about animals and landforms you might see there. Yoga with young kids is a lot like acting things out.

The Best Poses for Kids Age 2-4

The best poses to start with for little kids that are aspiring yogis are poses that they can relate to, and can successfully do. Again, they won’t be perfect at them, but I would stay away from complicated poses until they have better coordination and balance.

Here are some good poses to start with for young kids:

Cat/Bear Pose

Cat.png

Cow Pose

Cow.png

Snake Pose

Up dog 2.png

Lion Pose

Lion.png

Mountain Pose

Tadasana.png

Down Dog Pose

Down Dog 2-min.png

Frog Pose

Yogi squat 2.png

Butterfly Pose

Butterfly3-min.png

Star Pose

Star pose.png

Swan Pose

Swan.png

Again, some of these are the “real” yoga poses names, but some are made up. You can change the names of the poses to fit your theme or intention at any time. That’s the beauty of kids yoga, use your imagination!

Yoga Activities to Try with Your Kids at Home

  1. Make a list of animals and create a pose to go with each one. Encourage them to be more creative than just crawling, which is what a lot of kids default to with animals. Praise their effort then say, how about this? Wiggle and move in the pose, and be sure to add animal sounds.

  2. Try finding or creating a yoga pose for each letter of the alphabet! Think of animals or other things in nature. You can even try movie characters, items around the house, or in nature. Check out this free printable version of Animal Yoga ABCs here.

  3. Tell a story and go on a pretend adventure on your yoga mat. Add movements and poses to go along with the story. Use your imagination!  An apple picking adventure or a trip to the farm are two of my favorites.

  4. Play a game and add in yoga poses. You can create your own board game, use yoga cards to play a dice matching game, do a bean bag toss to yoga cards, play Red Light Green Light, Pose, and so much more! Here are some printable kids’ yoga games you can download and print to play with your kids at home.

  5. Tape up yoga pose cards on the wall in your child’s play space. Label them with different names depending on the theme. There are tons of themes you can choose from: Halloween Yoga, Springtime Yoga, St Patrick’s Day Yoga, Bug Yoga, and more! 

  6. Get some adorable kids yoga pose board books. Your child can explore and play on their own, learning to copy the poses that match different animals! These are the best.

Make Yoga a Positive and Beneficial Experience for Your Child

No matter what, make sure that when you are doing yoga with your child you are being positive, engaging them with lots of specific praise, and talking about the benefits that YOU feel when doing yoga. 

Never force your kids to do yoga. If they aren’t interested yet, keep trying. Find something they like and make up some yoga-themed poses to go with it! Keep the experience positive and fun.  

When they are done, let them be done. End on a positive note so they will want to come back and try again. It can be just two minutes or twenty, they will still get good benefits from any amount of positive interaction in doing yoga with you.

Kumarah Kids Yoga

Praise their effort and their specific behaviors. Avoid just saying “good job!”  Add specific praise like, “Your arms are so straight!” or, “You are very focused” to help them know exactly what it is they are doing well.

Talk about how you feel! “This pose helps my back feel strong.” Or, “I feel calm while doing this pose.” This will encourage your child to notice their own feelings and body as well.

Have fun! Try some yoga with your child and keep coming back to it. You will feel the benefits, see them in your child, and help them grow in positive ways. 

About the Author:

Maia is a 7th-year kids yoga and mindfulness teacher at a public school in Minneapolis, Minnesota. She starting teaching yoga to toddlers and early childhood in 2011, and was hired by a local school to teach kids yoga full time in 2013. She is an experienced registered yoga instructor with Yoga Alliance (E-RYT, YACEP) and has an online kids yoga and mindfulness teacher training program.

Maia founded Kumarah Kids Yoga to help parents and teachers learn tools and strategies for teaching yoga and mindfulness to kids, particularly in schools. She loves writing lesson plans and creating resources for people to use with kids in any setting. Join her Free Resources Library for tips and tools to get started teaching yoga to kids!

Maia of Kumarah Yoga

Organization Tips from Nicole of Polished Playhouse

Montessori in Real Life

Do you have those accounts on Instagram that you just look forward to every day? Nicole’s account, Polished Playhouse, is that for me. Every space, organization hack, and post she shares provides such inspiration. Books on photo ledges? Brilliant. Paint in a soap dispenser? Genius. What I love most about her ideas is that they are practical and purposeful for parents, while following the child’s need for independence and order. I was so grateful when she agreed to do this interview, as I know she will inspire so many of you too. This interview was also perfect timing as I followed her tips for our new play and art spaces! Find even more inspiration from Nicole on her website, Polished Playhouse.

Hi Nicole! I am so excited to learn more from you. Could you tell us a little bit about yourself and your family?

Our family lives in Maryland outside of Washington, DC. I have two sons Jonah who just turned four and Shiloh who is almost three months. I am originally from Grand Rapids, Michigan and my husband is from Sierra Leone. We lived in Washington, DC for eight years before moving in 2018 for more space and peace from city living! Aside from Polished Playhouse I work for the DC government in school accountability. With my work, I observe PS - 12th grade classrooms and write reports based on what I observe in the areas of classroom environment and quality of instruction.

What inspired you to start The Polished Playhouse?

I started my career in education as a preschool teacher. I was inspired to start Polished Playhouse after having my son Jonah. I did a lot of home learning activities with him and wanted to create a space to document our activities and share with other parents. I quickly learned that kids toys, crafts, and just stuff could get overwhelming very quickly. So, I started to share ways that I was keeping everything organized and together. 

Polished Playhouse

I would like to copy and paste your playroom in my home! How do you think about the way you design your space? 

I like things to be function and aesthetically pleasing but making a space function is always top of mind. We limit the amount of toys we have out at one time and always make sure everything has a place. I always try to center my son’s interest in the spaces that I create for him. Right now he is really in to building so I made sure there was a lot of floor space for him to build. He’s had phases where he’s really been into art or sensory play and I build the space around making room for those materials first. Our current space was also built around creating a separate space for Shiloh. The shelves are on opposite sides of the room and have materials more appropriate for him.

What are your top three playroom essentials? (toys/materials)

1. A large shelving unit to hold/display toys. We use the Kallax unit from IKEA. It is both durable and affordable and makes it easy to display toys directly on the shelf or in bins. 

2. Open ended toys like blocks and magnetic tiles. Having open ended toys limits the amount of extra materials you have to buy. You can use the same things over and over for a variety of different activities. 

3. A variety bins/baskets to keep everything organized. Our playroom motto has always been “everything has a place,” this has helped us to keep everything organized. 

Polished Playhouse

Everything in your playroom is beautifully organized. What are your best organization tips when it comes to toys and books? 

1. Everything needs a place. If you don’t have space for something, consider an alternative that you can store. In our last house I really wanted a play kitchen but we just didn’t have space. Instead we used bowls, toy pots and pans, and wooden play food that we could easily store.

2. Use storage solutions that children can see through or in to. I use a mix of wire baskets, transparent containers and shallow wicker baskets. If children can’t see what’s on the shelf and are looking for a particular toy or activity, they will just dump everything out until they find it. This leads to less meaningful play. 

3. For books we use low wall shelves and display only a few at a time. This has allowed Jonah to select his own books and utilizes vertical storage and frees up more space in your storage unit for toys.

What expectations do you have of Jonah? Does he help with the tidying as he plays or at the end of the day?

Yes, he is expected to tidy up after he plays. Having the organized baskets helps him to know where everything goes. Sometimes he works really hard on building something with blocks or magnetic tiles and we let him keep his structure up to continue building the next day. Other than that we put everything away each night. He’s always been very big on order. So thankfully we really don’t have to prompt him much to clean up. 

Is your playroom shared by your two children or do you have two different spaces for each of them? Do you think this will change with time? 

We currently have a shared space. Our hope is to keep it this way. I love the idea of them being able to play together eventually and for Jonah to model for Shiloh how to use different materials. 

As Shiloh becomes more mobile, do you plan to re-organize your playroom? If so, what will that look like?

My biggest worry with the shared space will be choking hazards for Shiloh as he becomes more mobile. Our plan is to remove any small toys/parts and have them in a separate space just for Jonah. As he becomes more mobile and his interests emerge I may have to do some reorganizing based on what he likes. We also currently have our art supplies at child level. Eventually we hope Shiloh will be able to access them independently like Jonah. But, we may have to store them away until he also learns to use them independently.

Polished Playhouse

What tips do you have for making the playroom baby-safe? 

1. Limit small parts that baby could put in their mouth. 

2. Cover all outlets with baby proof covers. 

3. Place paint and other art supplies out of reach.

4. Anchor all large furniture pieces to the wall. 

What advice do you have for parents who are trying to create or re-organize a playroom for two or more young children?  

You have to start by decluttering! Most parents of young children have too many toys. With birthday parties, holidays, and other milestones it can all get overwhelming really fast. I suggest getting rid of (or donating) toys that are broken, unused, or that don’t interest your children. After you’ve done that you can create a system to cycle through toys so that you only have a few out at a time. I also always encourage parents to get their children involved to help maintain their space as well. 

Anything else you’d like to add or recommend? 

Things will get messy. There is no way around it but having systems in place to quickly get everything back in order will lead to much less stress and more meaningful play for everyone. 

Thank you, Nicole! Read more from and about Nicole on her website, Polished Playhouse, or on Instagram, at Polished Playhouse.

Nicole has been such an inspiration for me as I begin to organize the kids’ open-ended toys and art supplies at our new house. I can’t wait to put her brilliant tips and hacks into action!

Polished Playhouse

Montessori Tips for Self-Dressing

Montessori in Real Life

Most of us with young ones have struggled with getting our kids dressed. Once a child is crawling, the struggle begins and it can either get easier or harder when they insist on “I do it!!” As you can imagine, it’s a lot easier when our children have the skills to match their will. The more toddlers and preschoolers can do themselves, the more enjoyable the dressing process is for everyone! Keep in mind every child develops these skills at different ages, but you can expect your 3-year-old to do everything (maybe barring shirts) on their own.

Montessori Tips for Self-Dressing - Montessori in Real Life

Though getting dressed takes us seconds, it can take children a whole lot of minutes. This is the time we have to really channel our inner-patience. Set aside time for your child to practice dressing when you are NOT rushing out the door. Let them layer on those pants and wear a puffy jacket around the house in the summer. The more practice, the easier and quicker getting dressed will be when you actually are in a hurry. It’s also useful to make sure they have a step stool or chair in their bedroom and by the front door to sit on to get dressed. Additionally, hooks for coats and clothing that is accessible will allow them greater independence and joy!

I recommend introducing one item of clothing a time. Expecting a child to put on socks, shoes, pants, and shirts all at once is asking too much if they are starting at ground zero. Similarly, each item of clothing should be broken down into steps. For example, putting on shoes can be broken down into at least five steps per shoe: figure out left vs. right — open the velcro — slide foot in — put heel in — velcro closed, and then repeat for the other foot. When we are helping our child learn how to put on their shoes, we can think about those steps backwards. This means, if there are six steps, let them do just teh last step. When they can do that independently, invite them to do the last two steps - and so forth.

Montessori Tips for Self-Dressing - Montessori in Real Life

Here are some tips to make independent dressing easier for your child:

Shoes - We have found simple, single or double velcro strapped sneakers to be the easiest for putting on. You want it to be sturdy so that it doesnt bend down when the child puts their foot in. Shoes with heel tabs or teaching them to use a shoe horn can also help a child get their heel in easily. You want to make sure the shoe isn’t too tight. You can even have an extra pair that’s a size too big for them to practice with (and they will grow into soon!)

These shoes by Ten Little are pretty awesome because they make it easy to differentiate left versus right. You can also DIY with a large sticker cut in half. Last year, we used a different sticker method, with red dots for left and blue for right. Show your child how you first match the shoes to make the sticker whole or match the colors, and then put the shoes on the correct feet.

Montessori+Tips+for+Self-Dressing+-+Montessori+in+Real+Life

Socks - Socks are often tricker than shoes for toddlers. To practice the motion of putting on socks, let your child stretch rubber hair bands. They can even practice pulling hair bands over their feet onto their ankles, and back off again. When you do introduce socks, make sure they are extra stretchy, no taller than ankle socks, and maybe a size bigger than their feet. Again, start by only pulling them over their toes and let them just pull over the heel, until they get the hang of that step.

Montessori Tips for Self-Dressing - Montessori in Real Life

Underwear - These are easier to get on than pants, so start here first. Show your child how you find the waistband (that’s where the tag is!) and turn the tag to the back. Then point out each hole where each leg goes. As mentioned above, break this into steps so that they help with the last step, and finally, the first. This means they start by simply puling up the waistband in the front, then the waistband in the front and back, and finally, putting both legs in and pulling all the way up. Allso, make sure they are sitting down when they begin to put on underpants, so they don’t have the added challenge of balancing in tree pose!

Pants - If the weather permits, start with shorts. The shorter the leg, the easier to put on! It is also helpful to find pants that are roomy, stretchy, and have elastic waistbands without buttons or zippers. Avoid leggings until they’ve mastered jogger-type pants! We use the same step-by-step method as with underwear.

Jackets - This is our favorite thanks to the “Montessori Coat Flip”! Putting on a coat can be made a lot easier for toddlers with this trick. Lay the coat out so the hood/tag is at your child’s feet. Show them how to insert their arms into the arm holes and then stand and flip the coat over their head. Voila! The zipper or buttons can be a bit trickier. I’d recommend offering practice with dressing frames, which make learnigng how to button/zip easier with the fabric pulled taut.

Montessori Tips for Self-Dressing - Montessori in Real Life

Shirts - Shirts are often the trickiest for children to put on and take offf themselves. Again, start by letting them do the last step. Pull the shirt over their head and have them find one arm hole at a time. When they can get their arms in on their own, show them how to find the neck hole (biggest one) and pull it over their head. Then let them try it all together. It is easiest to start with short-sleeved shirts and then move to long-sleeve. Once again, it’s also best to make sure the shirts are roomy rather than tight!

Montessori Tips for Self-Dressing - Montessori in Real Life

Don’t Correct!

When your child does figure out how to get dressed, there will likely be a lot of backwards and inside out clothing. That’s okay! If it’s not bothering them, let it go and do not say anything. We want them to be proud of what they’ve accomplished rather than frustrated about not getting it exactly right. If they are bothered by it, you can offer the least amount of help to get it turned around or corrected. Make sure to acknoweldge how far they’ve come in their self-dressing journey!


Note: This post contains affiliate links. If you purchase a product through one of these links, you won’t pay anything extra, but I will get a small commission, which helps keep this blog going. Thanks for supporting Montessori in Real Life!

How to Build a Kitchen Helper

Montessori in Real Life

My husband made our first kitchen helper for D when she was 14 months old. She was the same age as S is now, with the same needs: to be close to Mama and close to the action (and food). The kitchen helper saved us then, and the double kitchen helper is saving us again now. Goodbye to days of leg clinging or trying to cook an entire dinner with one hand. Hello to days of learning and cooking together (or at least to days where one of us is playing with a whisk, the other is tasting ingredients, and the third is cooking in relative peace!)

How to Build a Kitchen Helper - Montessori in Real Life

This double kitchen helper has made my life easier, but it is also such a wonderful opportunity for the kids. D really does love to help prepare her meals, and enjoys trying new foods so much more because of it. S is already excited to be a part of the process, and soon he will probably be mixing, spreading, chopping, and baking away. I can’t wait to see what they cook up together.

How to Build a Kitchen Helper - Montessori in Real Life

Now that I’ve hopefully convinced you of the need for a kitchen helper, I’ll talk a bit about the plans. My husband gets all the credit. He build this helper in a weekend and wrote the plans in a night so I could get this in our kitchen and on my blog asap. We are so grateful to him! Before downloading these plans, keep in mind he is not a professional builder. He has taught himself along the way, so we cannot guarantee perfection or a safety guarantee. He does work in analytics, so you can count on these plans being extremely detailed and well thought out, with photos and diagrams along the way. These plans will lead you through making a single or a double helper. We can’t wait to see your littles enjoying their kitchen helpers too!

How to Build a Kitchen Helper - Montessori in Real Life